I spend my days with my hands in all kinds of sculpting compounds and I literally have to scrub and scrap for days. I never have what you would call "Pretty Hands". I guess it's a small price to pay for being able to do what you love. I have used many creams, lotions and products over the years and never have really liked any to use them. Some can even react with the chemicals in the sculpting medium.
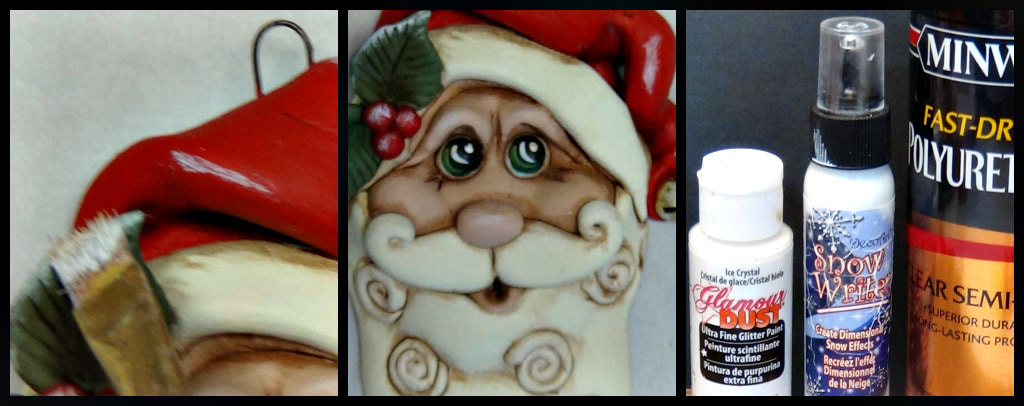
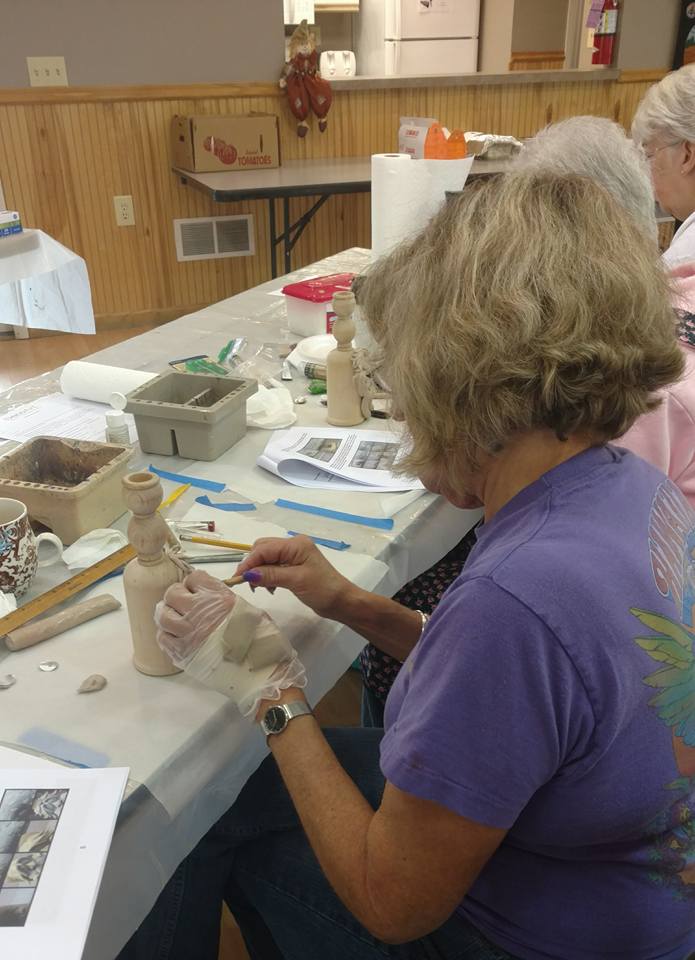
Pic below is how my hands look when sculpting!! So messy!
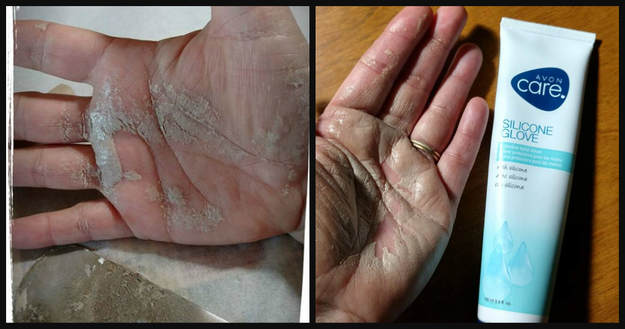
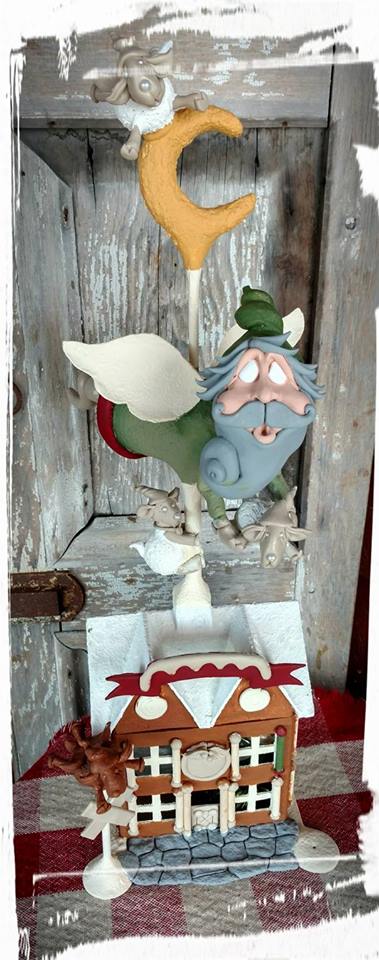
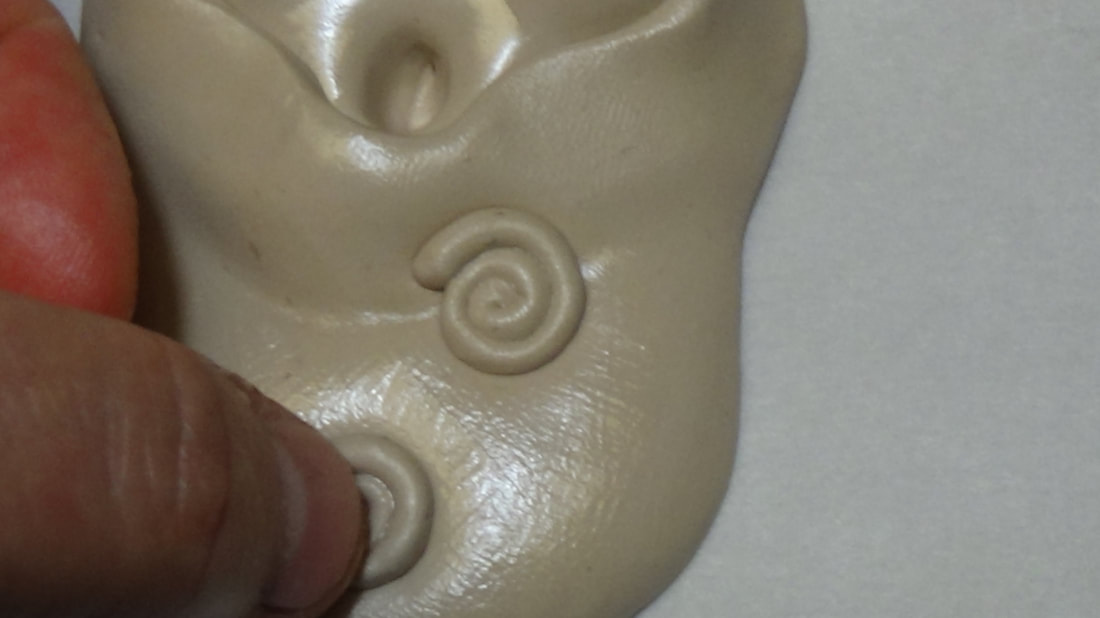
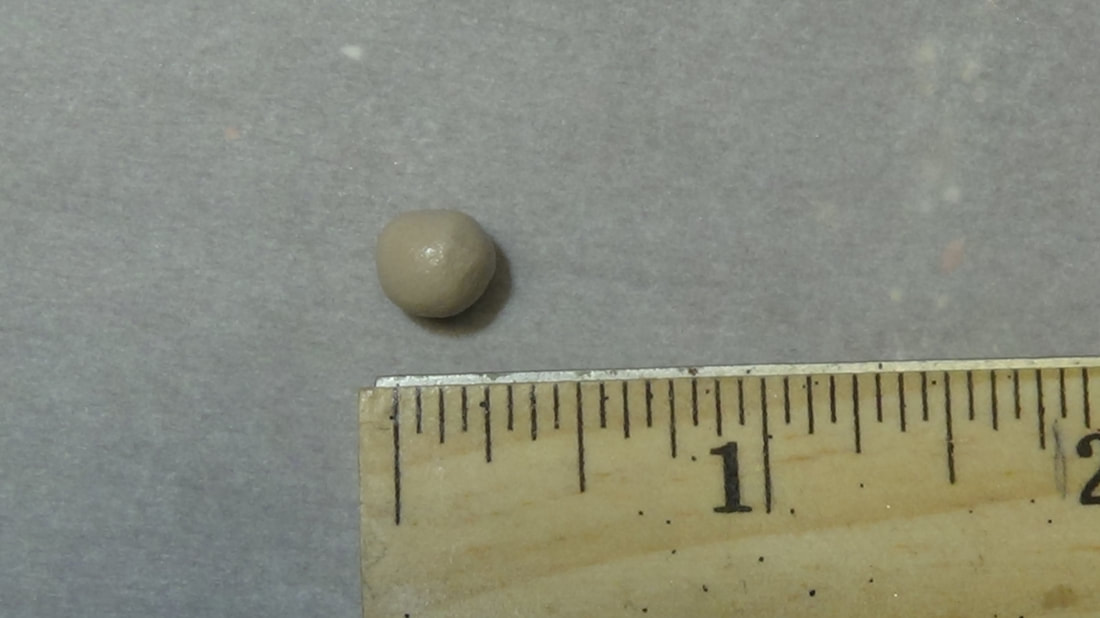
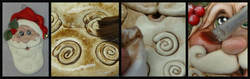
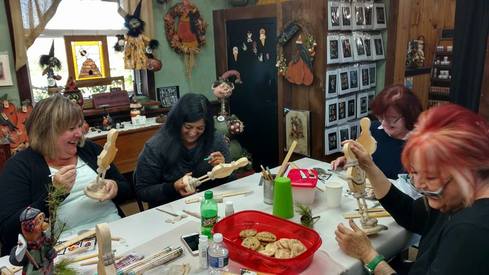
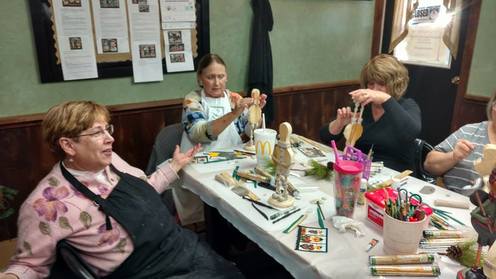
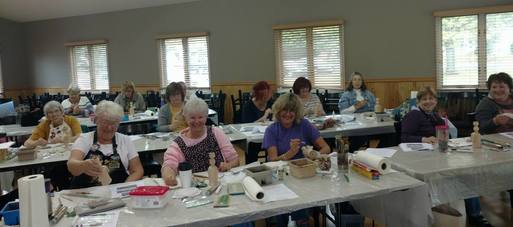
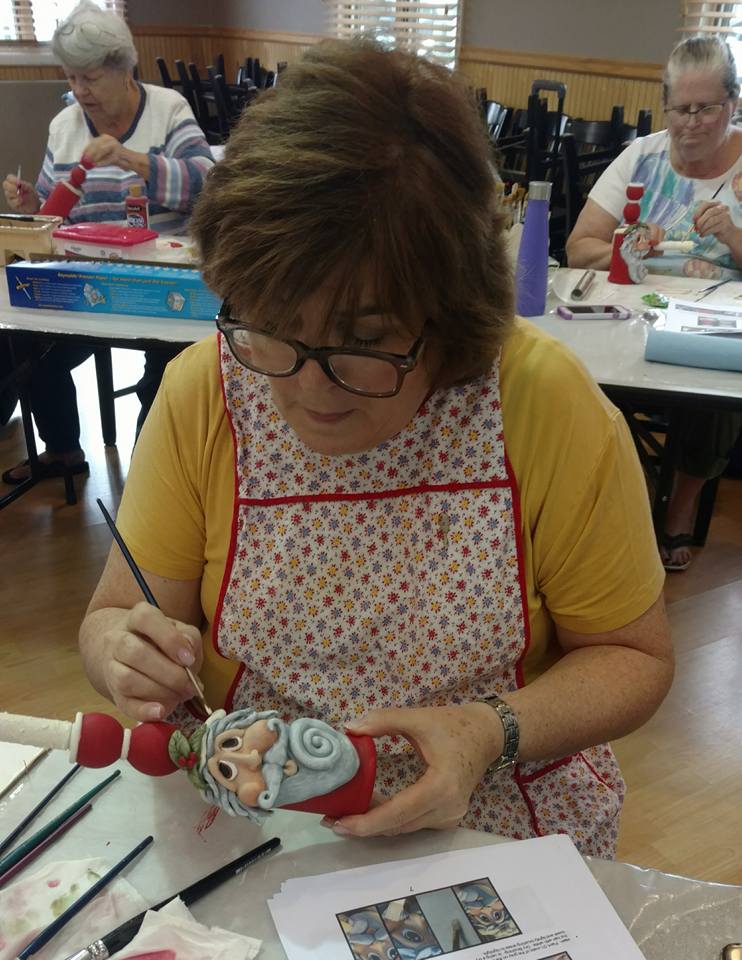
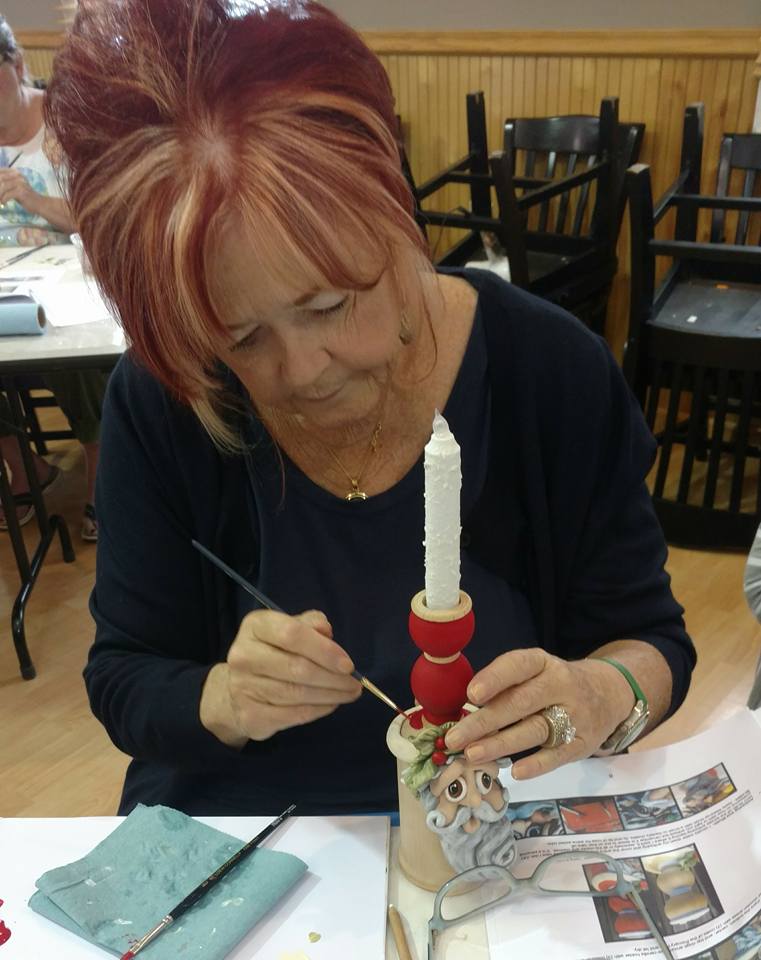
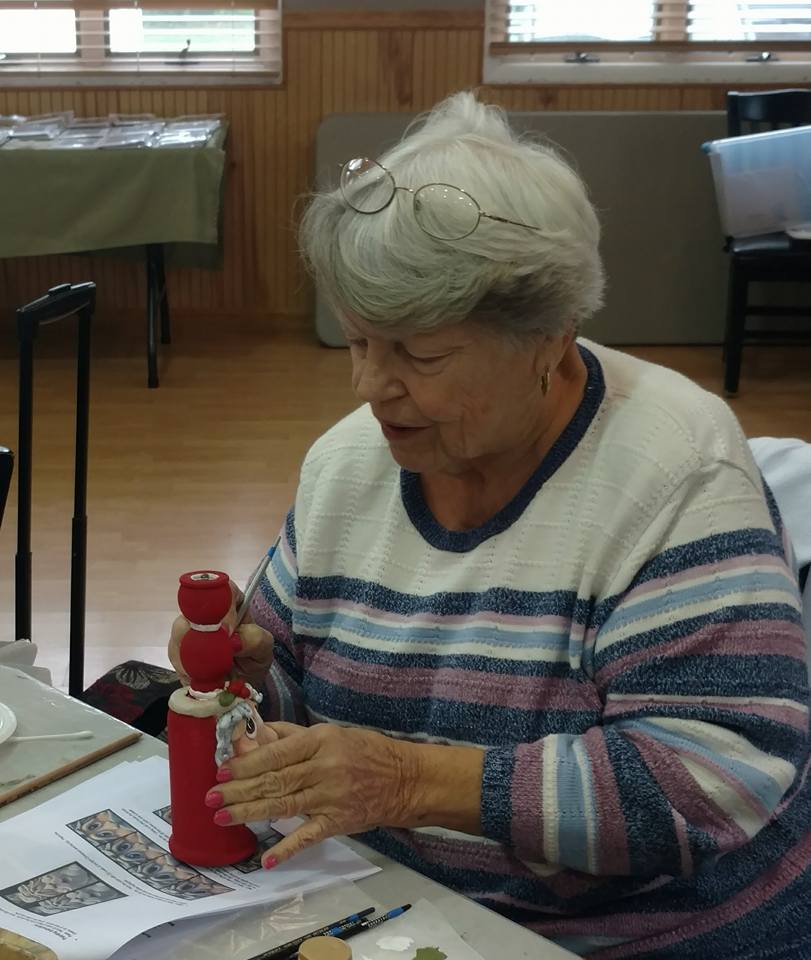
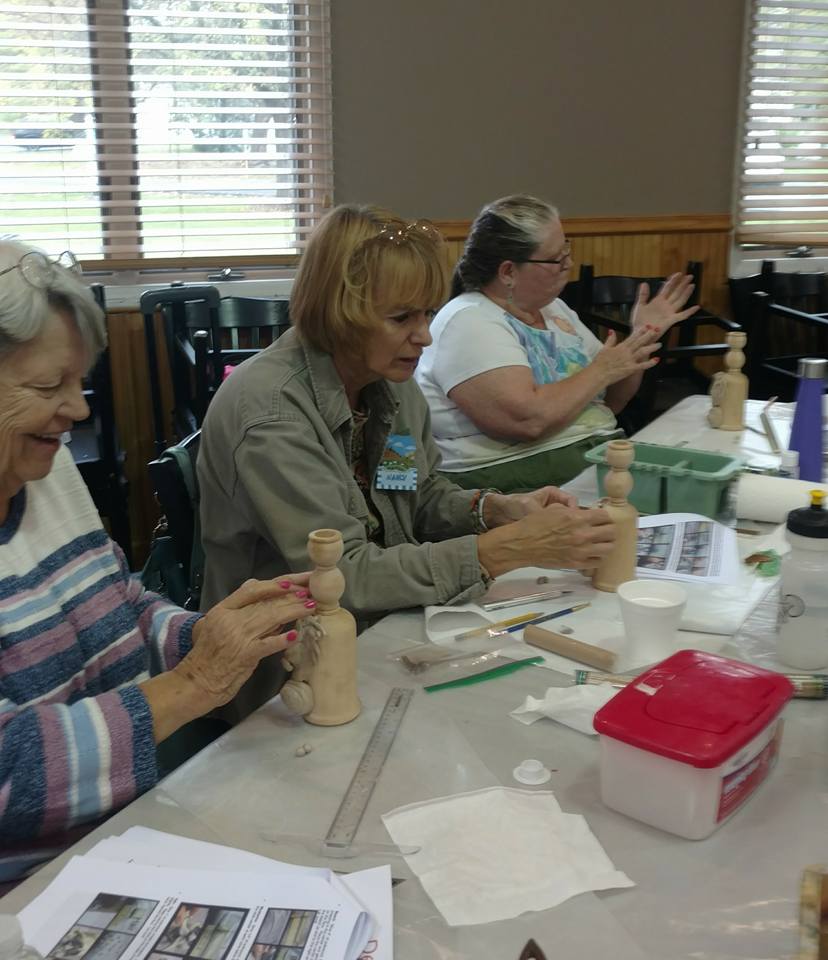
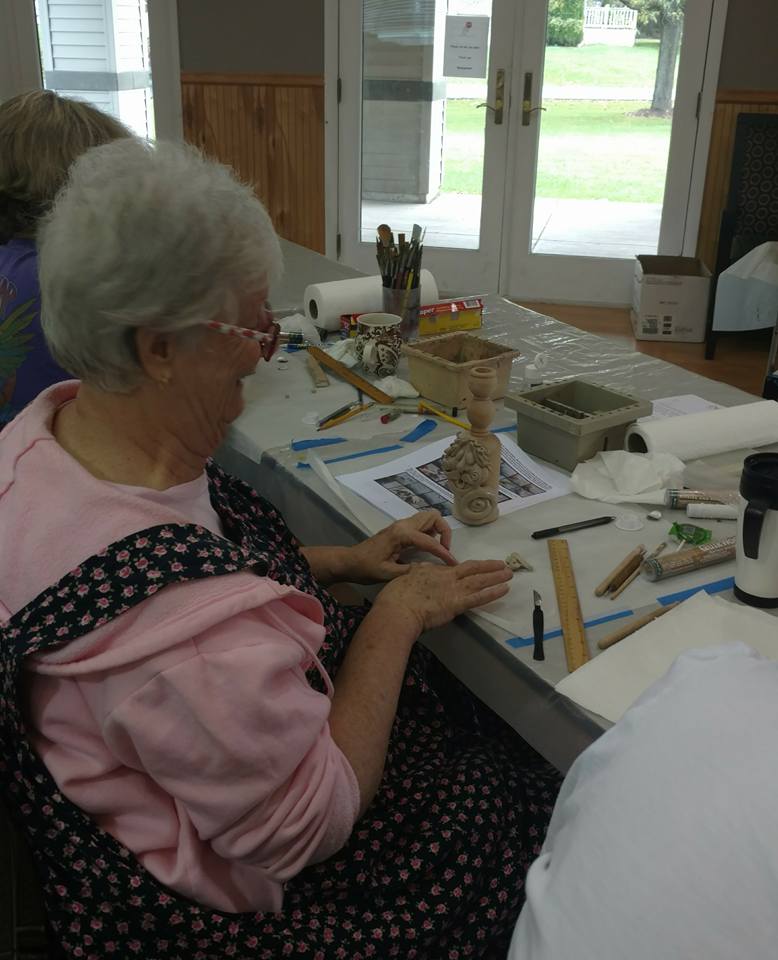
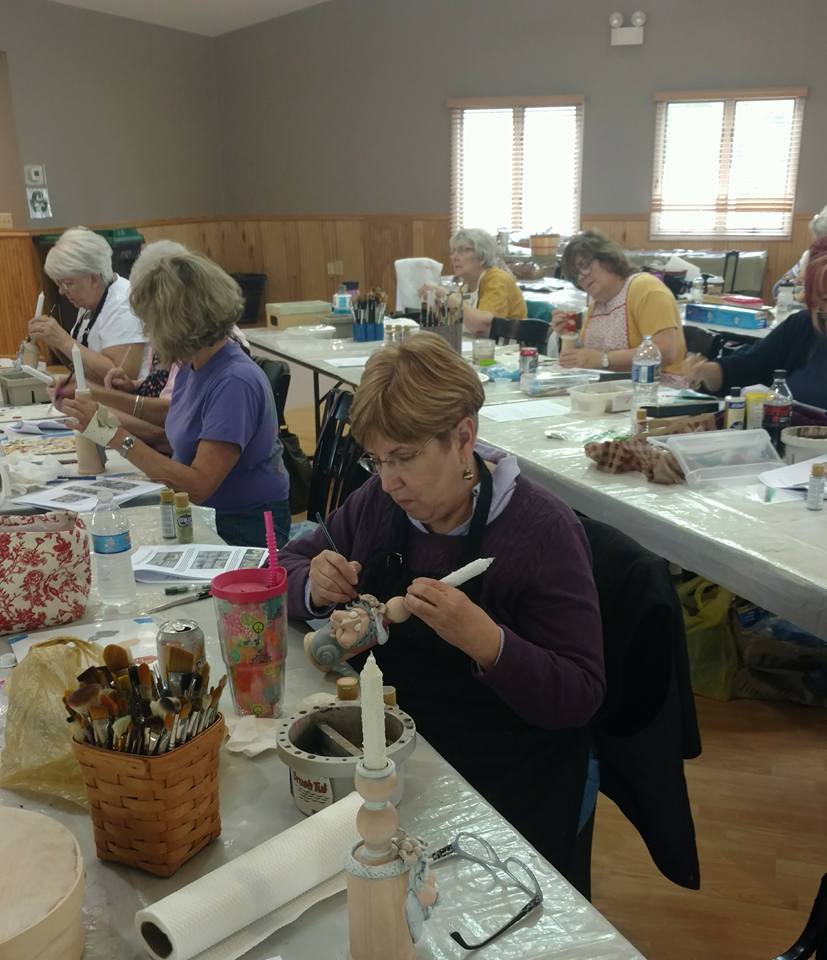
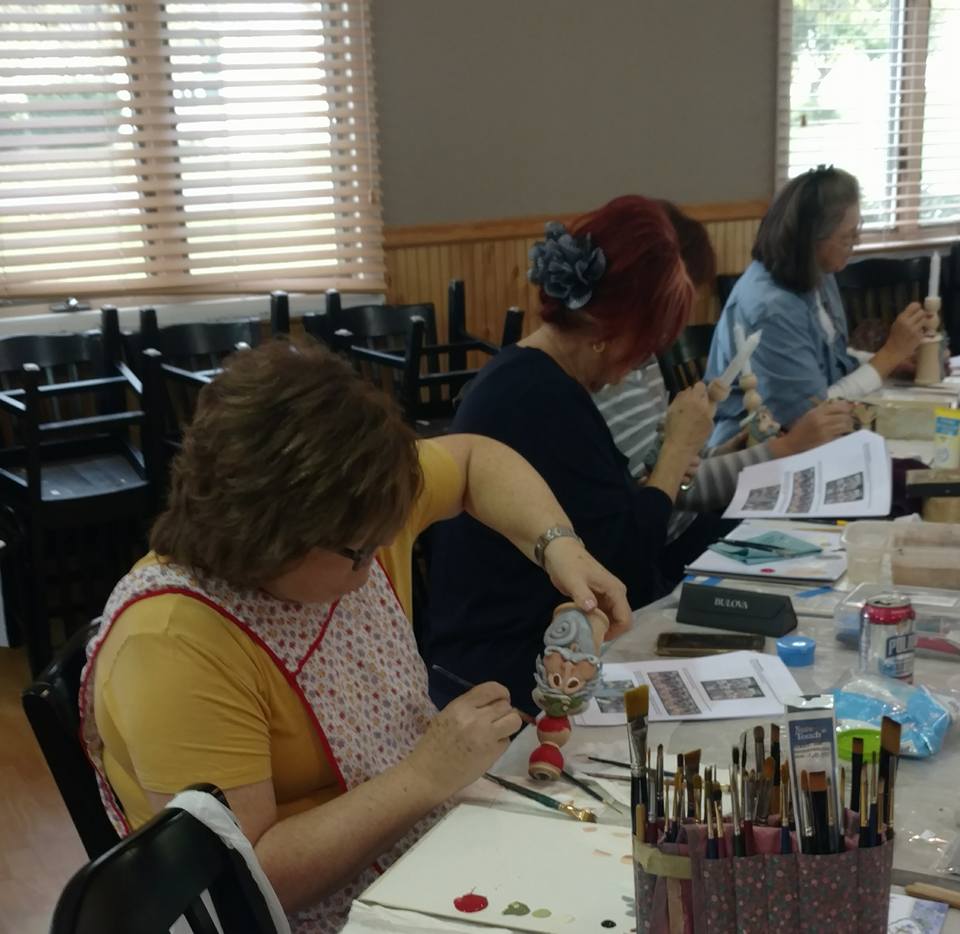
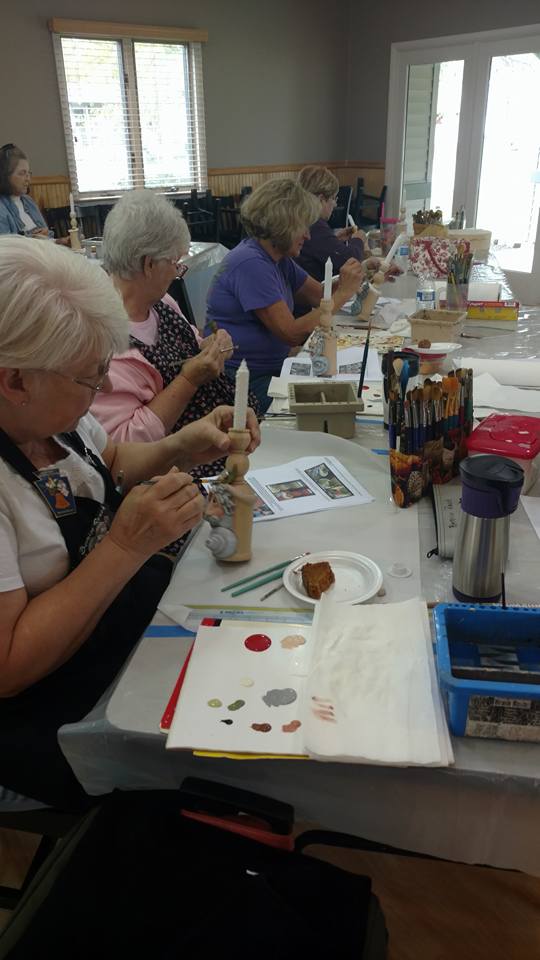
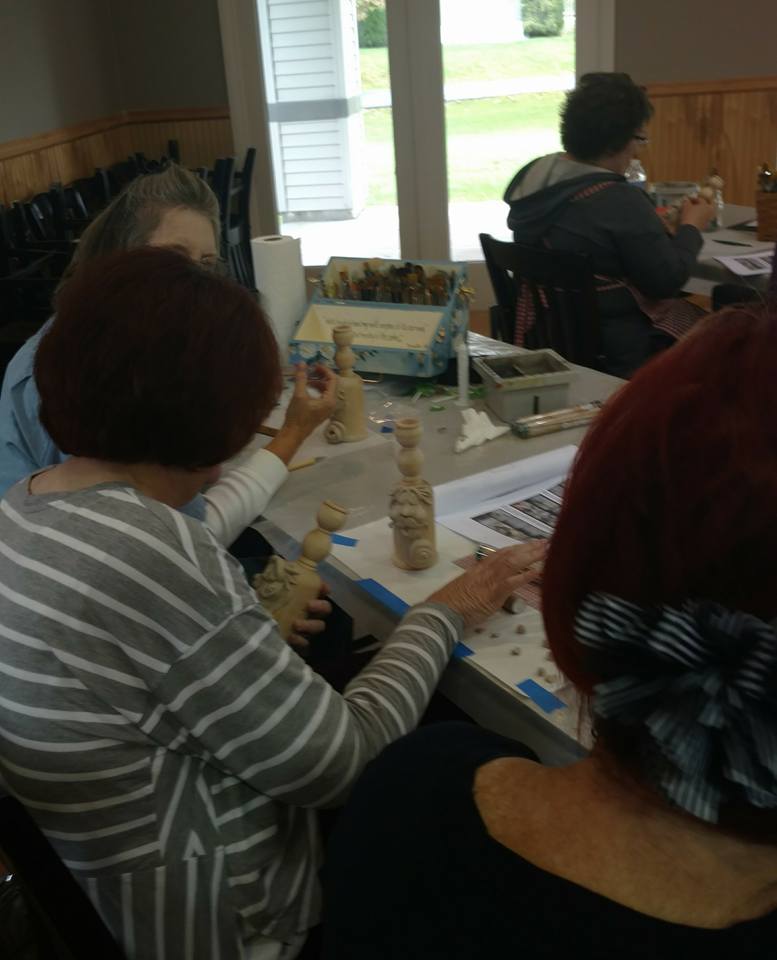
Yesterday was a great "What's cookin" Santa class and it was a full class. We did so much kneading and mixing of quikwood and no matter how much washing and wiping of the hands we were covered in quikwood. It will take days to get this all off our hands. I had one student who was putting on a cream on all day and I never ask her what she was using just assumed it was a lotion as it can help to apply lotion but I found it never is 100 percent guaranteed not to get it stuck on your hands. So, after class we were all looking at our hands and "Freda" shows us hers. Not one drop of quikwood!!!!! Literally nothing!! Her hands were beautiful!! She was using AVON's Silicone Glove. I was so impressed and she gave me her tube she had . I will now be buying stock in this stuff. I will probably keep it in the shop as well. Thank You Freda for sharing your wonderful tip with us!!!

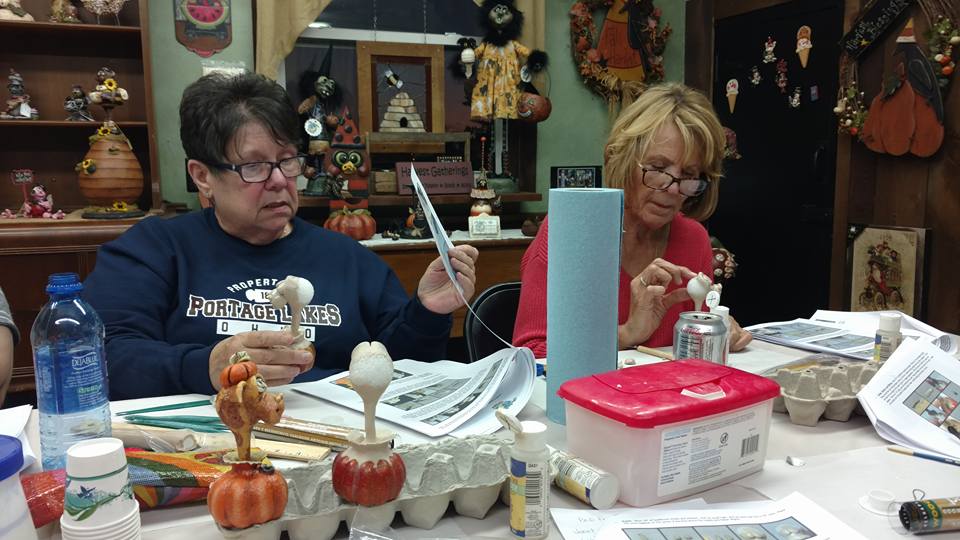
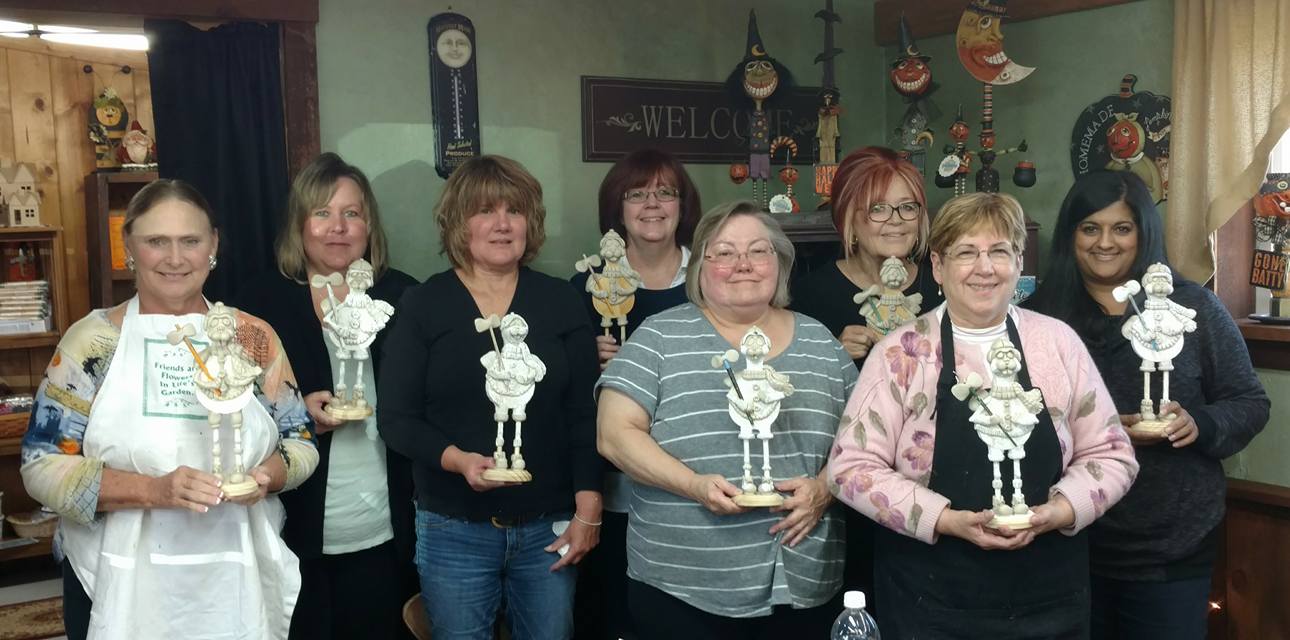
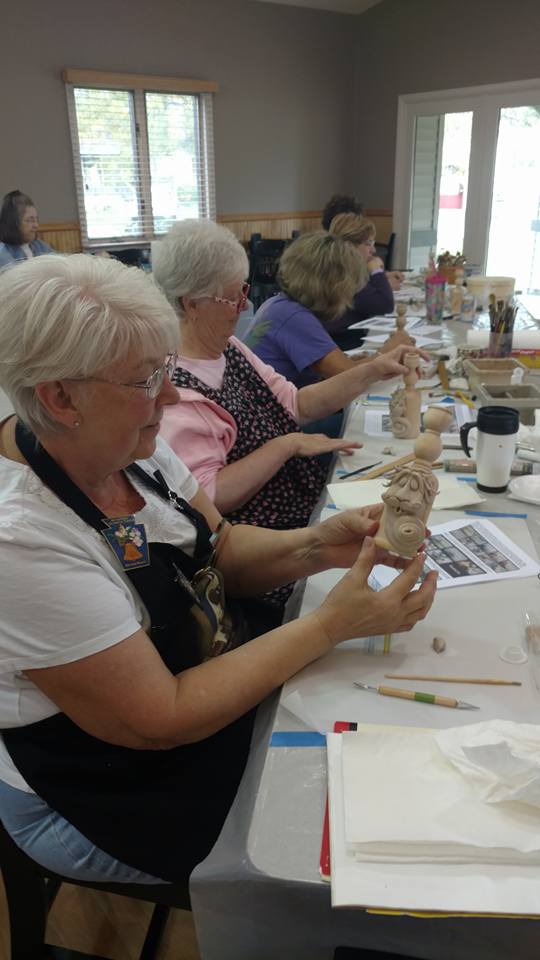
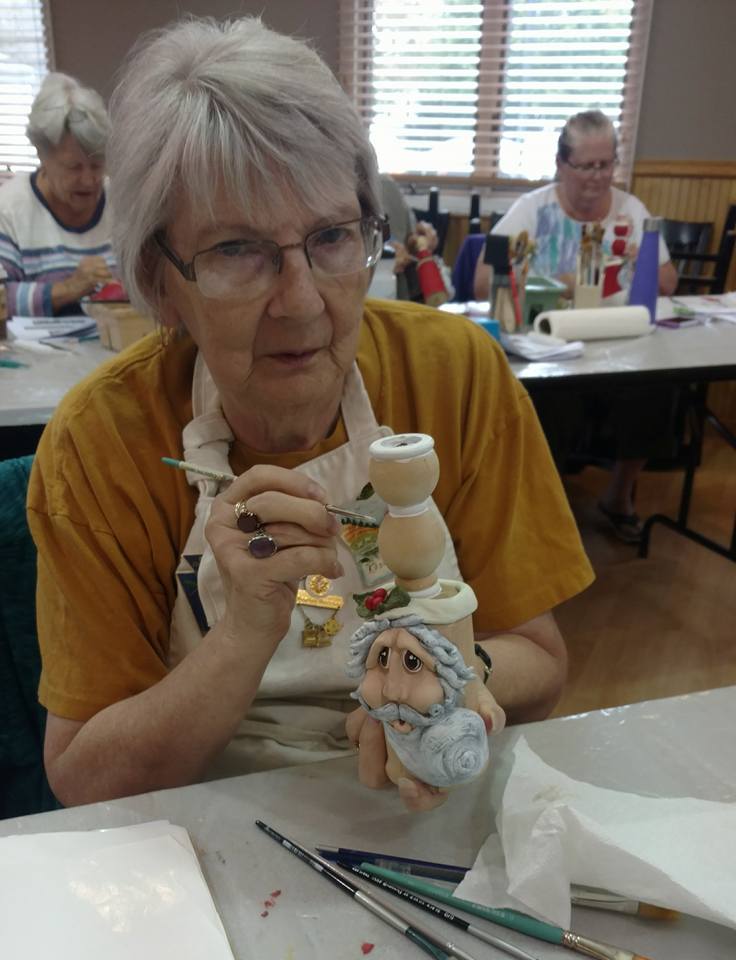
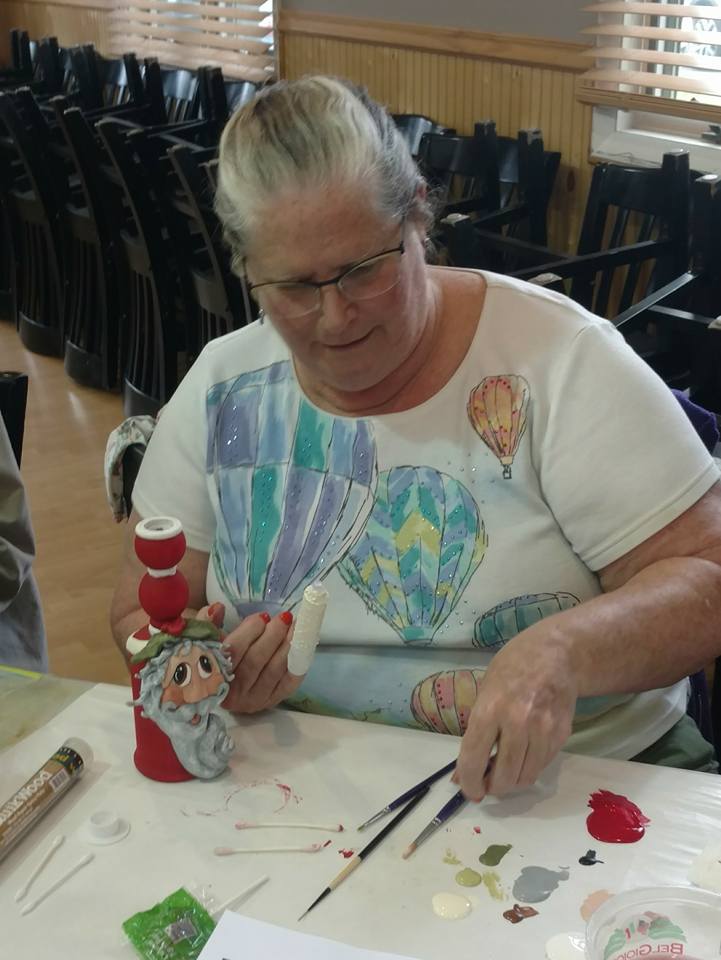
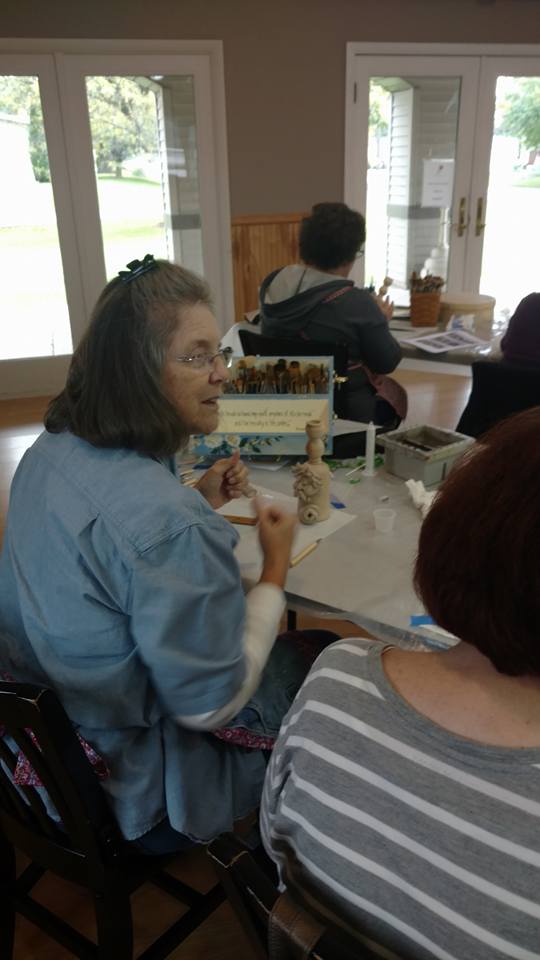
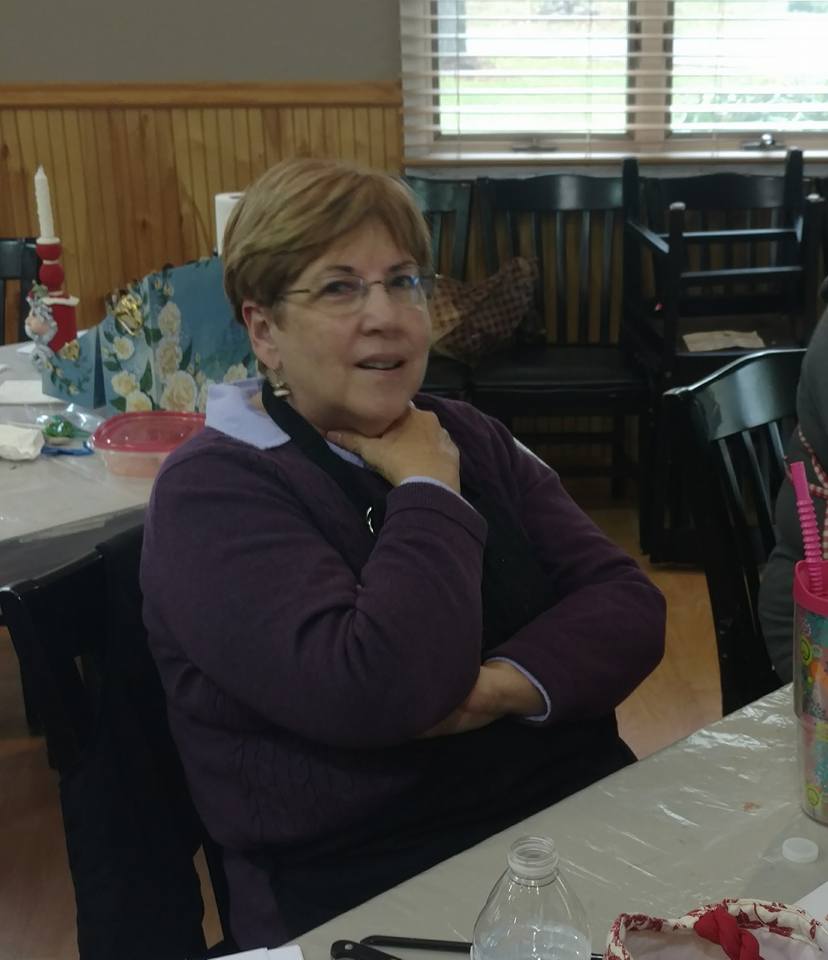
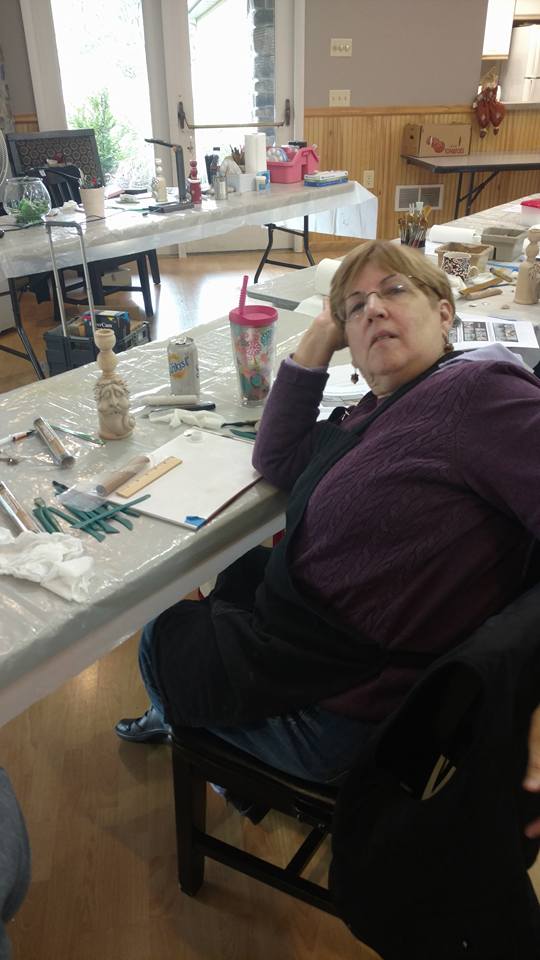
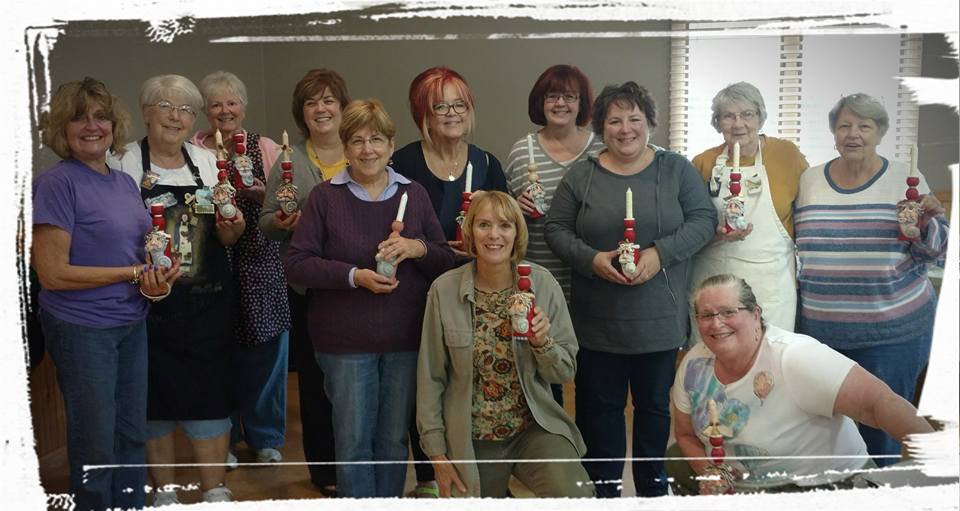
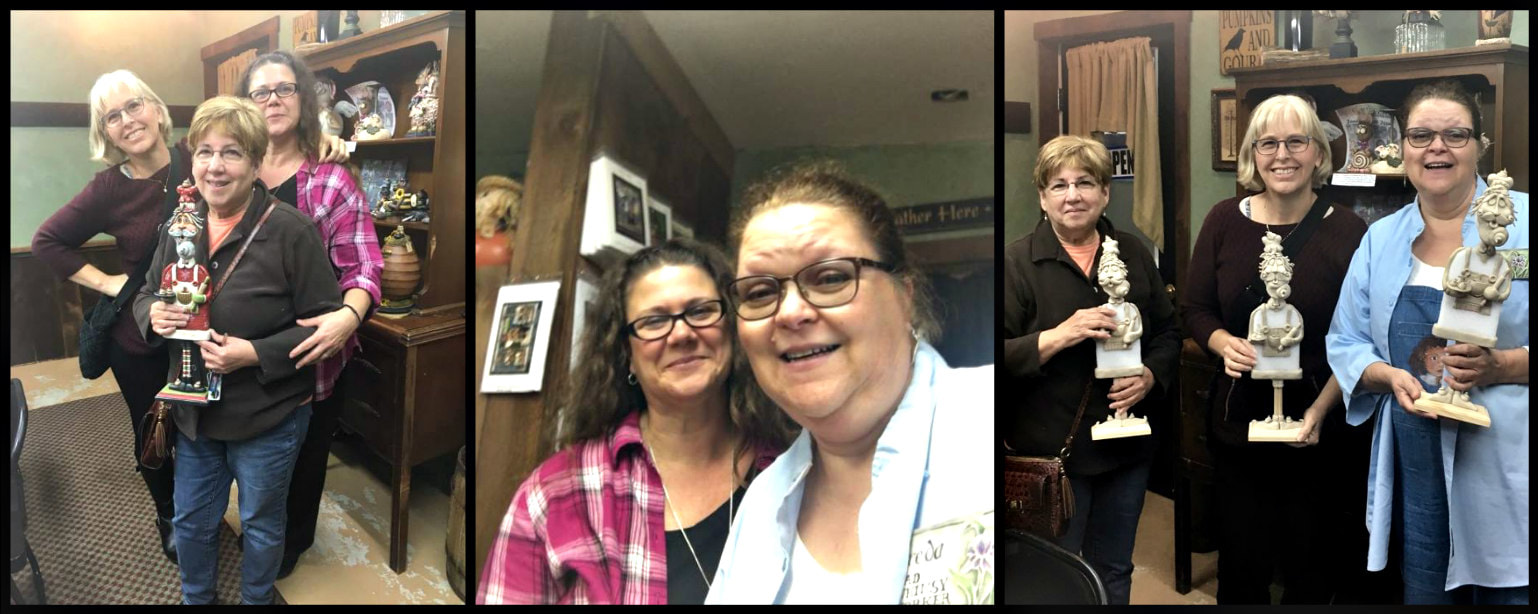
Yes the teacher was so busy she forgot to take pictures of the class but Freda took a few at the end of the day with myself and Jane and Vera! Everyone else had left for the day. Their hands were probably stuck to the steering wheel on the way home!
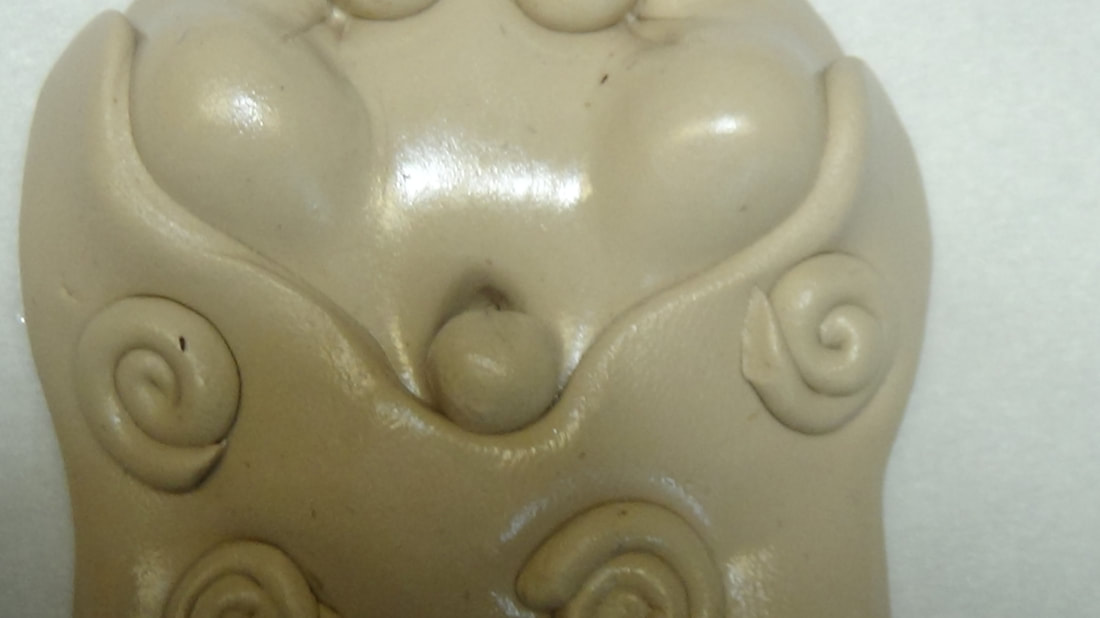
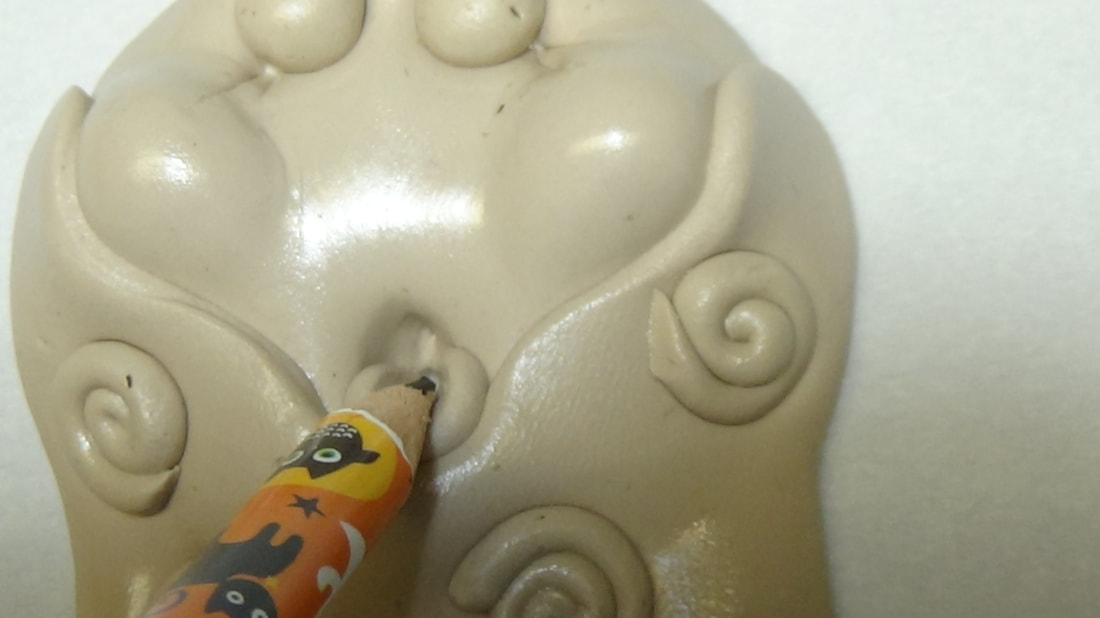
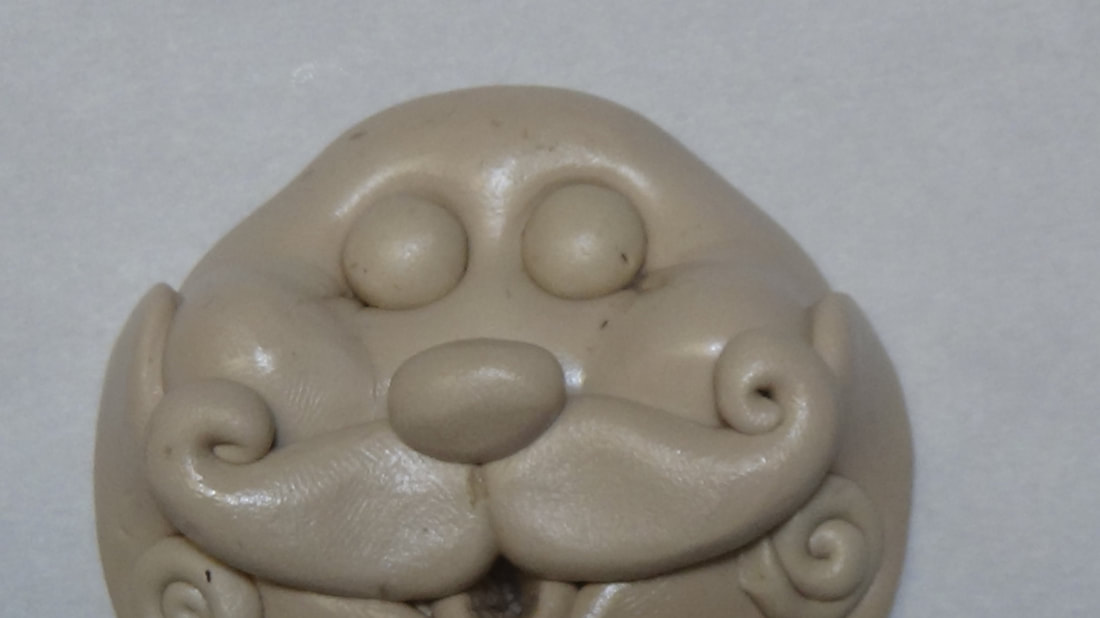
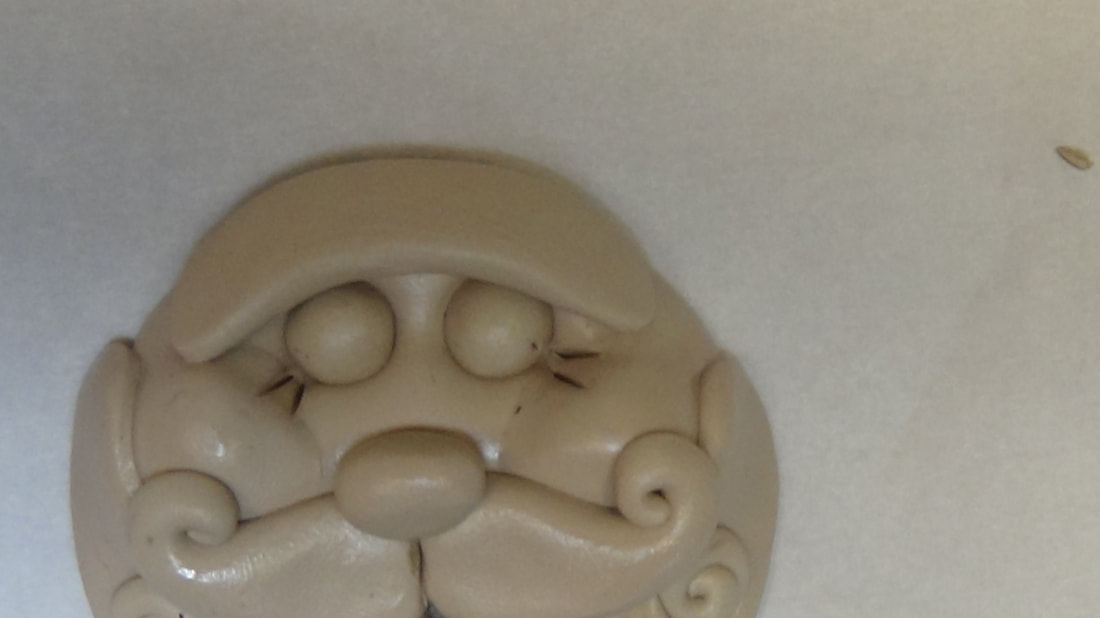
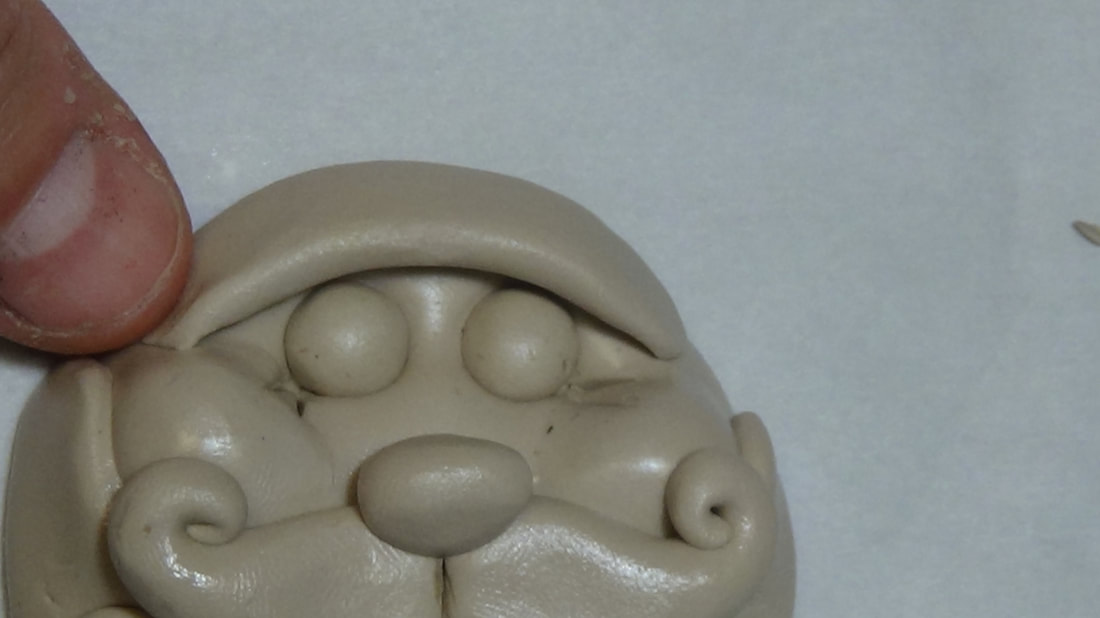
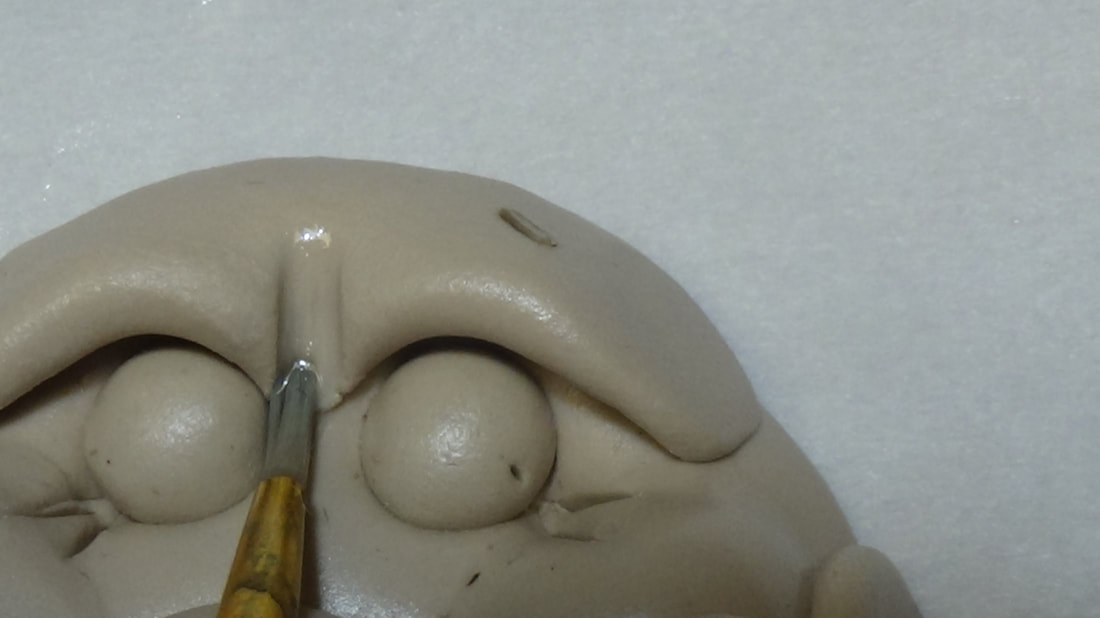
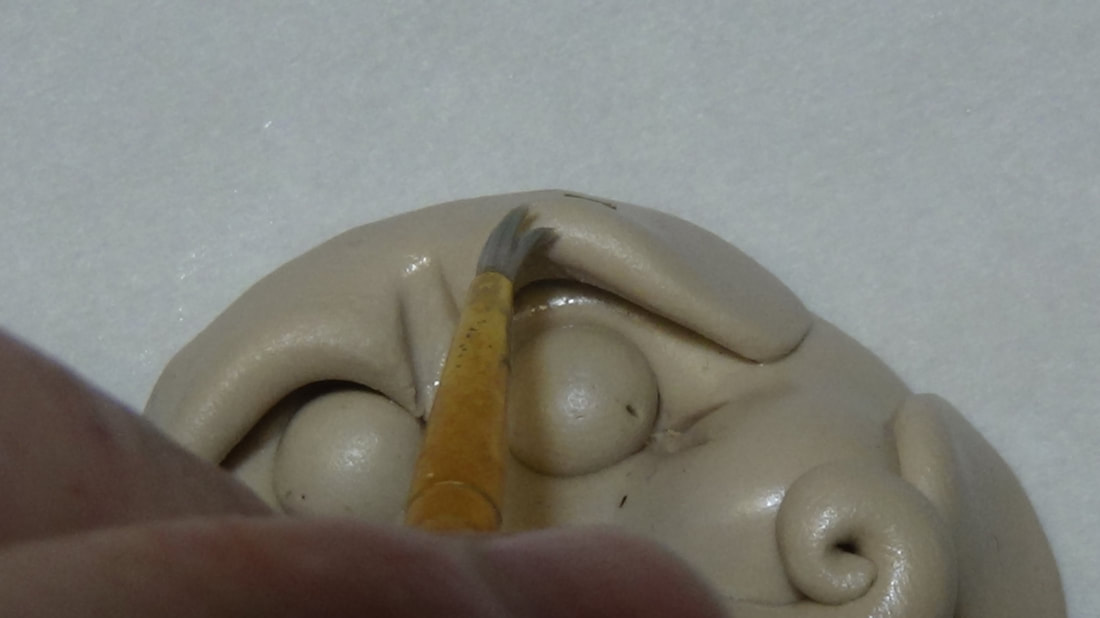
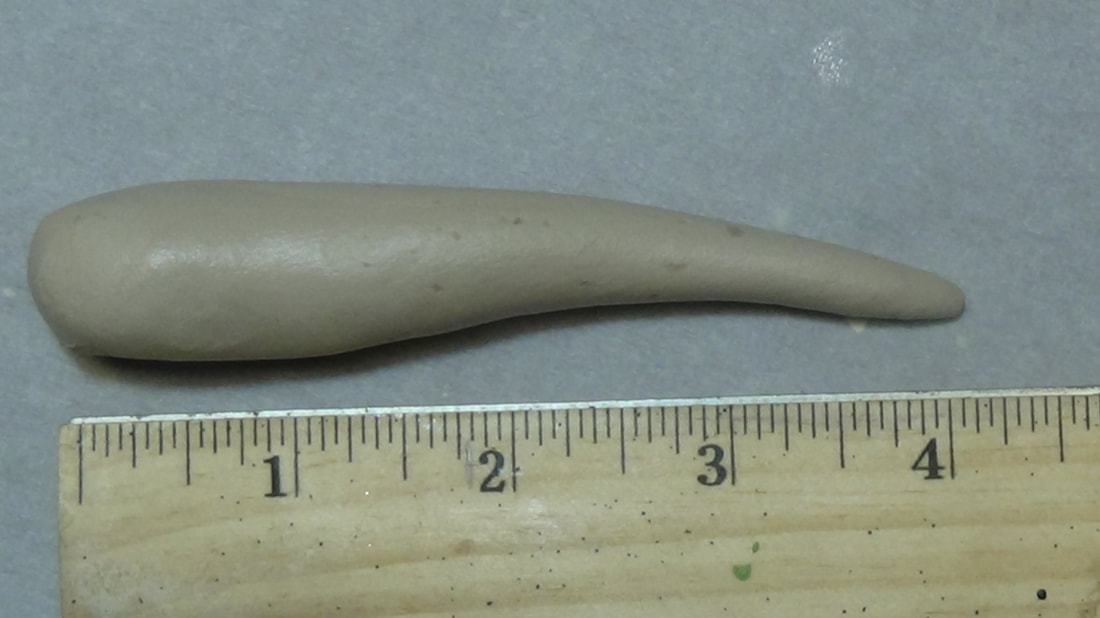
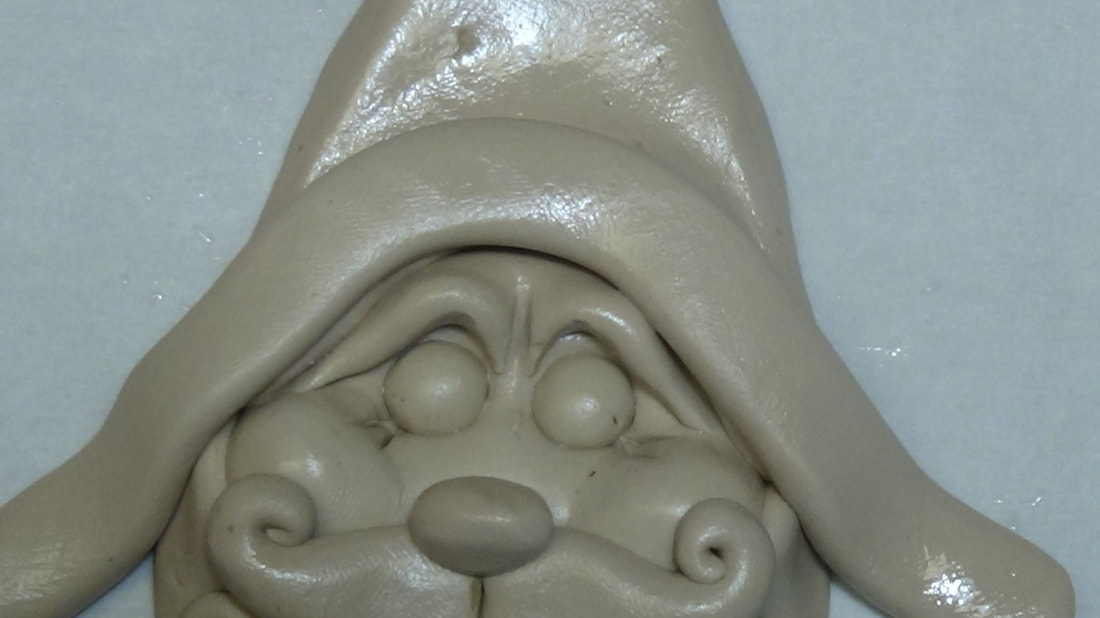
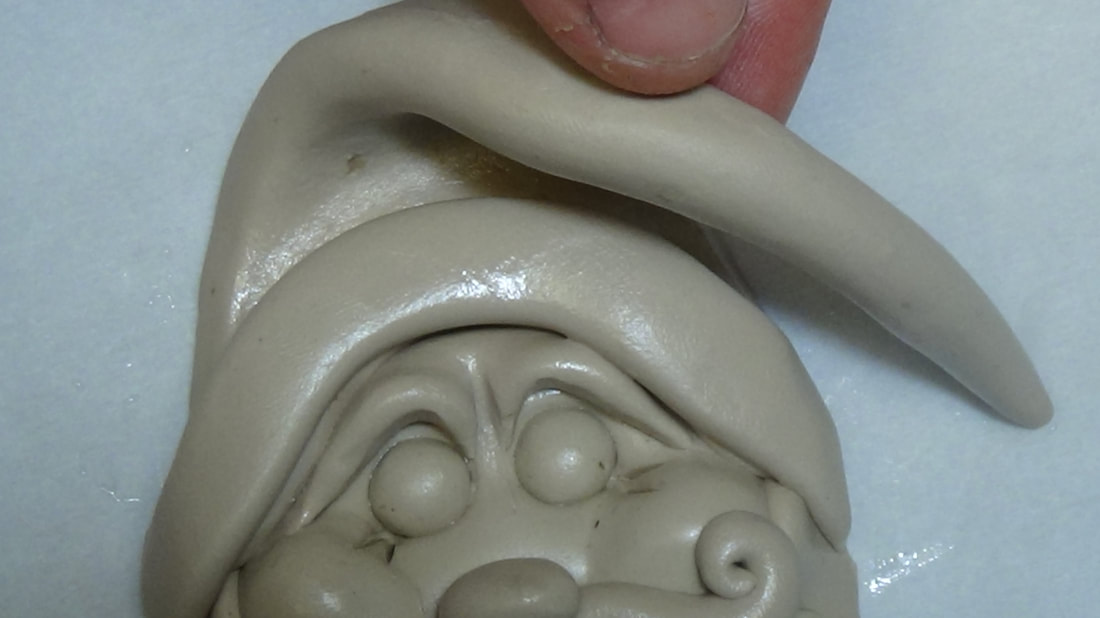
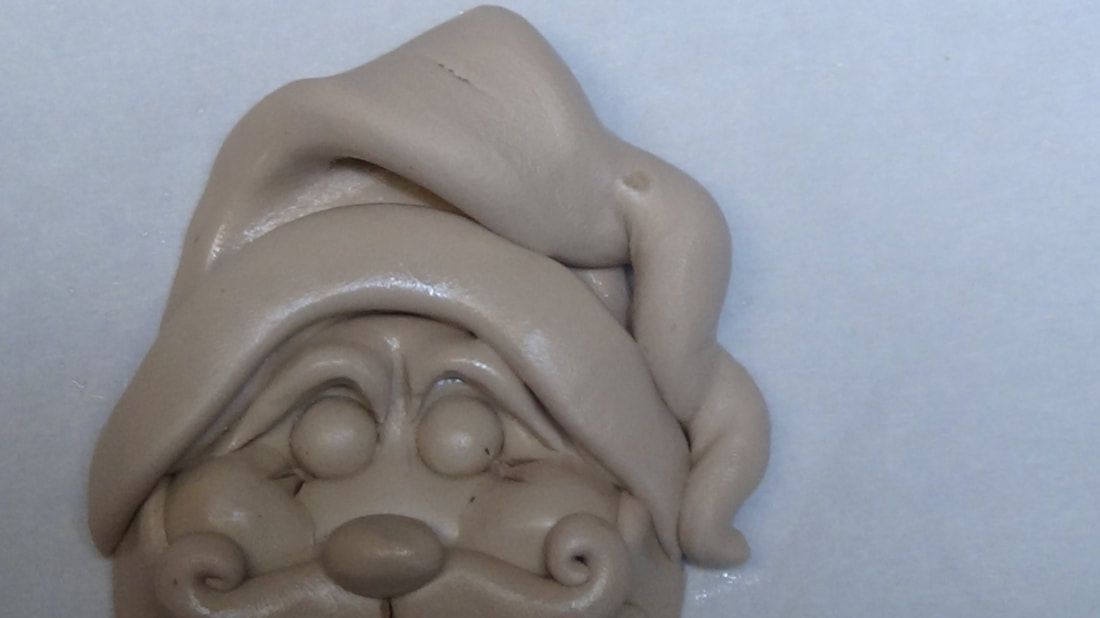
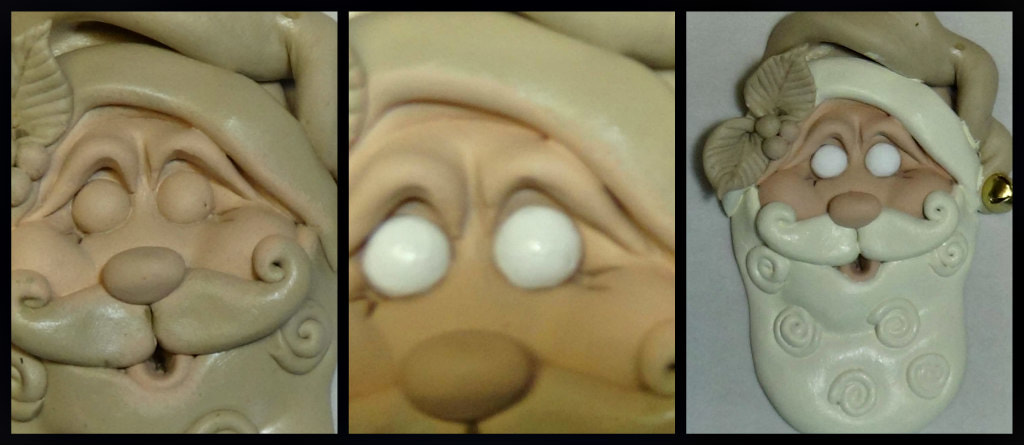
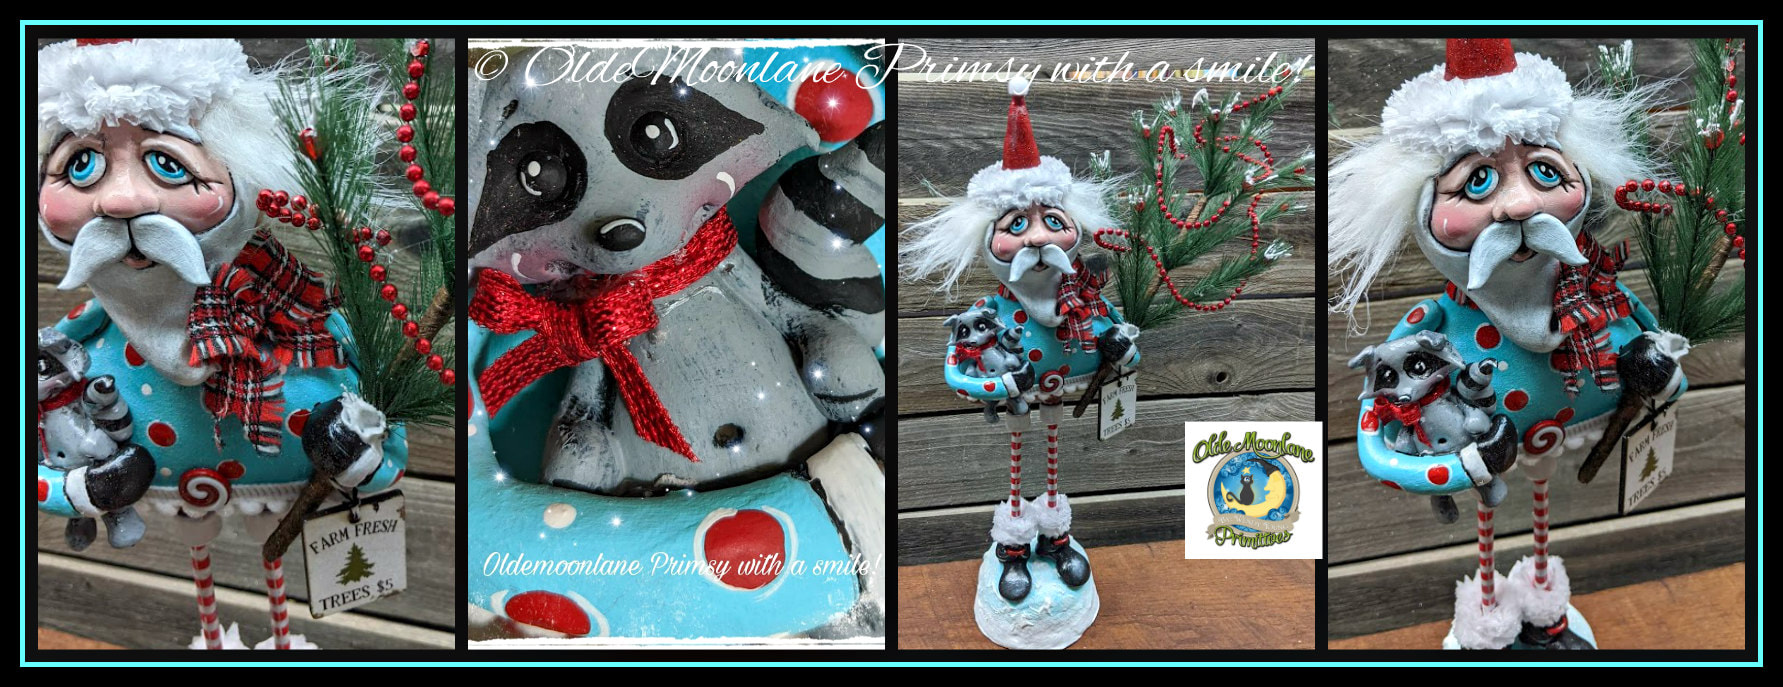
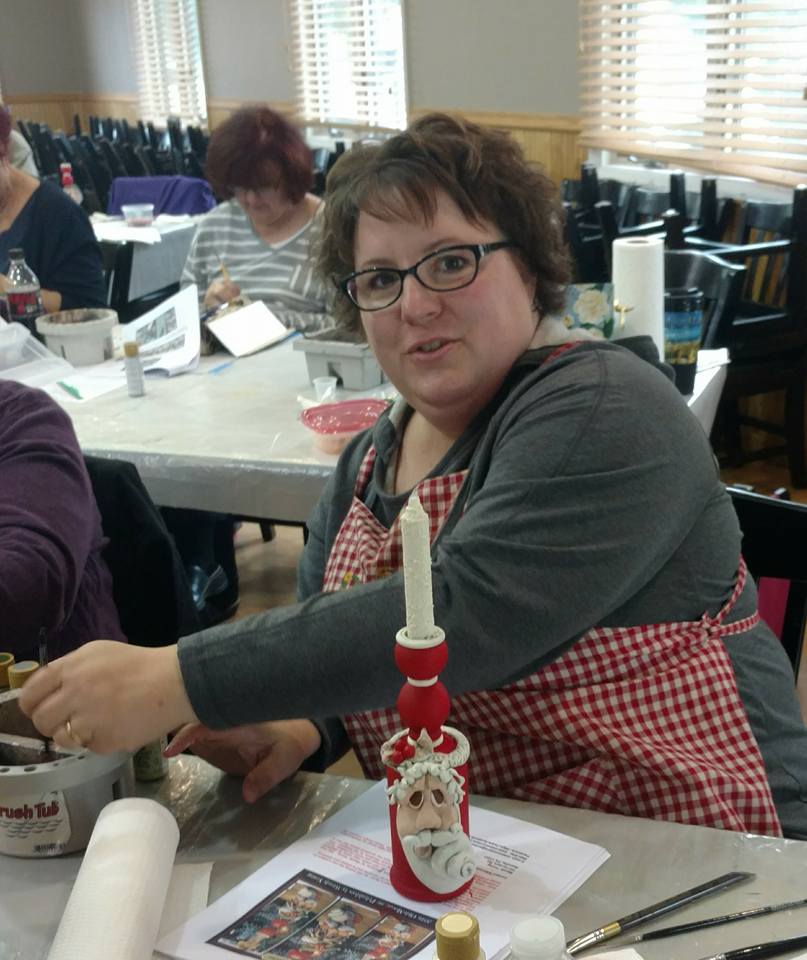
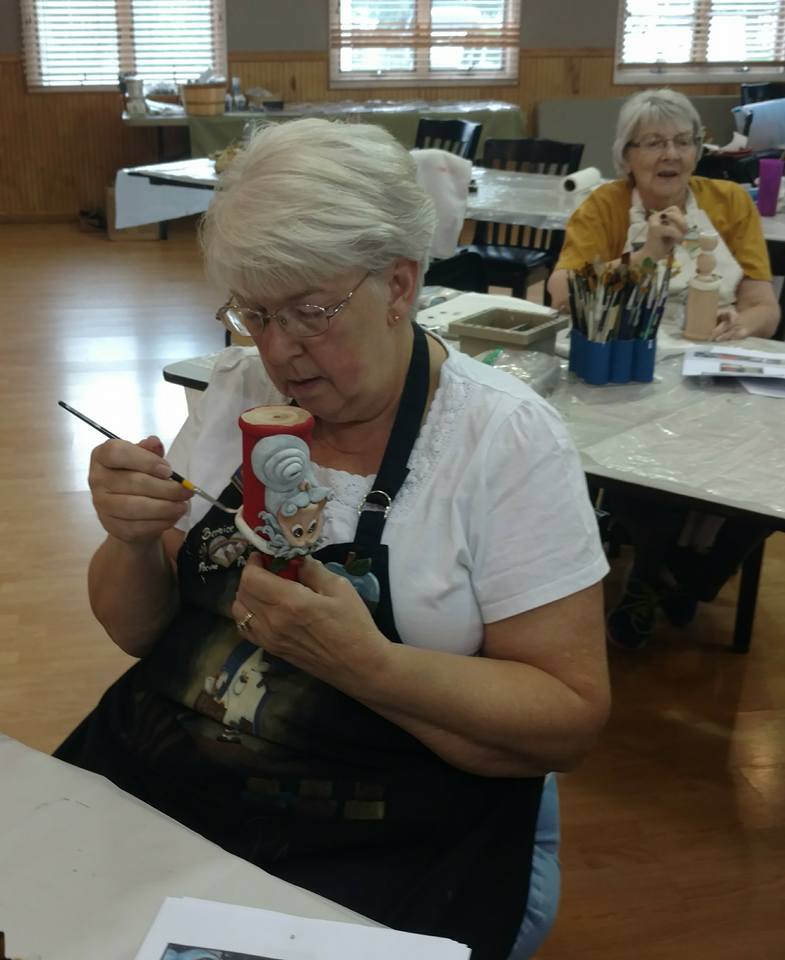
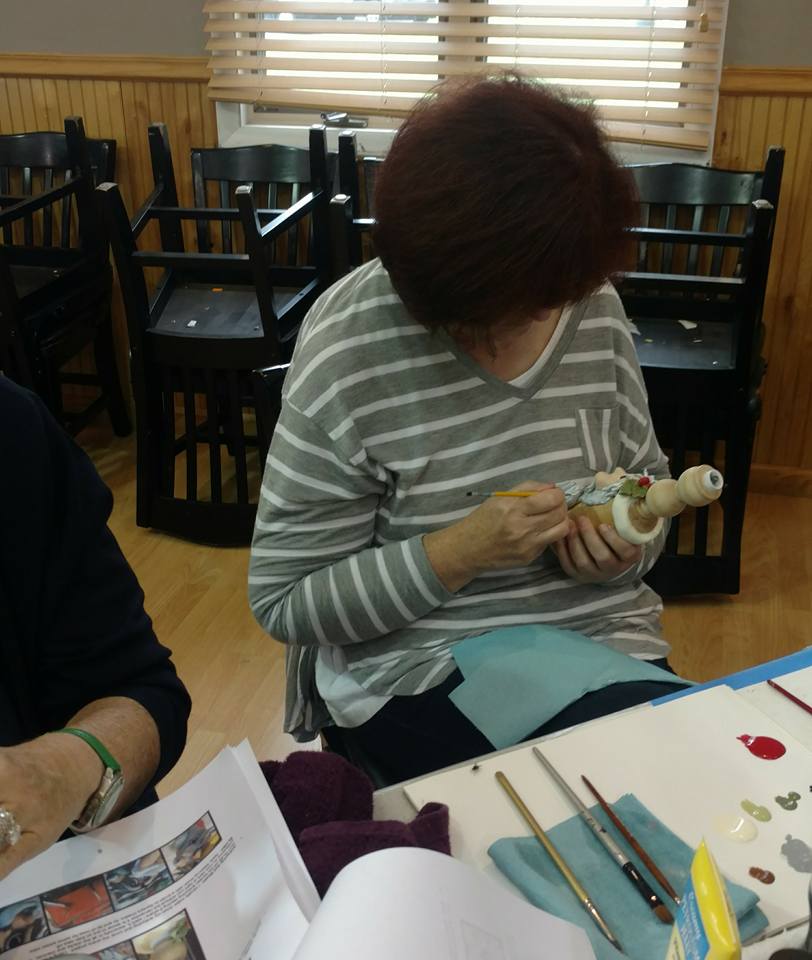
This was a very detailed class and it took all day to just sculpt. It was not a hard class just lots to get sculpted. I think the ladies did fantastic and would love if they shared their pics when finished.

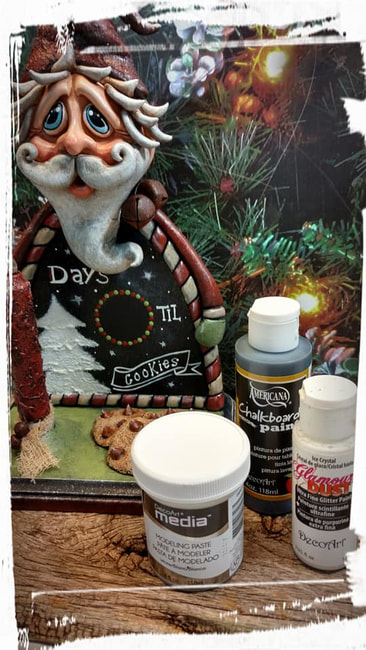
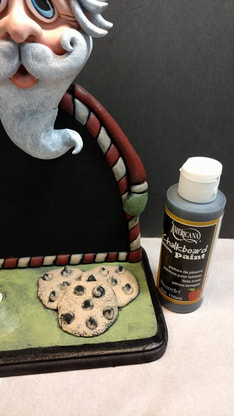
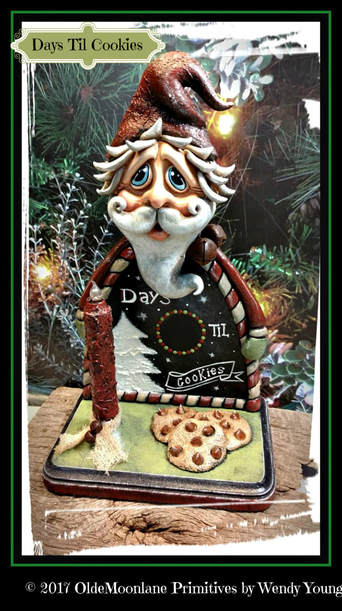
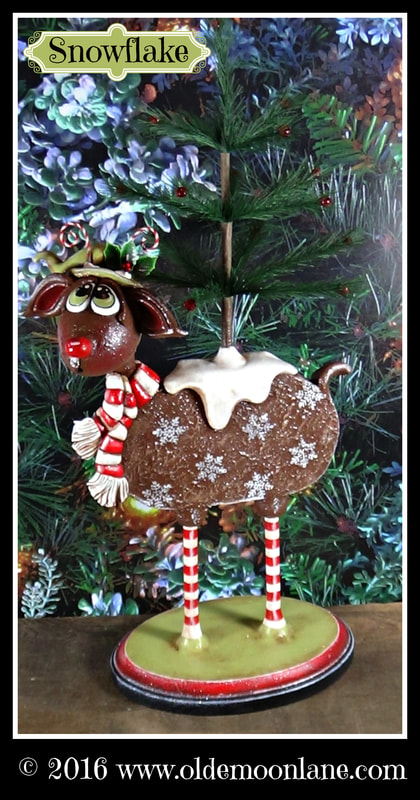
"What's Cookin" Santa is now listed in the ETSY shop as a instant PDF download Pattern and this is also a large pattern/book. 18 pages and a 1 page line drawing.
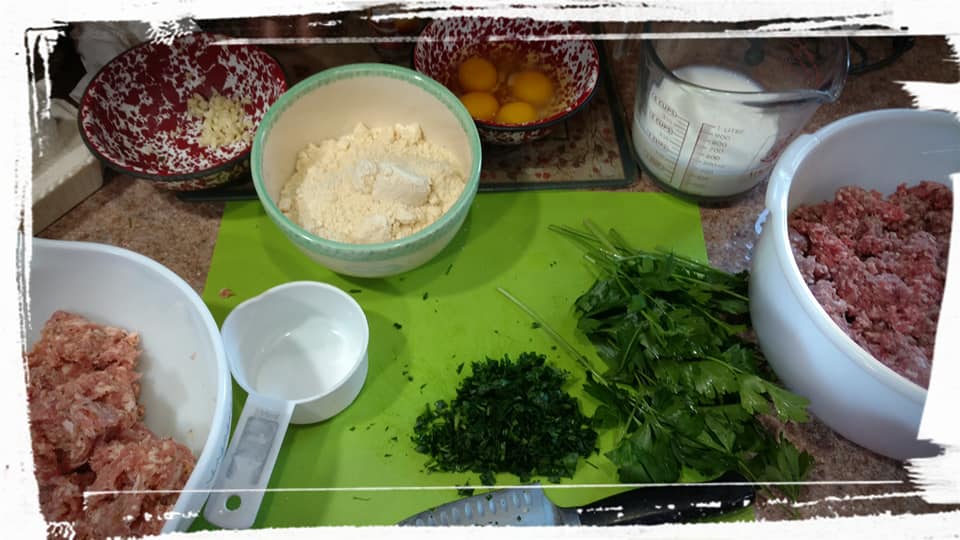
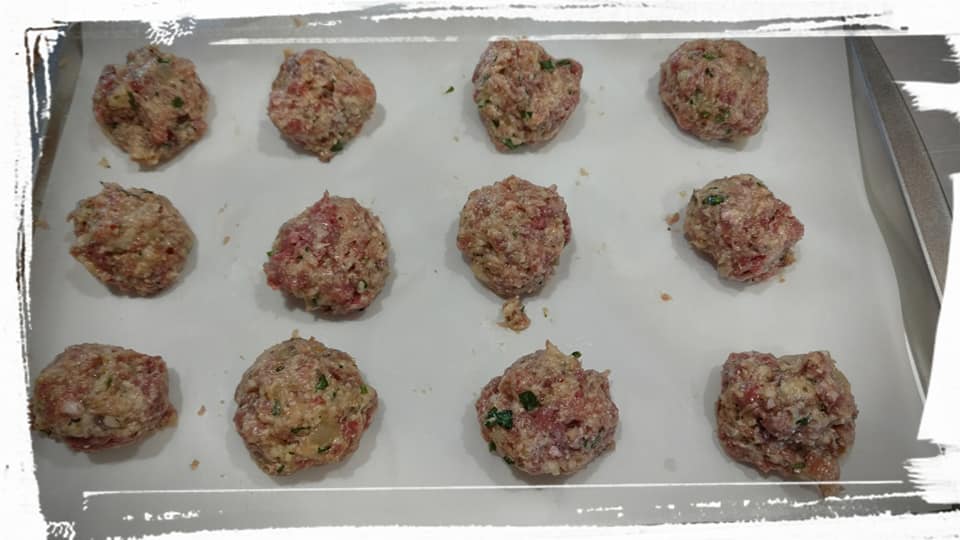
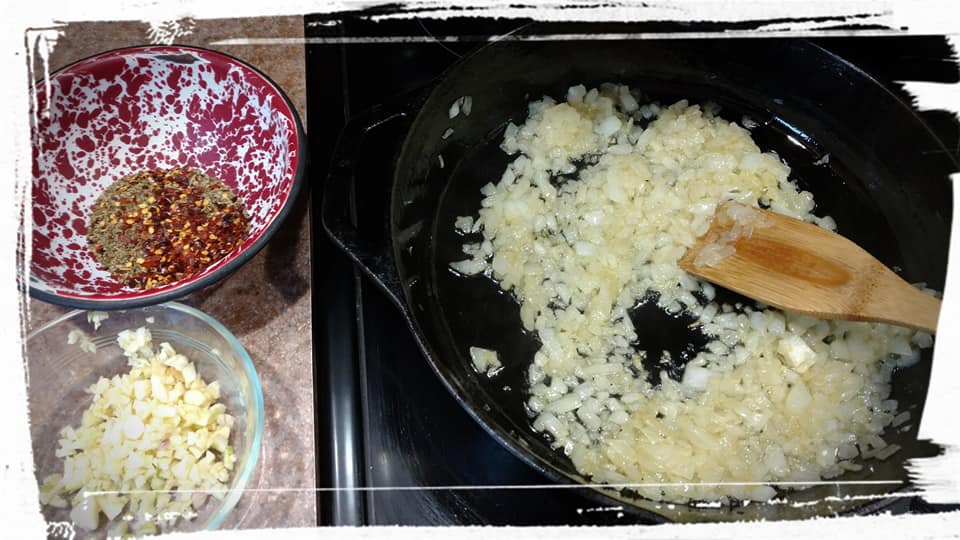
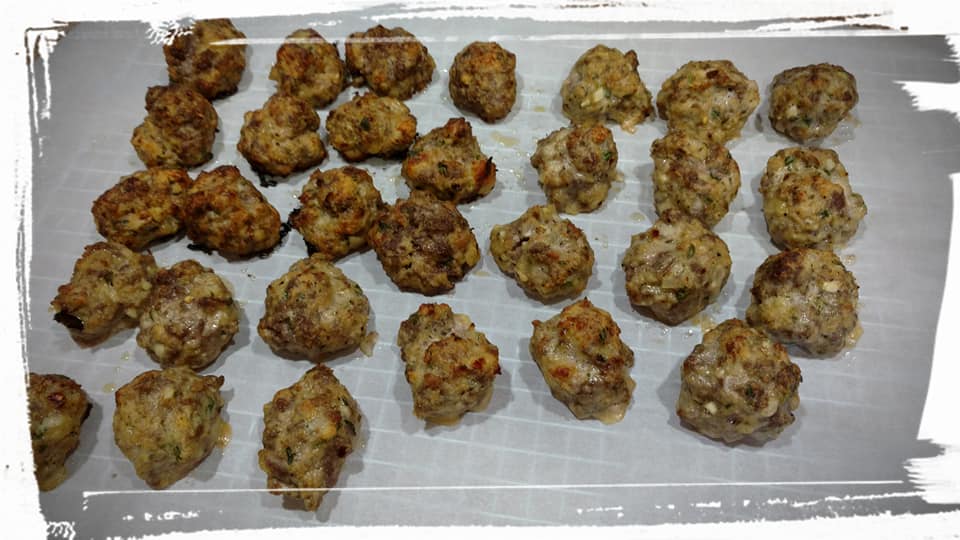
If you remember the other day I shared Jane's recipe for her famous meatballs! We enjoyed them in class today along with many many goodies everyone brought and I think everyone agreed they were delicious!
Thanks once again ladies for spending the day with me!
Blessings!
Wendy
Thanks once again ladies for spending the day with me!
Blessings!
Wendy