Olde Moon Lane Primitives
Join Olde Moon Lane on these Social Networks
  • Home
  • About
  • Whats going on at the Farm
  • Classroom
    • Upcoming Schedule
  • Blog
  • Store
  • Contact
  • Links
  • patterns
  • Gallery
  • Travel teaching options

Potato Sour Dough Starter

4/30/2020

0 Comments

 
Picture
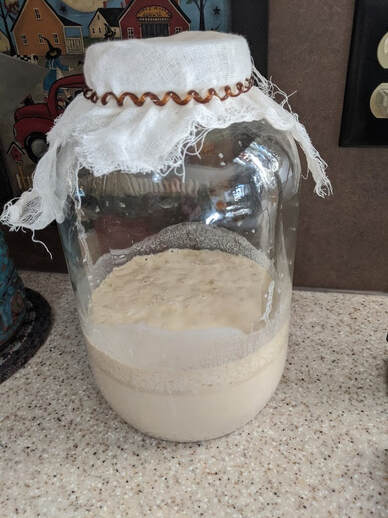
                                      Look at all those wonderful bubbles!


* 1 Medium/Large potato peeled and grated

* 1Tablespoon Dry Yeast

* 1/2 Cup Sugar

*  1 Cup of Warm (not Hot) Water

* 1 Cup All Purpose Flour

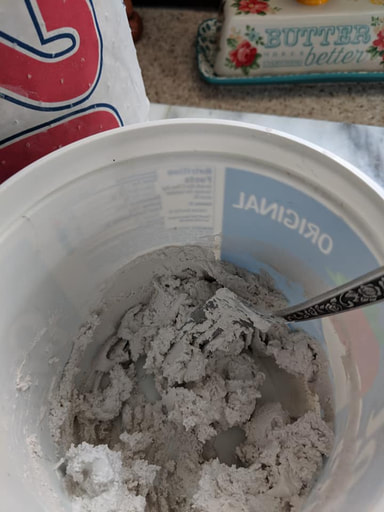
Scald your grated potato in the microwave for 2 min ( or shorted you do not want to dry it out just steam it).  Combine yeast and sugar in the warm water.  Stir in potato and flour.  Mix Well by hand.  Place in a gallon jar with a coffee filter or a piece of cheese cloth on top with rubber band around the jar.  You want it to breath.  You should begin to see it bubble.

Note- Feed it each day with 1 Cup of flour and 1 Cup of warm water. Morning and evening.  You can each day give away or dispose of half of the starter. 
If you begin to get liquid on top that's called hooch (this is normal just means it hungry)  I usually pour it off to keep your mix from becoming runny.  

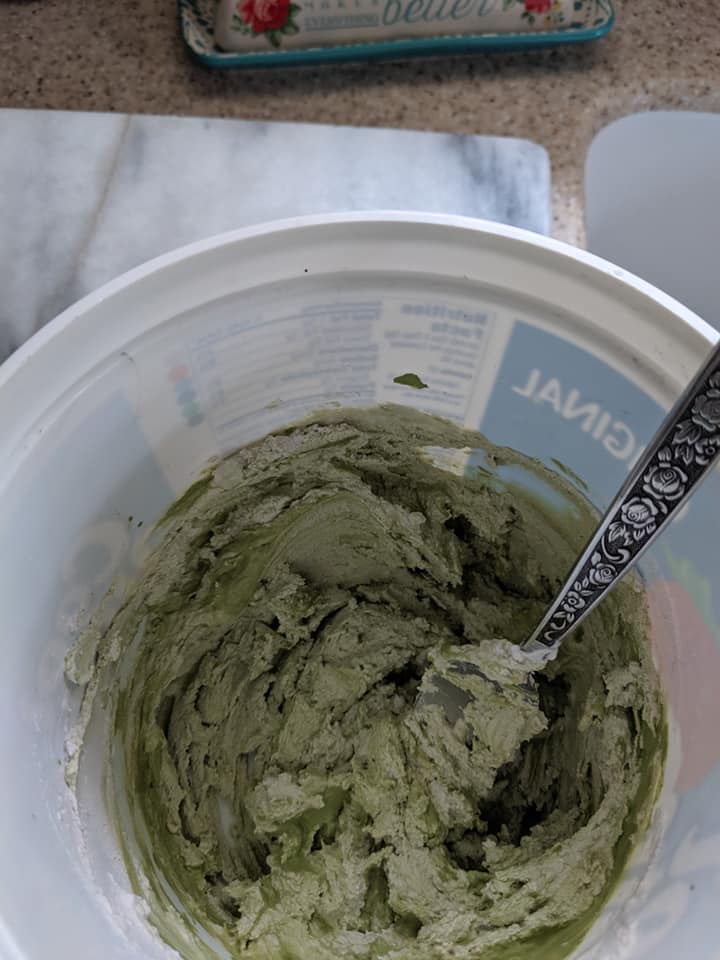
I waited for about a week to use the starter.  I filled a cup with water put some starter in the cup and if it floats it's ready to use.  You will smell a yeast sour dough smell this is normal and you want this that's why it's called sour dough.  If it gets moldy throw it out and somehow you contaminated it.  

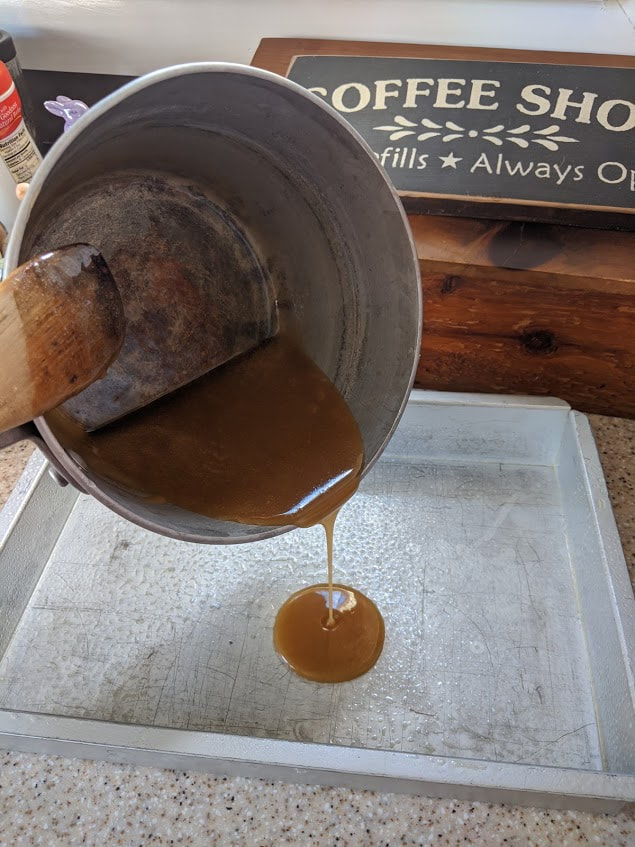
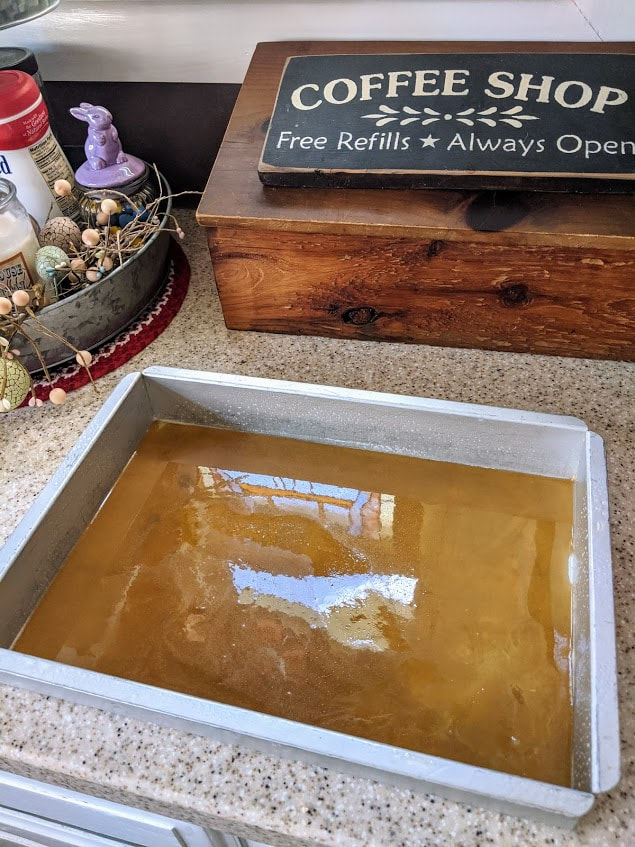
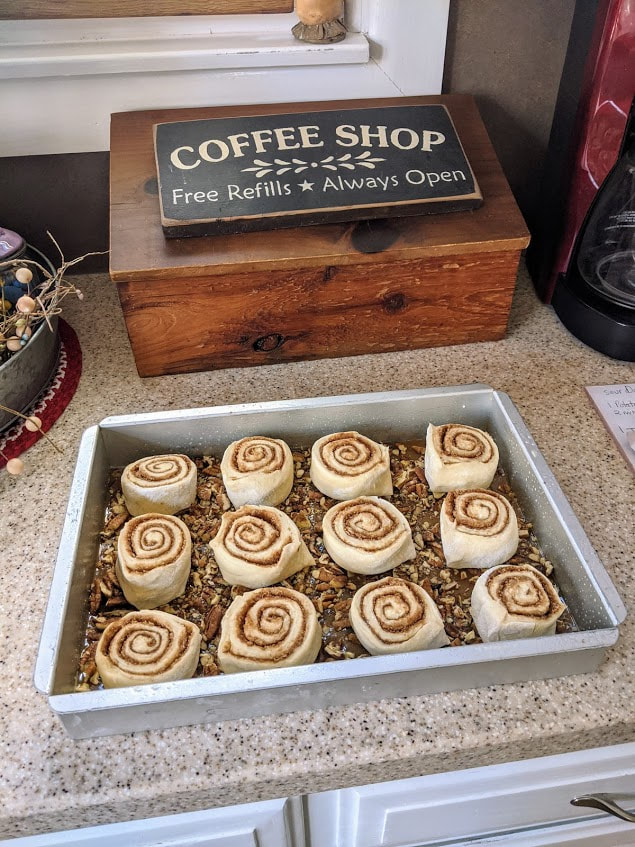
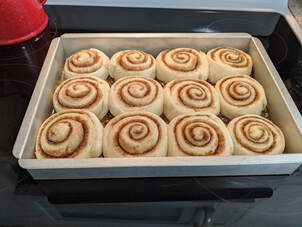
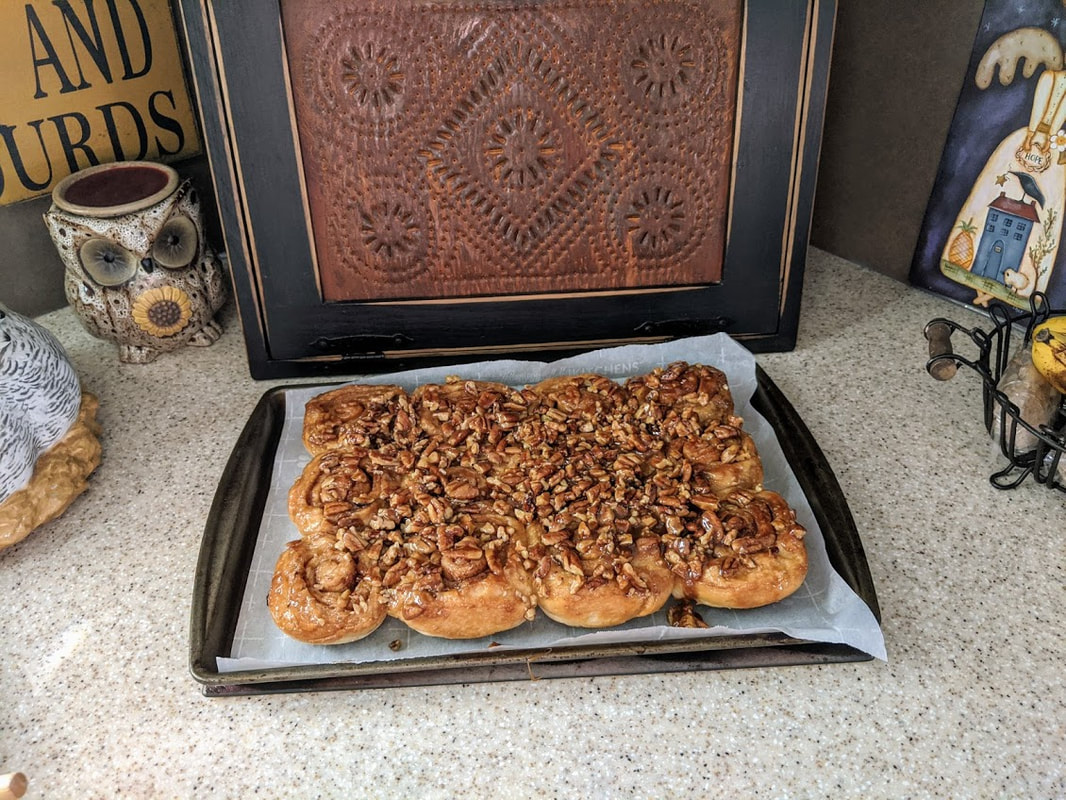
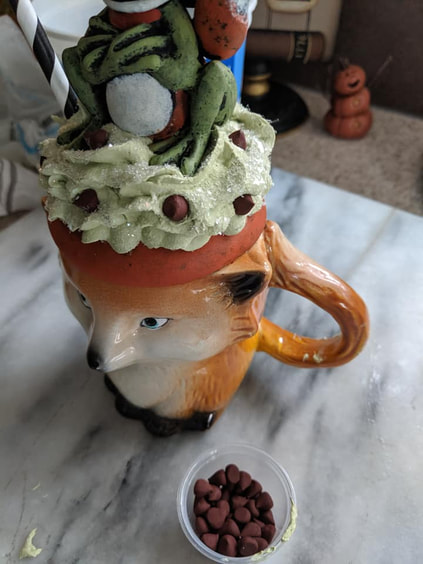
Sour Dough Carmel Pecan Sticky Buns

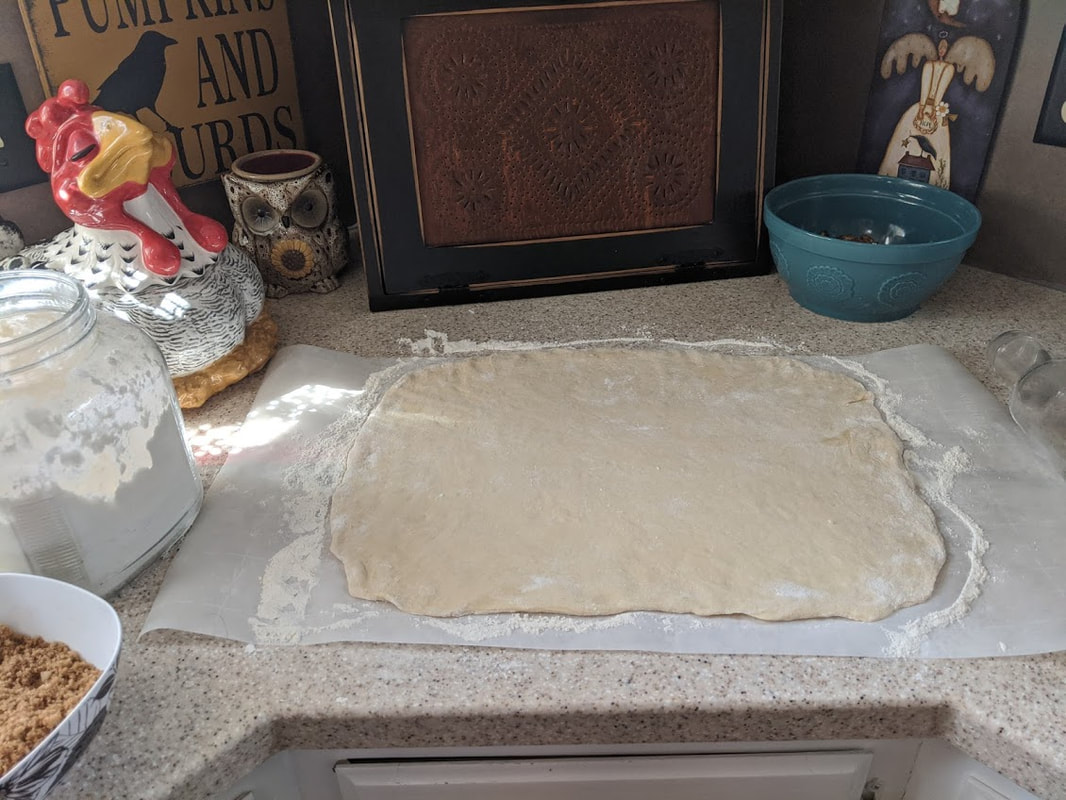
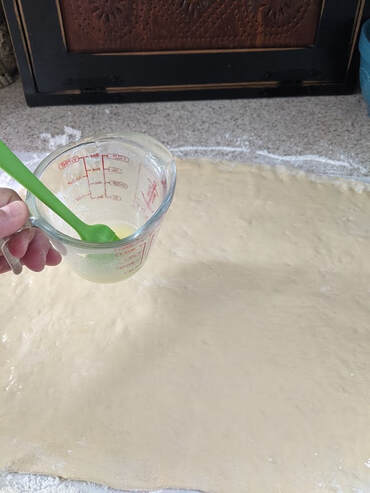
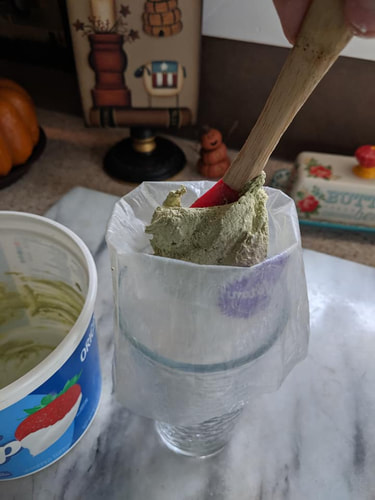
1 cup of started in your mixing bowl,  add 3/4 cup room temp milk (not cold) and mix.  Add 1 Tablespoon yeast, 1/4 cup sugar, 1 egg room temp and beaten, 2 Tablespoon soft butter , 1 teaspoon sea slat and turn up mixer speed.  Gradually add 3 1/4 cup All purpose flour.

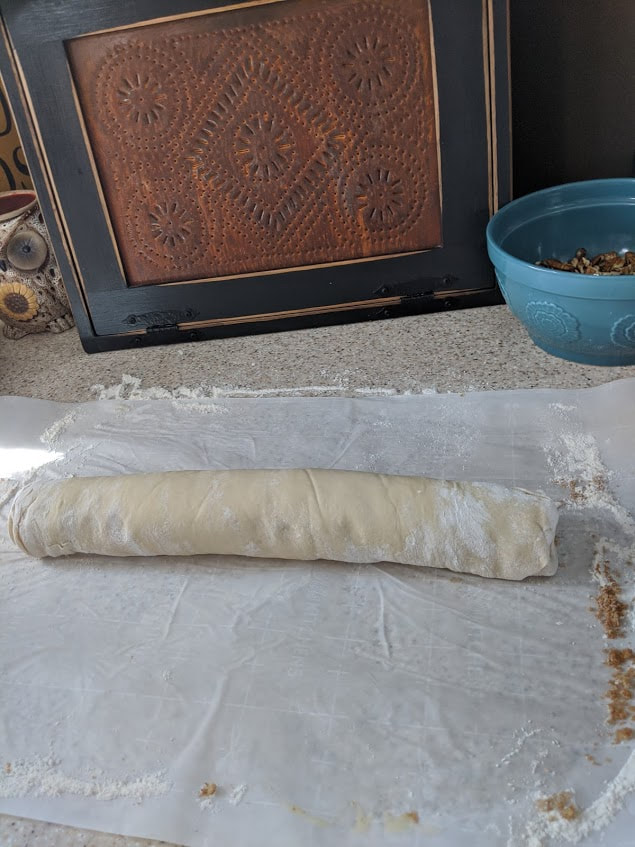
Note- This is a soft stickier dough and I used thread to cut the sticky buns verses a knife to keep the shape when slicing to lay in the pan.  

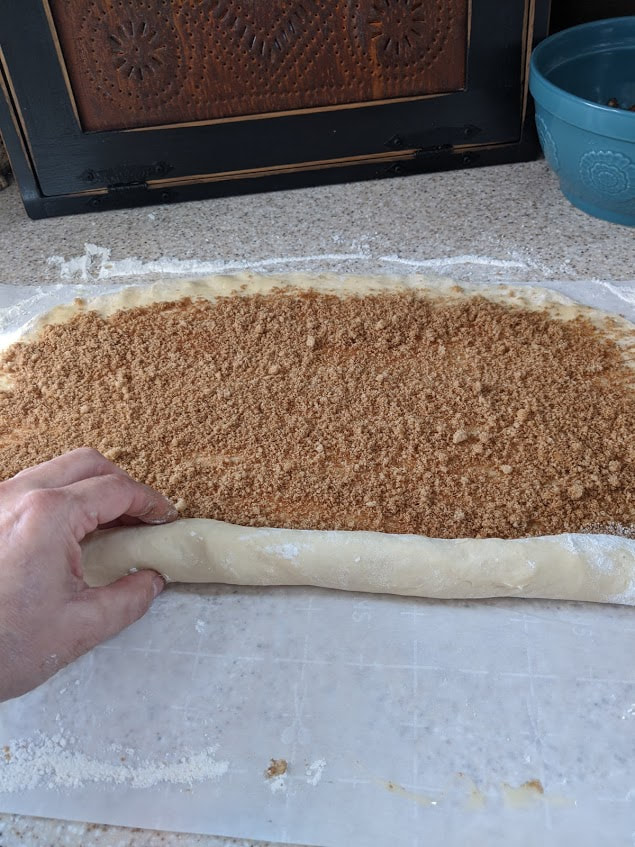
Follow directions on previous post for the rest of the sticky bun instructions.  

Enjoy!
​


0 Comments

April 28th, 2020

4/28/2020

0 Comments

 
0 Comments

My Nannies "Caramel Pecan Sticky Buns"

4/28/2020

6 Comments

 
Picture


​

Picture
                                                      My Nannie and her twin sister.


You all ask for my recipe so here it is.  I hope you  enjoy!

​

Dough:
* 1 package dry yeast
* 1 cup warm water (not hot)
* 1/4 cup sugar
* 1 teaspoon sea salt
* 2 Tablespoons soft butter
* 1 egg room temperature
* 3 1/2 cup flour

Dissolve yeast in warm water, stir in 1/4 cup sugar, add salt, butter and the egg.  Add 2 cups of flour and mix thoroughly.  Add remaining 1 1/2 cup flour.  (note- you can place in a greased covered bowl overnight in the refrigerator for up to 5 days).  Roll out on a flour surface to 15" X 18" rectangle.  


Picture
​​Filling:
* 3 Tablespoons melted butter
* 1  cup brown sugar
* 2 Tablespoons cinnamon


Brush melted butter on the rolled out dough.  Mix the brown sugar and the cinnamon together and sprinkle on the melted butter.  Roll up !  
Picture
Picture
Picture
Picture
​Caramel Sauce:
* 6 Tablespoons  butter
* 1 1/4 cup brown sugar
* 3 Tablespoons heavy cream (can use whole milk)
* 1 teaspoon vanilla
* Chopped pecans (I used about 2 cups) it's a personal preference

Melt butter over medium heat,  add 1 1/4 cup brown sugar, 3 Tablespoon heavy cream and 1 teaspoon vanilla.  Stir continuously until it just begins to bubble.  Remove from heat and let cool 10 minutes.  Pour into a pam spray 9 X 13" pan,  Sprinkle the chopped pecans over the caramel sauce.  
Picture
Picture
Picture
Slice into 12 pieces and lay in the pan over the nuts, cover with a towel and let rise till double in size.  I left them sit 1 1/2 hour.  Preheat over to 375 degrees and bake 25 minutes.  Let sit 5 Minutes (and no longer or the caramel sauce will set to long and not come out of the pan) then flip out of pan onto parchment paper or a container.   Enjoy!
Picture
Picture
Picture
Picture
6 Comments

Faux Icing Tutorial.....

4/18/2020

6 Comments

 
Picture
If I had a dollar for every time I was ask how do I make my Faux Icing I'd be a rich girl. LOL!  It really is no big secret as you can find many recipes online.  Most know how much I hate typing instructions as it's not my cup of tea. (In the past I have received unkind messages about my typing and grammer, one  even said I would be taken more seriously as an artist if I proof read more.   Well, I do but I am dyslexic and I try my best, I share openly from my heart .)  My sharing is meant to bring joy to others who love to create.  

  I have found myself on a journey of just creating and doing what makes me happy.  I haven't released any instructions or patterns in two years as many of you know the life altering event my hubby Kevin and I have faced, but that doesn't mean that I won't share things.  I did have 2 patterns ready for release  but with the quarantine everything was put on hold.  So, here is my go to recipe for my faux icing for your personal use and I hope you enjoy.  I hope the day brings you much joy and happiness.  
​Icing Tutorial
©  Olde Moonlane Primitives by Wendy Young
Supplies:
  • 20 Minute Quickset Lite Mortar Mix
  • Old Bowl for mixing
  • Old spoon for mixing
  • Cake decorating Piping bag and tip of your choice.
  • Paint of your choosing (If you decide to color icing)
  • Glass Glitter (optional)
  • Any doo dads or sprinkles of your choosing to add to icing
  • Sealer DecouPage DecoArt
Picture
​Directions:
  • Add 1 cup of mortar mix to your bowl.  Begin adding water a little at a time slowly and stirring thoroughly.  DO NOT over add water or it will be to runny.  You want it to be the consistency of icing to pipe in the icing bag.
Picture
Picture
Adding Color:
  • I usually add a few drops at a time until the color I want is achieved.  If you add too much remember it can make your icing runny and then you may have to re-add more mortar mix.
Picture
​
  • Spoon your mix into a piping bag.  I find it helpful to place the bag into a cup to fill.  Let mix sit 2-3 minutes in the bag this allows to mix to settle and become a little more smooth when piping.
Picture
​
  • I begin piping on the outside working in and up no matter what I’m piping. 
Picture
​
  • Now the fun part!!  Begin adding your decorations whether it be glass glitter (I love!) or chocolate chips or Faux Candy sprinkles.
Picture
Picture
​Enjoy and happy Creating!  I hope you have as much fun as I do frosting up a storm!   Blessings! Wendy
www.oldemoonlane.com
6 Comments
    Picture

    Hi and Welcome to OldeMoonlane Primitves.  My name is Wendy Young and I am happy to have you join me.  I am a wife of 37 years, mom of 2 and grandmother of 3 .  I have been creating for well over 35+ years and I started this blog to maybe offer tips /tricks and happenings  at Oldemoonlane.  

      Please enter your e-mail to follow and receive updates and notifications.

    Follow

    Archives

    May 2022
    March 2022
    October 2021
    December 2020
    May 2020
    April 2020
    January 2020
    August 2019
    December 2018
    June 2018
    May 2018
    February 2018
    January 2018
    December 2017
    November 2017
    October 2017
    September 2017

    Picture
    Picture
©2013 Olde Moon Lane Primitives