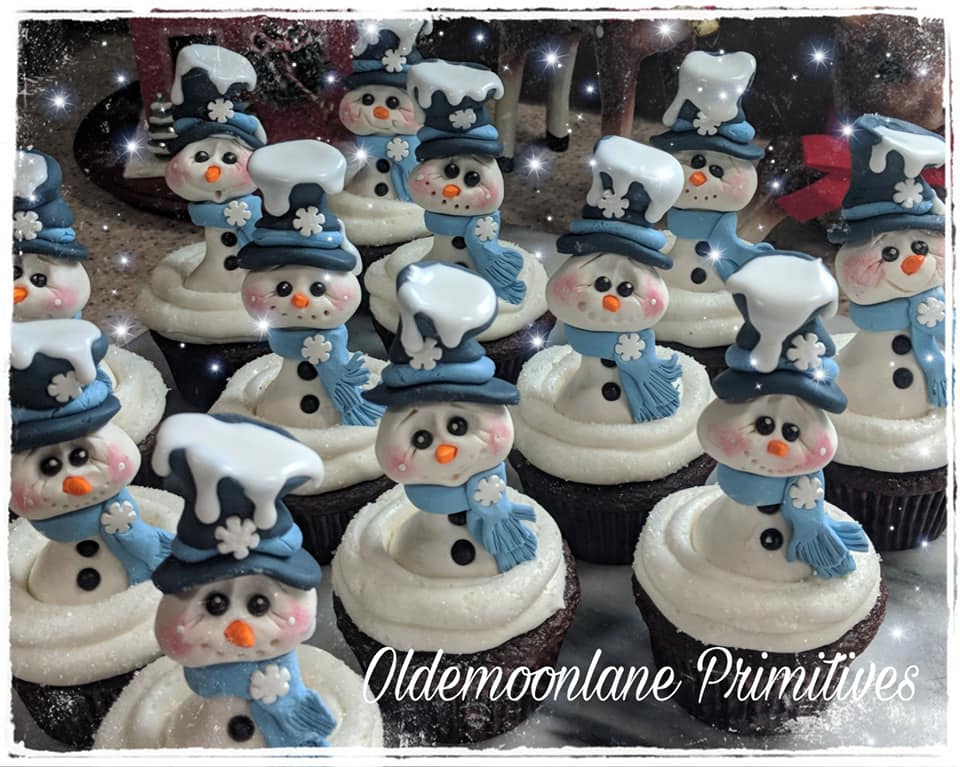
l love sculpting in so many mediums and chocolate has to be about one of the funniest. Who wouldn't love a chocolate snowman cupcake?? I began sculpting in chocolate many years ago (I wanted to be the next cake boss lol) and even made and sold cakes, cupcakes etc. I had so many request I even taught a class. So, many have ask that I teach a class again and maybe someday but right now I thought I would share how easy it is in case you would like to make a few holiday treats of your own. I also found out , I would rather do it for a hobby than for a living as sculpting edibles can be stressful, especially if it's for a special occasion like a wedding. It's also tricky, as room temps have to be right or it will melt. I once sculpted an entire baby shower cake with chocolate that took a week to sculpt and the heater in my shop malfunction and ran on high all night, which melted all the sculpted chocolate pieces. I recommend when you plan on sculpting make sure the room your are working in is cool.
You will need:
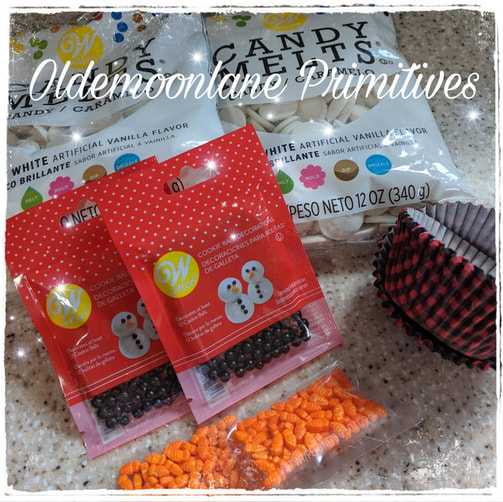
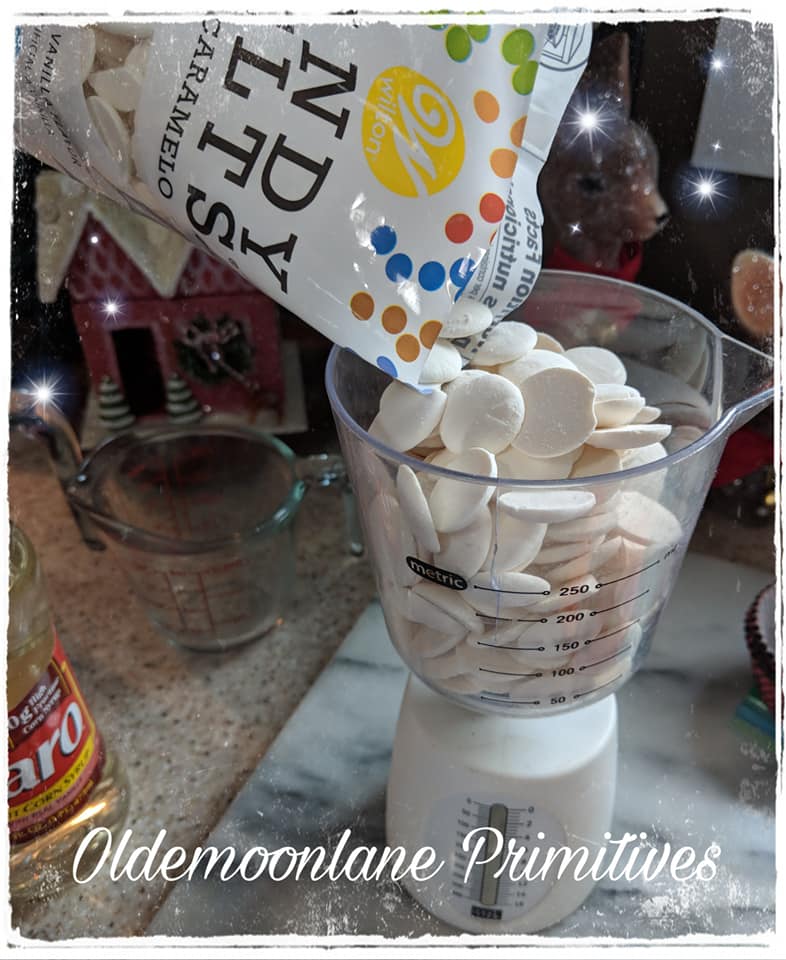
* Vanilla chocolate melting wafers 16 oz.
* Candies of your choosing. I found some cute black candies and carrots noses ( You can make these with chocolate if you cannot find to purchase. I also found some cute snowflake candies.
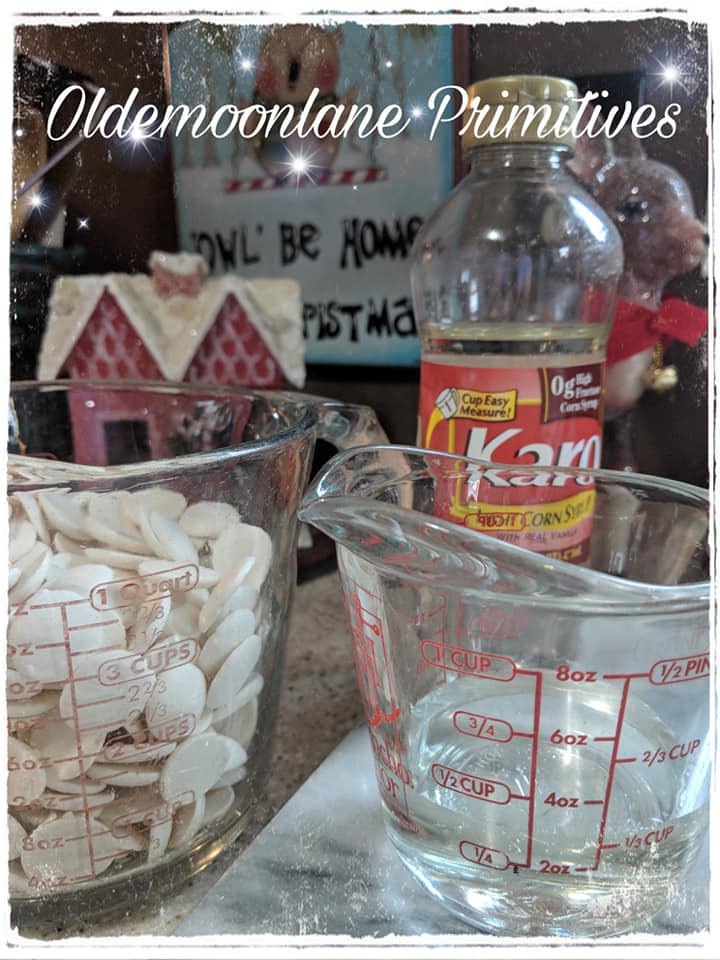
* 1/3 C light corn syrup
* Cupcake liners
* Rubber gloves
* Toothpicks
* Gel candy colorings, blue, black, pink, orange
* Vanilla chocolate melting wafers 16 oz.
* Candies of your choosing. I found some cute black candies and carrots noses ( You can make these with chocolate if you cannot find to purchase. I also found some cute snowflake candies.
* 1/3 C light corn syrup
* Cupcake liners
* Rubber gloves
* Toothpicks
* Gel candy colorings, blue, black, pink, orange
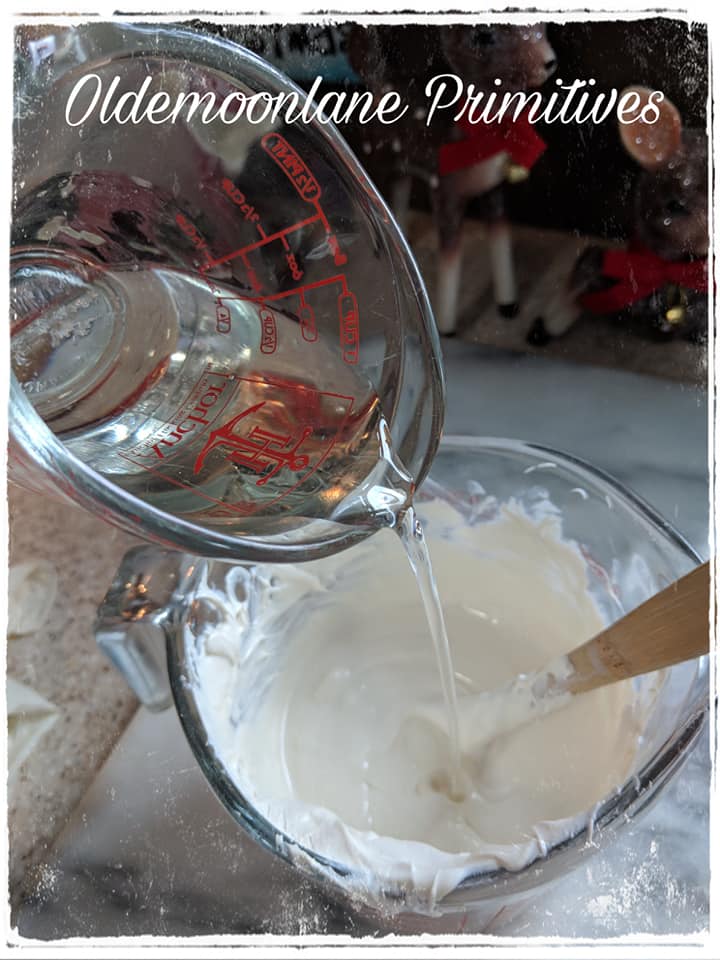
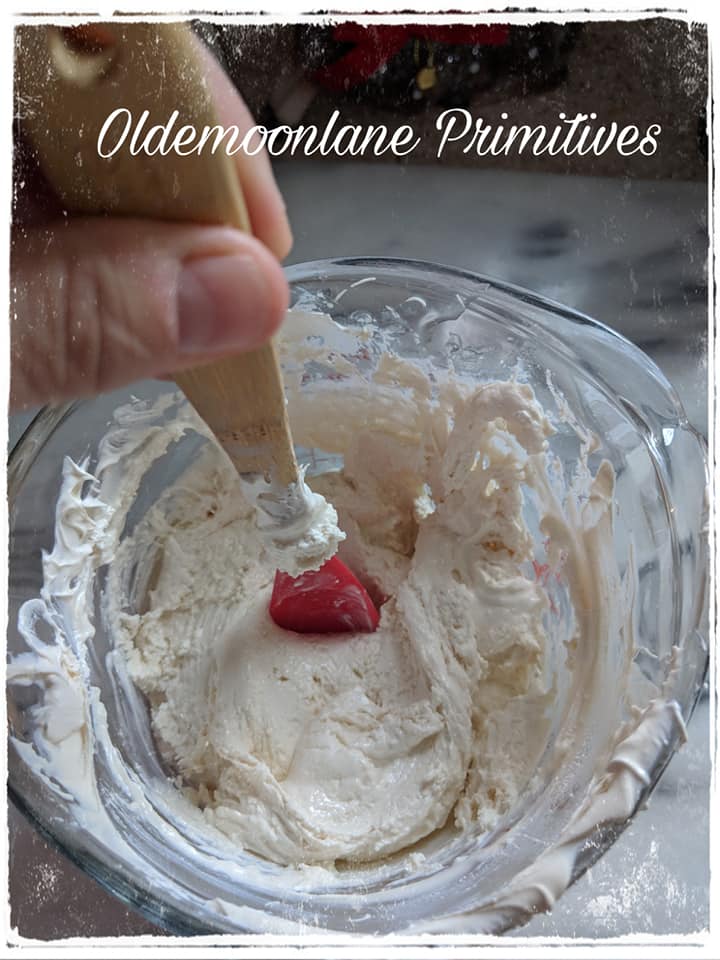
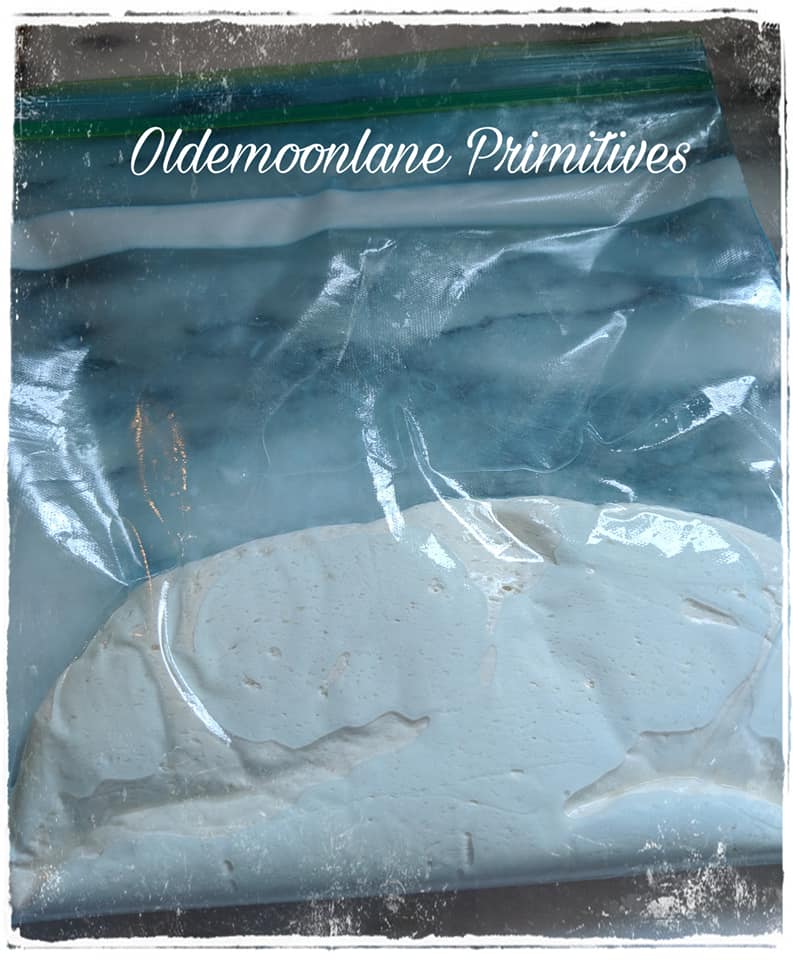
Measure ingredients carefully, this is important when working with chocolate. You will need for one batch of sculpting chocolate 16 oz. of vanilla wafers and 1/3 C corn syrup. You can melt the chocolates in a double boiler or in the microwave. Make sure to watch chocolate carefully as it is very tempermental and you do not want to over cook and seize the chocolate. It only takes me 1 1/2-2 min in the microwave for this process. I then warm the corn syrup in the microwave maybe 20-30 seconds before pouring it into the chocolate. Never pour cold or cool ingredients into chocolate it will harden (seize). Quickly stir corn syrup into the chocolate and mix till it form a ball. (Special note- never use a utensil you just washed that is still wet, it will seize the chocolate. Make sure your bowls and utensils are dry!!) Quickly turn the chocolate out onto a clean cool surface ( I have a marble cutting board I like to use, remember it's chocolate and it will melt!) using rubber gloves begin kneading the chocolate until smooth. Place in a bag or air tight container and store in refrigerator. I like making all my chocolate the day before I sculpt so it has time to set up. You can color your chocolate using candy coloring gels or colored wafers. The amount of corn syrup can vary with chocolates . I think I use 1/2 c. corn syrup when using chocolate.
You can make your chocolates up to a month in advance and store in an airtight container in a cool room. I do not recommend a refrigerator as it will produce condensation on your pieces.
You can make your chocolates up to a month in advance and store in an airtight container in a cool room. I do not recommend a refrigerator as it will produce condensation on your pieces.


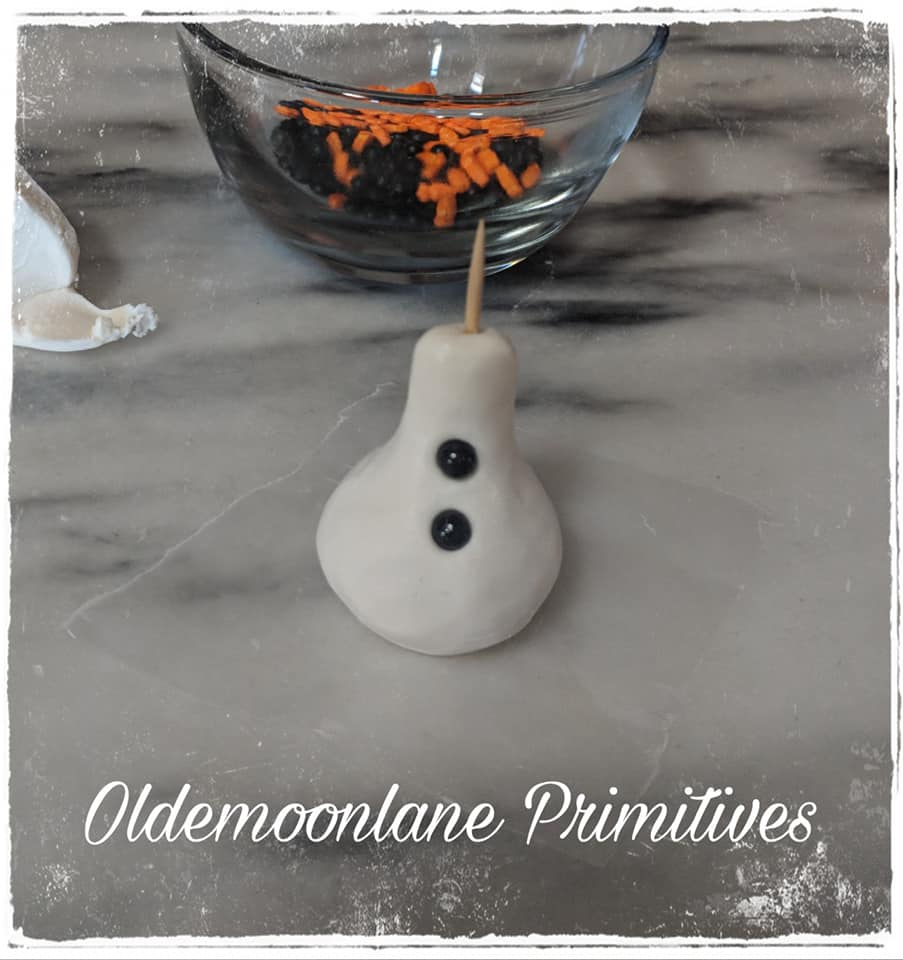
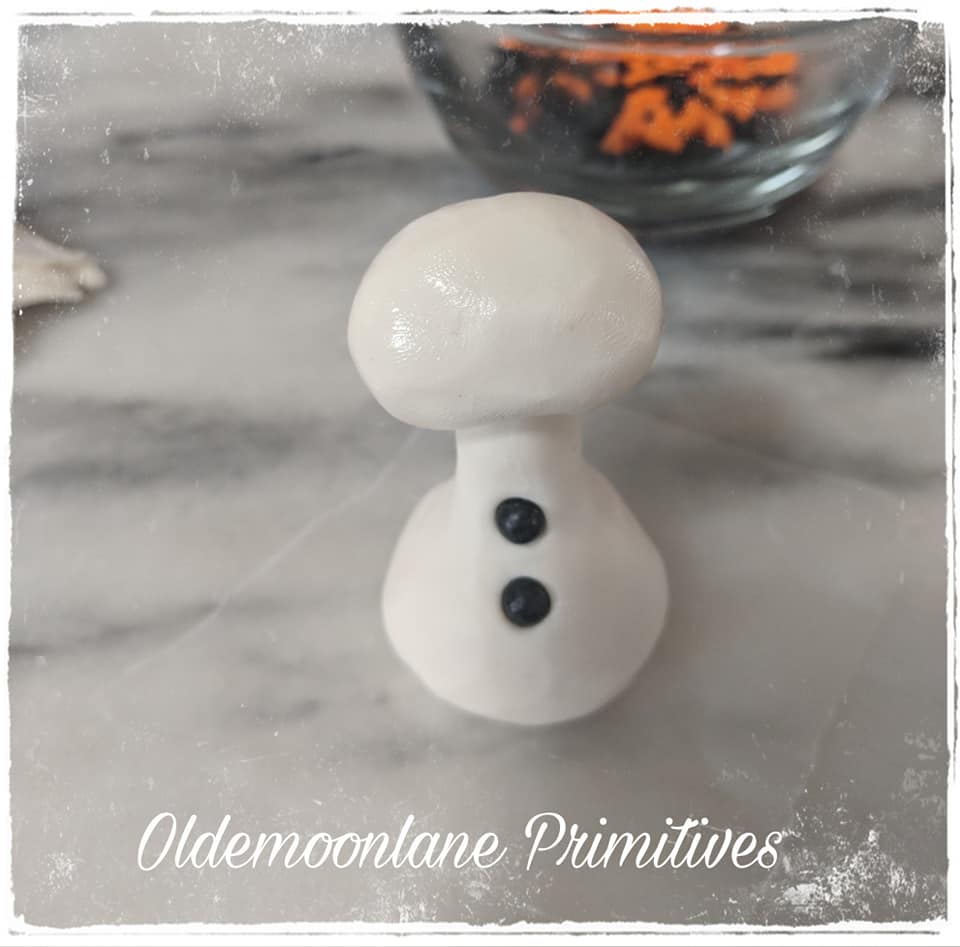
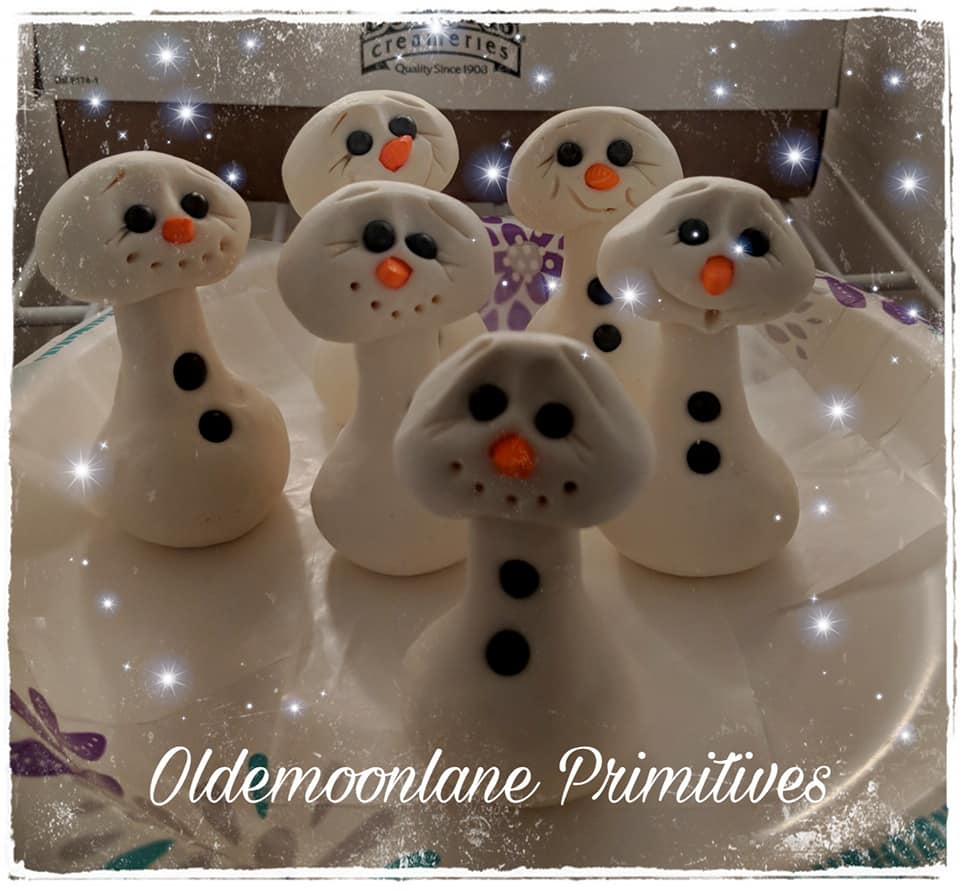
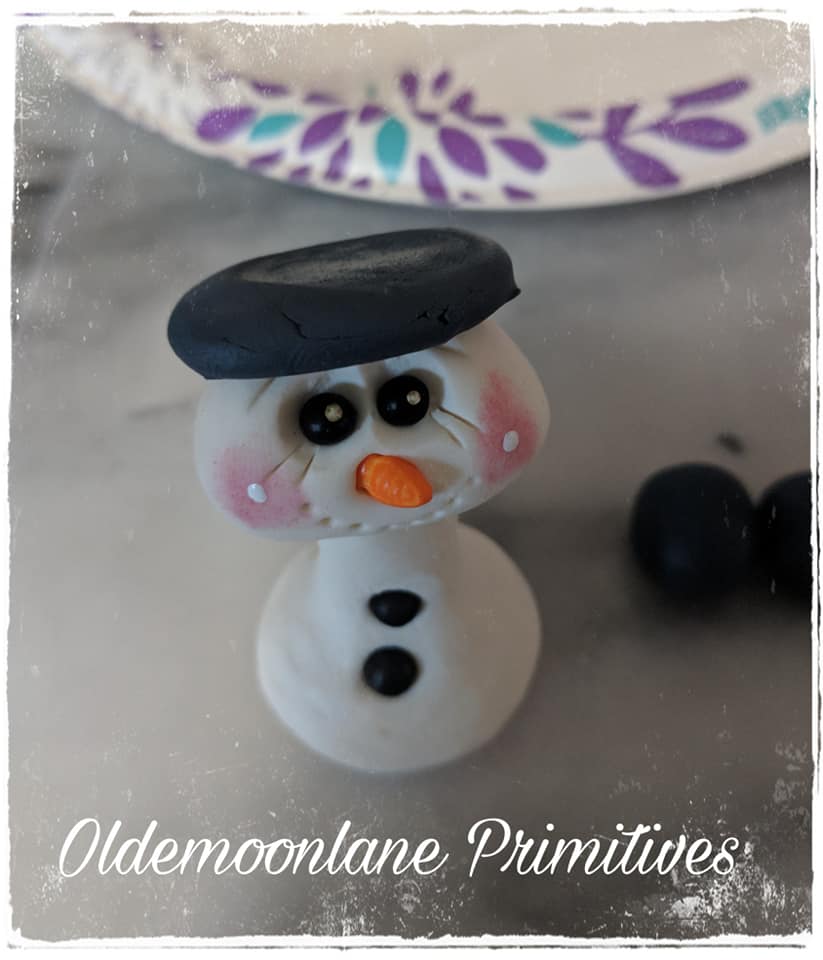
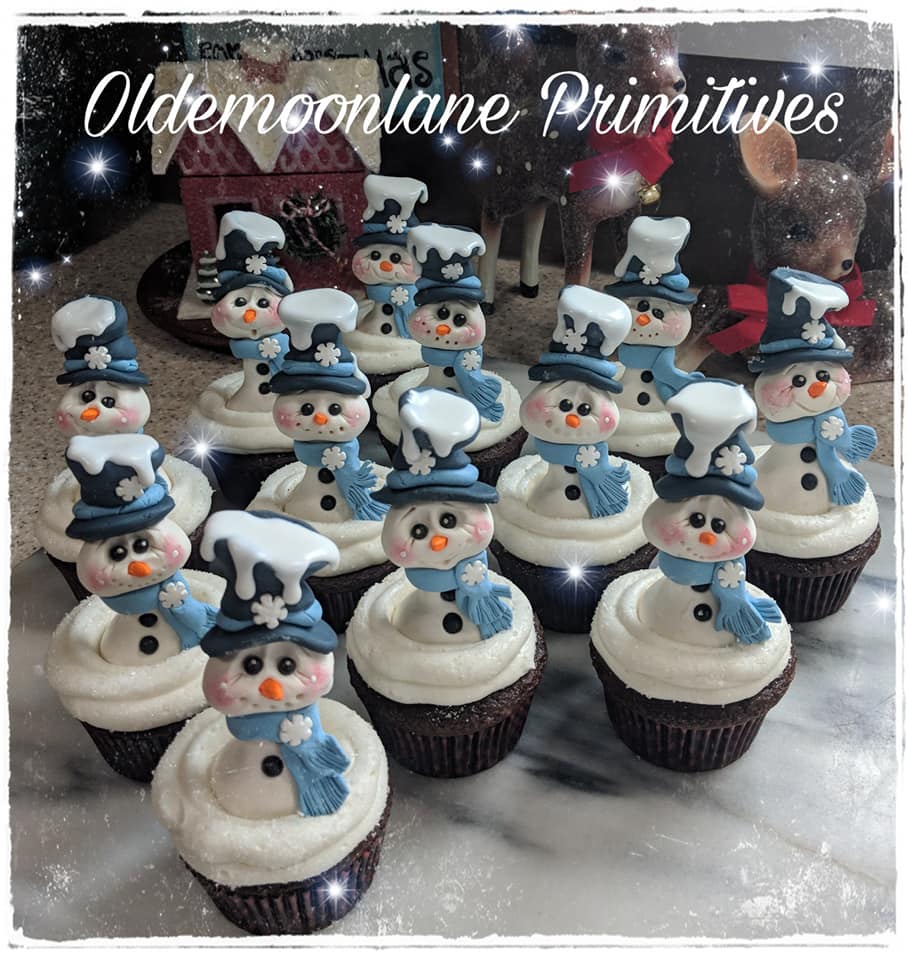
Sculpting- Lay your chocolate out of the refrigerator about an hour or two before you want to begin sculpting. Knead the chocolate to soften. If at any point it becomes to soft, place the chocolate into freezer for a minute. I am constantly sculpting pieces and placing them in freezer for a minute or two while I sculpt. It's up to you how big you want to make your snowmen but remember not to make them to tall and top heavy if you are placing them on cupcakes. Body- I used about a 1" ball of chocolate and shaped into a pear inserting the toothpick into the top. Insert two candie beads in his belly. (Remember you can make these by coloring a tiny bit of chocolate with black candy gel.) Head, I used about 1/2 of chocolate and shaped into a slightly oblong shape and placed onto the toothpick. You can give him some personality by angle his head if you wish. Insert two candy beads for the eyes. I scored two eye crinkles on the outside of each eye using a paring knife. I never mix tools I use with clay with food!!! Insert a candy carrot for his nose or make one using the chocolate. Mouth- you can use a tooth pick or a paper clip. I did a variety. I like them all to have their own look. Place them in the freezer on a paper plate or wax paper while you prep your other colors and to just make them sturdy!!
Cheeks- I used a pink food gel to give his cheeks a little color and used a dot of white food coloring on each cheek this is optional as you may not have these supplies on hand.


Mixing colors-
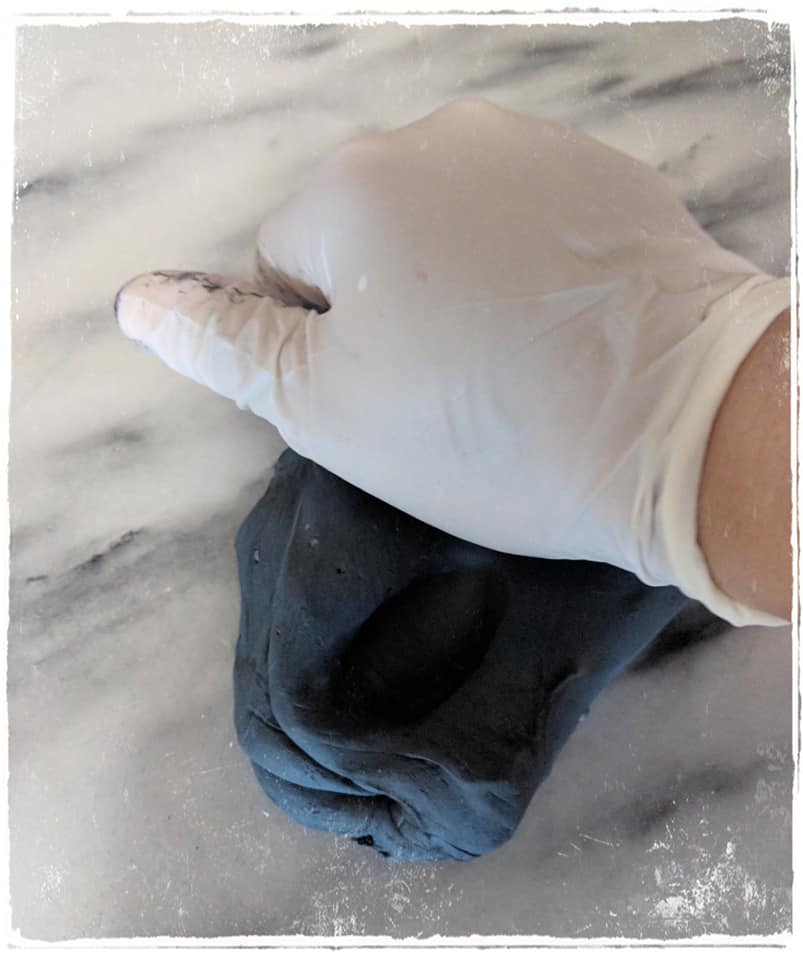
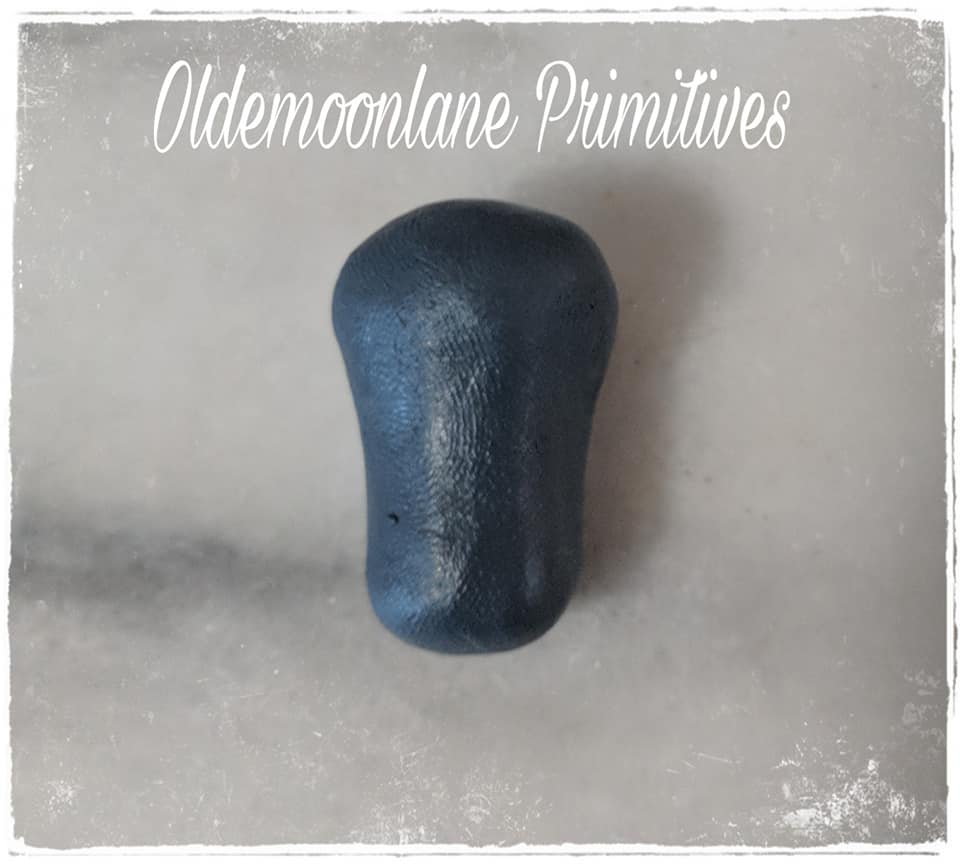
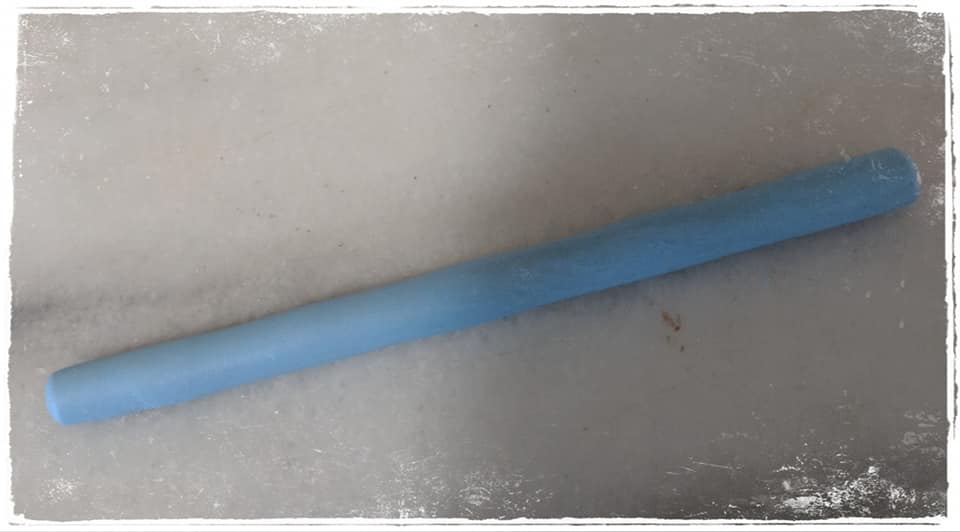
It is really hard to make black using the vanilla wafers, you can get a darker look by coloring chocolate to black or just buy black wafers if you can find them. I always wear gloves for this process!!! Using a toothpick I placed a large amount of the black candy gel on the chocolate and knead till and even consistency. . You will want to do this process for the blue as well.


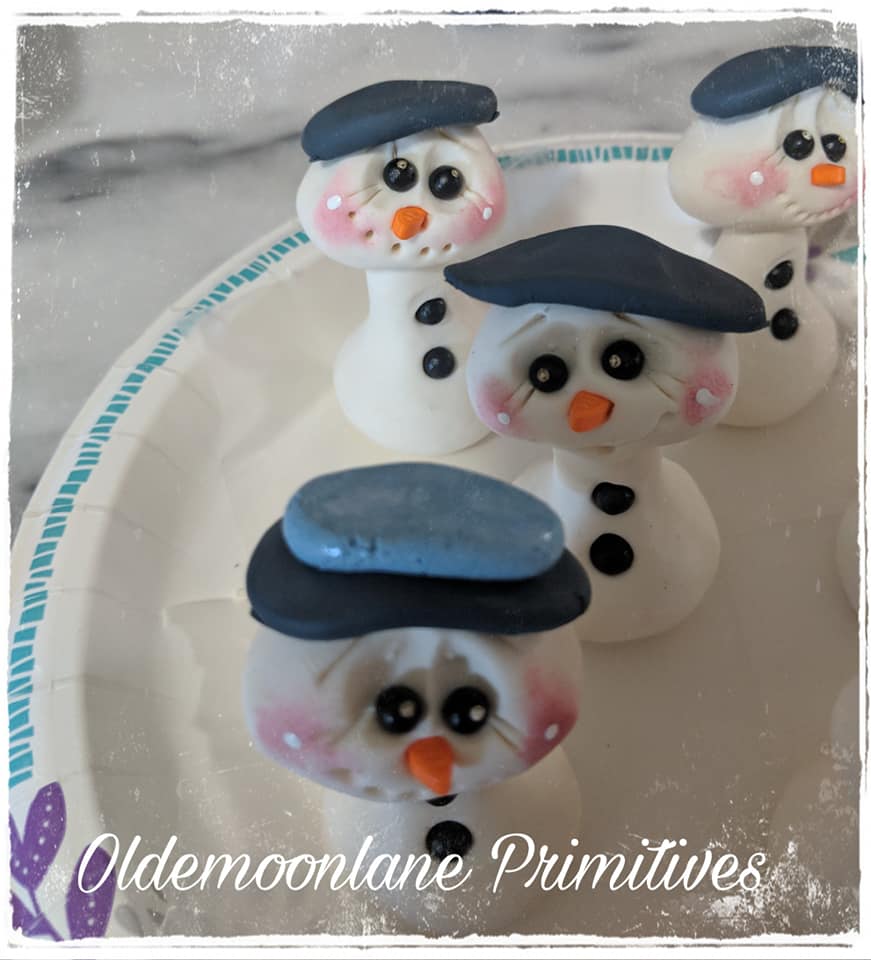
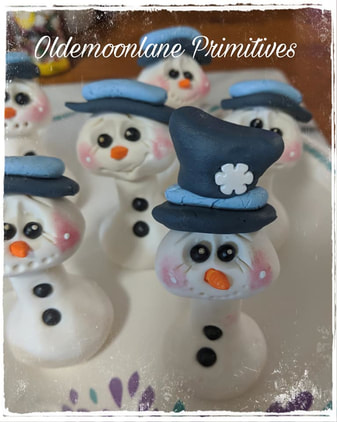
Hat- Flatten and tiny ball of black for the brim and place on top of the snowman's head. Make a slightly smaller blue ball and flatten slightly, place on the top center of the hat brim. Top of hat you will make a upside down pear shape placing the smaller end on the top of hat and press slightly. I placed a candy snowflake on each hat.
Scarf- Roll a piece of the blue chocolate long enough to wrap around the neck and join where you you want to add the scarf tails. Make two scarf tails one slightly longer than the other and using a paring knife cut fringes on the ends.


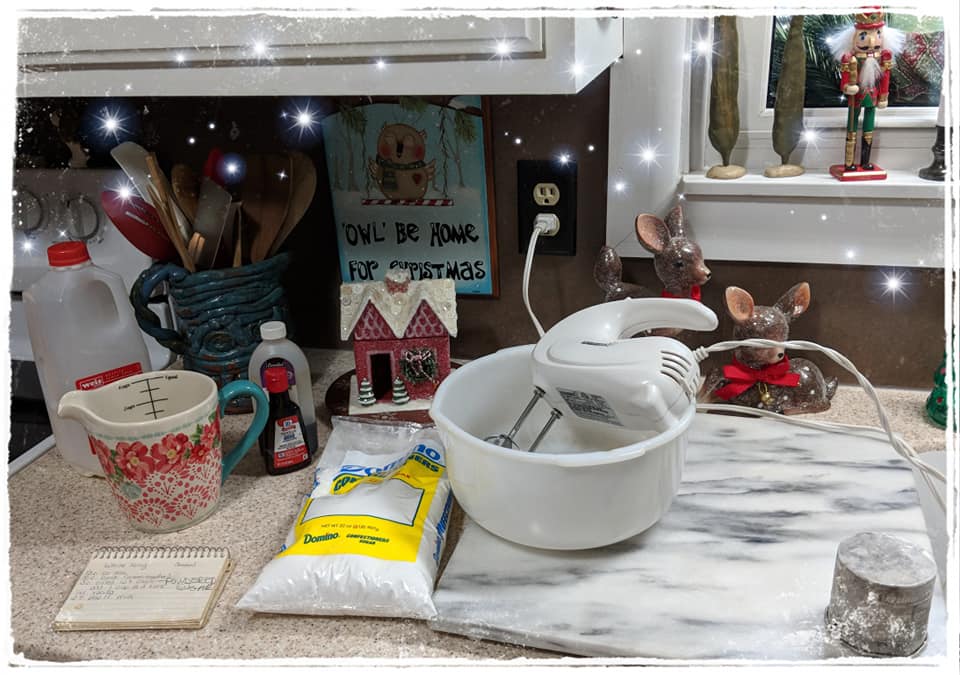
Icing- This is my favorite go to Buttercream recipe!
1/3 C Crisco
1/3C Butter (room temp)
3C 10X (powdered sugar) sifted
1/2 t pure clear vanilla
3T whole milk
Cream the crisco and softened butter together, gradually add the 10X sugar 1 cup at a time. add the milk and the vanilla nd whip till smooth and creamy. You can store in a air tight container if you want to make ahead.
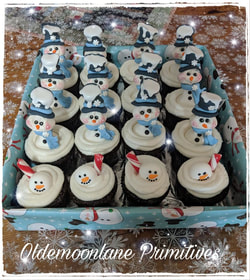
I piped the icing on the cup cakes and sprinkled them with clear cupcake sprinkles but the sprinkles are optional if you do not like. I love sparkly sprinkles.
1/3 C Crisco
1/3C Butter (room temp)
3C 10X (powdered sugar) sifted
1/2 t pure clear vanilla
3T whole milk
Cream the crisco and softened butter together, gradually add the 10X sugar 1 cup at a time. add the milk and the vanilla nd whip till smooth and creamy. You can store in a air tight container if you want to make ahead.
I piped the icing on the cup cakes and sprinkled them with clear cupcake sprinkles but the sprinkles are optional if you do not like. I love sparkly sprinkles.
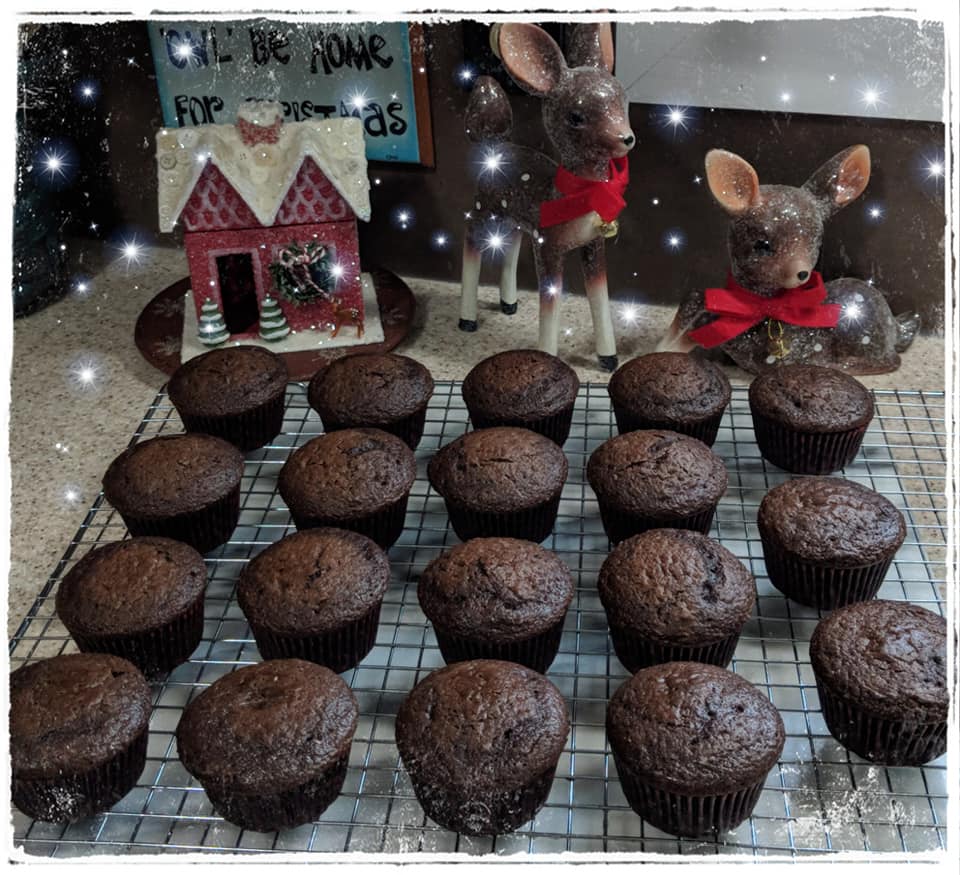
I made my favorite chocolate cupcakes but you can make whatever flavor you wish. (secret family recipe lol)
Royal Icing- You can look up any recipe for this or just buy the already made cookie icing. I pipes it on the top of the hats to look like snow.
I knew I was making the cupcakes to take and give to Kevin's staff at physical therapy, so I didn't want them to have to worry with returning a container. I took a shipping box and cut it down . I then covered it with some pretty snowman christmas paper, lining the bottom with foil. Presto instant container. I then used the clear food wrap I found at the dollar store with snow flakes to wrap up around the box add some curly ribbon and a tag.
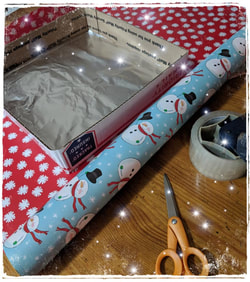
Be sure and store in a cool room!!!
All wrapped and ready!

I hope you enjoy making some frosty chocolate snowman cupcakes for friends and family and maybe just as a random act of kindness. They will be sure and bring a smile to those you love, and their tasty too!!! Just be sure and warn everyone there is a toothpick inside!!
Blessings !
Wendy
Blessings !
Wendy