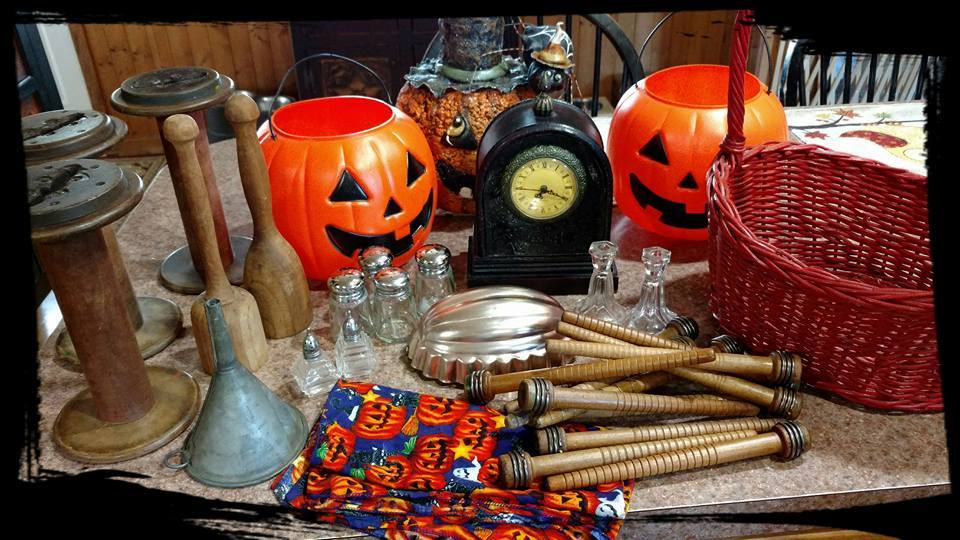
It's that time of year again, pumpkin making time!!! Many who are my FB friends on my private page knew my dilemma last year when trying my hands at making the concrete pumpkins from pinterest. I went rummage sale shopping and came across a few more plastic pumpkins needed for the project. Oh look at all those goodies and since then, many have been sculpted into finished pieces.
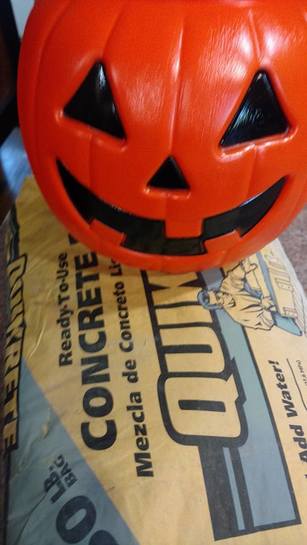
I first went to Lowe's to purchase the quikcrete and let me tell you that bag was heavy. I thought, "Oh I don't need a cart I can carry it to the car". Trust me get a cart as by the time I got to my car it was down by my knees and I almost lost the bag. lol! Not as young and strong as I use to be.
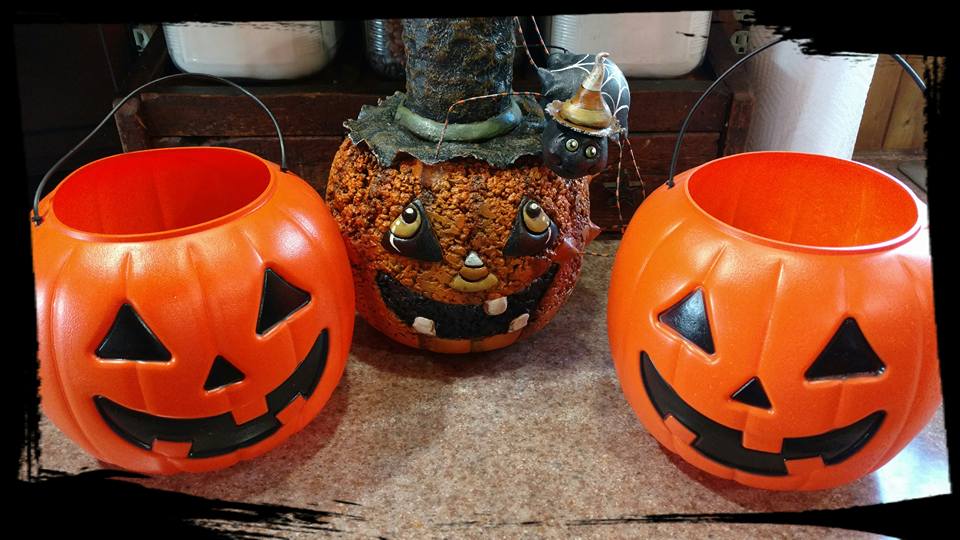
Now, I called my pumpkin my "Rice Krispie Treat" looking pumpkin because I bought the wrong mix or did I?? That depends on who you are asking. If you want the smoother looking pumpkins purchase the quikcrete Mortar mix according to my friend Judy as hers turned out nice and smooth. I decided to make Lemonade out of a lemon.
I wanted mine to be a vase for flowers as well so I insert a metal food can in the center of the pumpkin, pouring the quikcrete around it and left it cure overnite. The next day it was cured enough that I then cut the plastic pumpkin off and then I left it cure fully for another day. I wanted it nice and dry as I decided to break out the Apoxie Sculpt and make him anew.
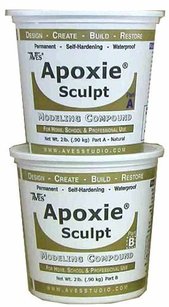
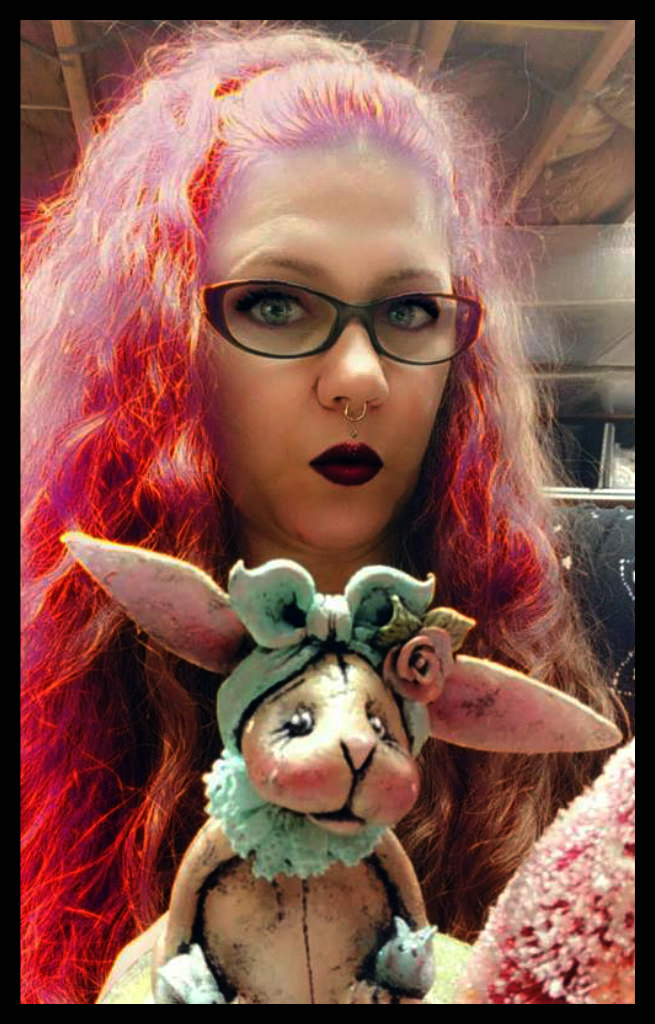
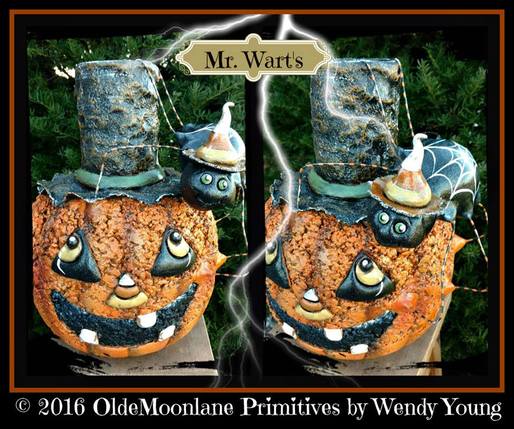
Meet Mr. Warts as I called him . I wanted the vase taller to hold sunflowers (my favorite flower) so I began by attaching another can on top of the one that was inserted into the pumpkin with the Apoxie sculpt. The nice thing is Apoxie sculpt is freeze thaw resistant as well as waterproof. I added his face details as well as with the rocky mix you couldn't see them very well to just paint them. I next sculpted and made a spider to attach as well. I paint my fella with DecoArt acrylic paints but sealed him with many coats of Poly-acrylic Sealer. Each year I will just re-spray him if putting outdoors but for now he sits in the shop.
I think I like my Mr. Warts and have actually had a few who said they prefer the rice krispie look. I may try making a few this year as the grankiddies wanted one so Nannie is off to Lowe's to get a bag of quikcrete in a cart!!!
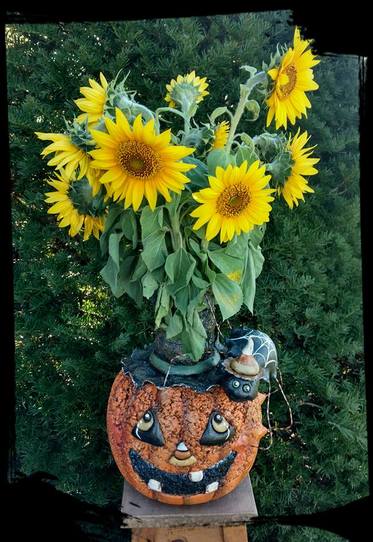
Now isn't he handsome with his flowers!
Enjoy and if you make a Mr.Warts I would love to see your version!
Blessings
Wendy
Blessings
Wendy