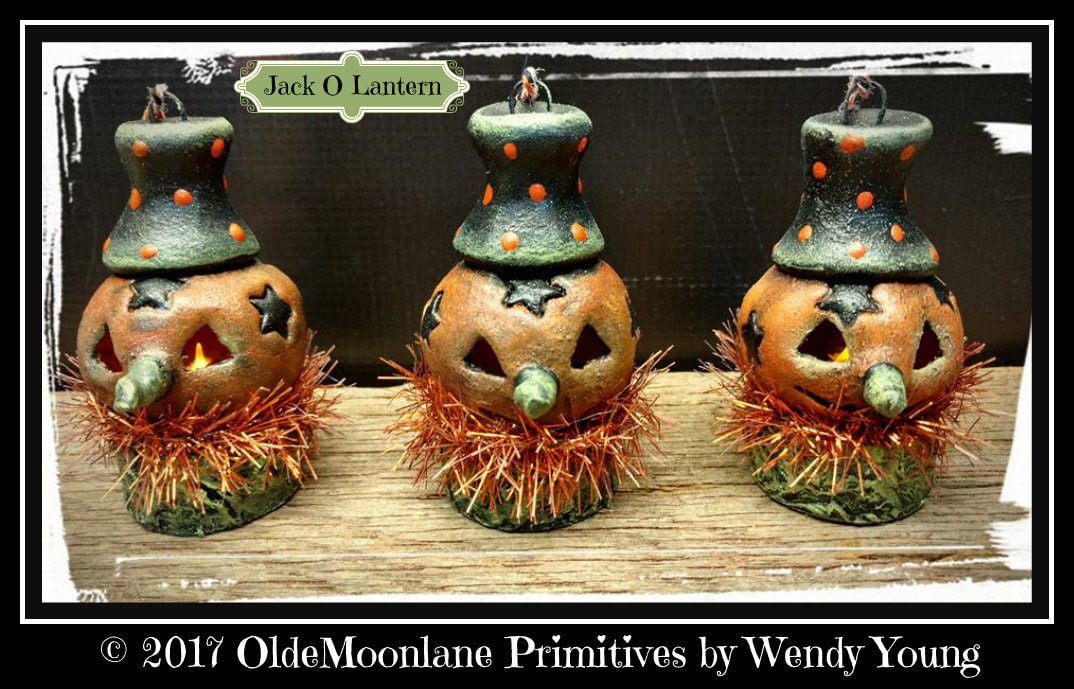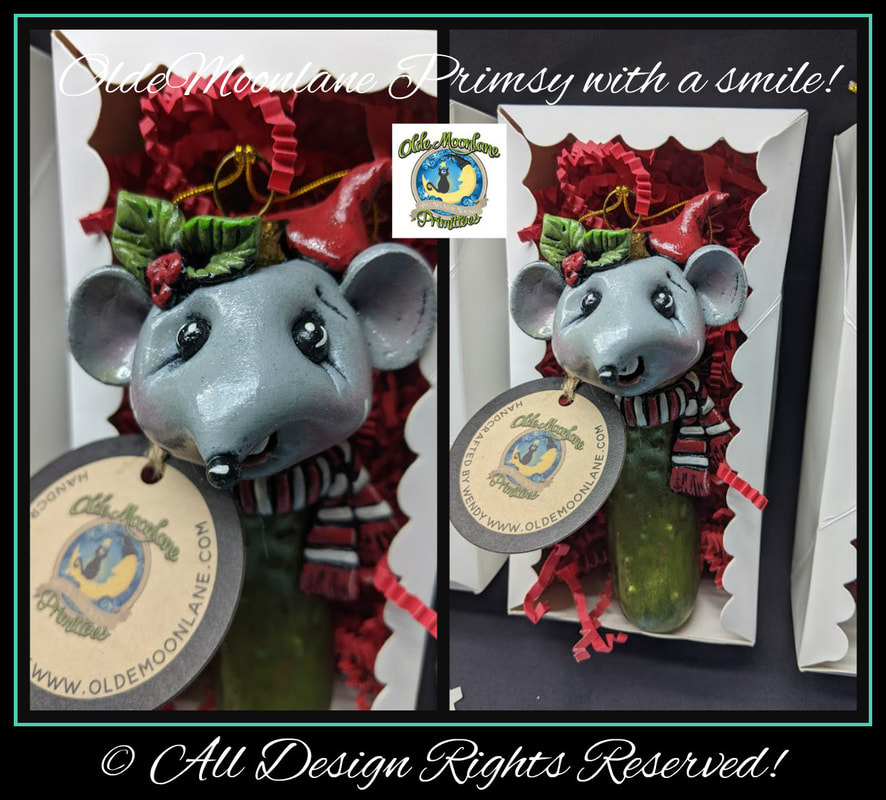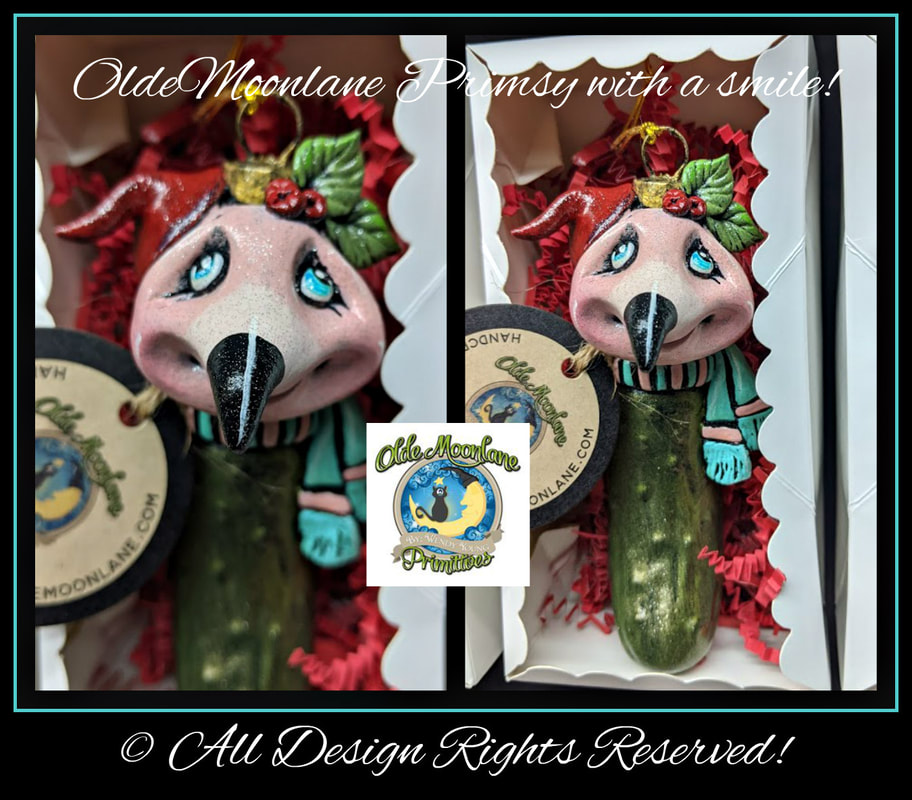
Every now and again it's time to clean out a few lingering items. I have listed 9 items on sale in the etsy shop. They really need a loving home. Once they are gone they are gone.

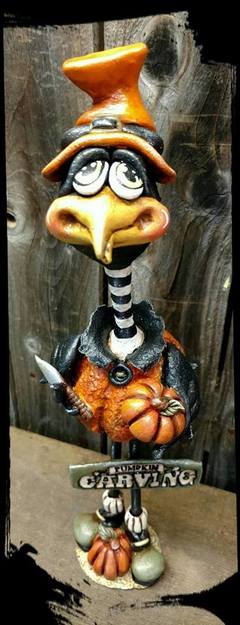 | 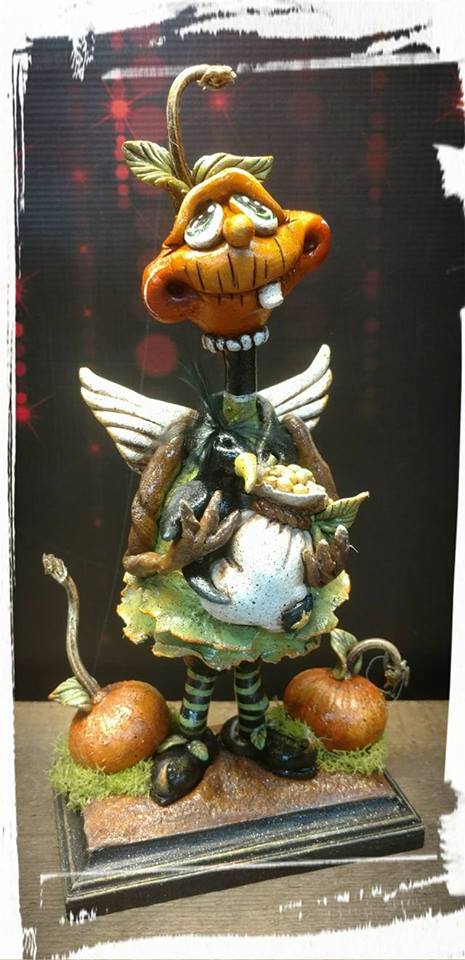 |
| Lil Carver original price $80 SALE $70 Now SOLD!!!!!! 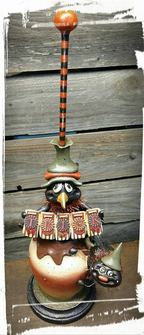 Caramel & Apple original price $73 Sale $68 | Butternut Original price $75 Sale $68 Now SOLD!! 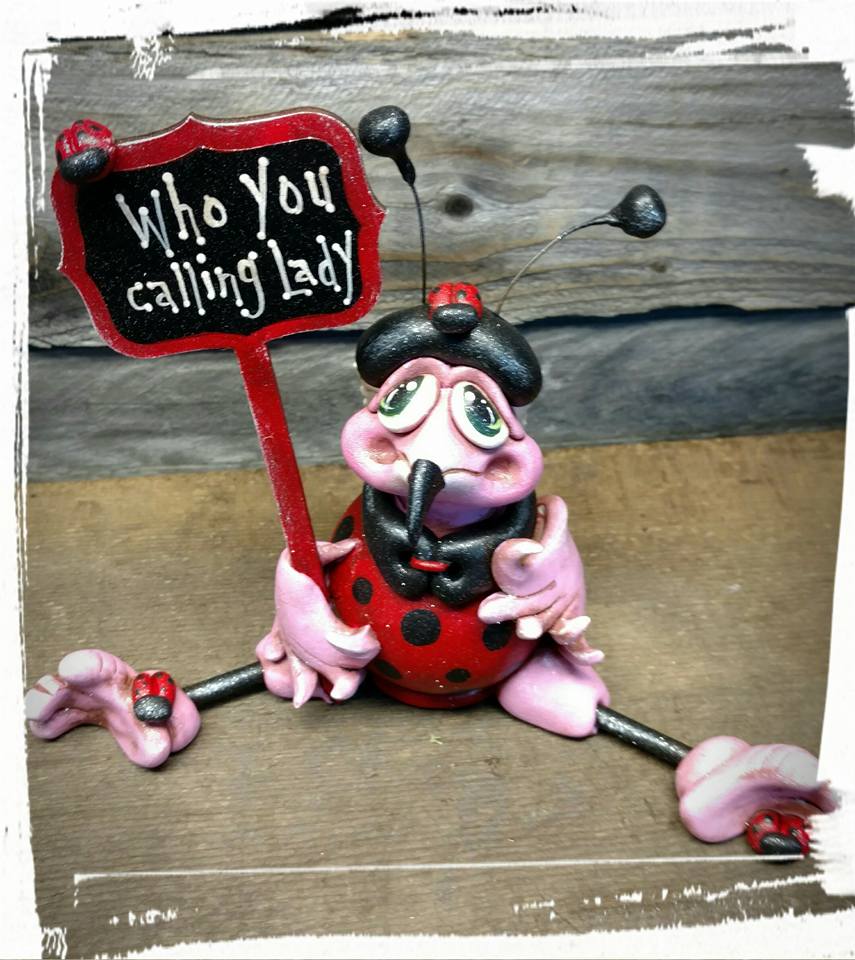 Lady original price $52 SALE $48 |
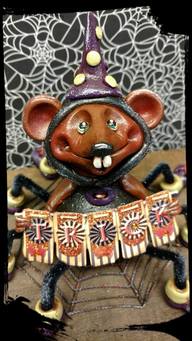 Webster original price $68 SALE $58  Gone Batty original $95 SALE $85 | 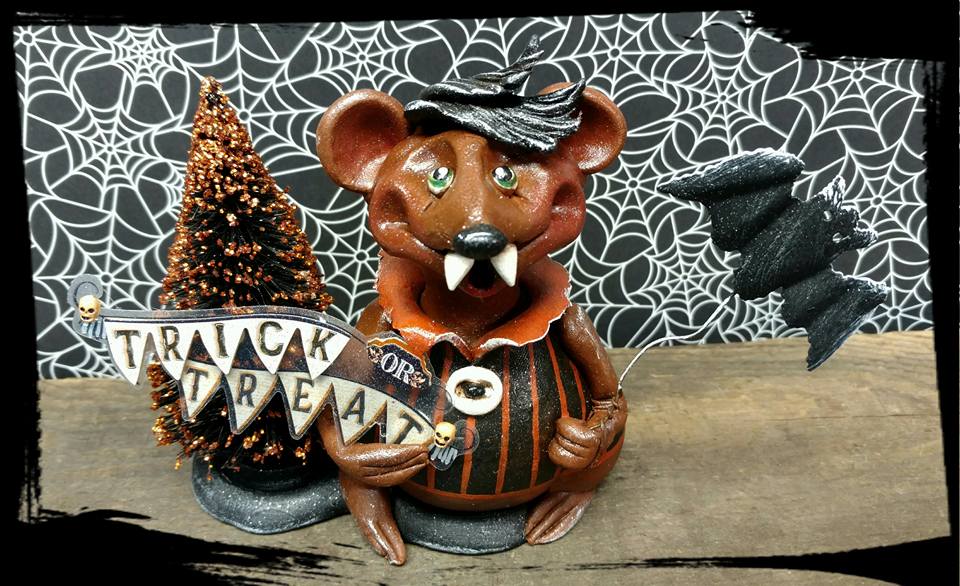 Count original price $52 Sale $47 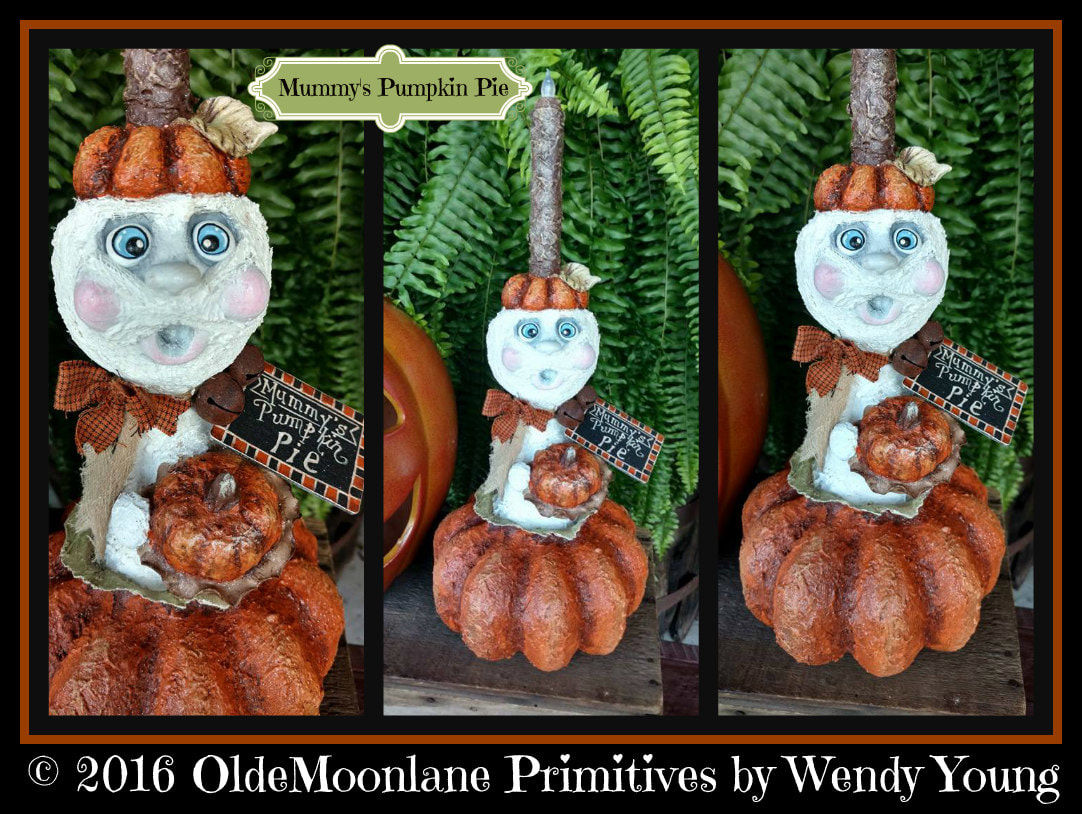 Mummy original price $95 SALE $85  Sale pending on hold for Tamara! Snowflake original price $80 SALE $75 |
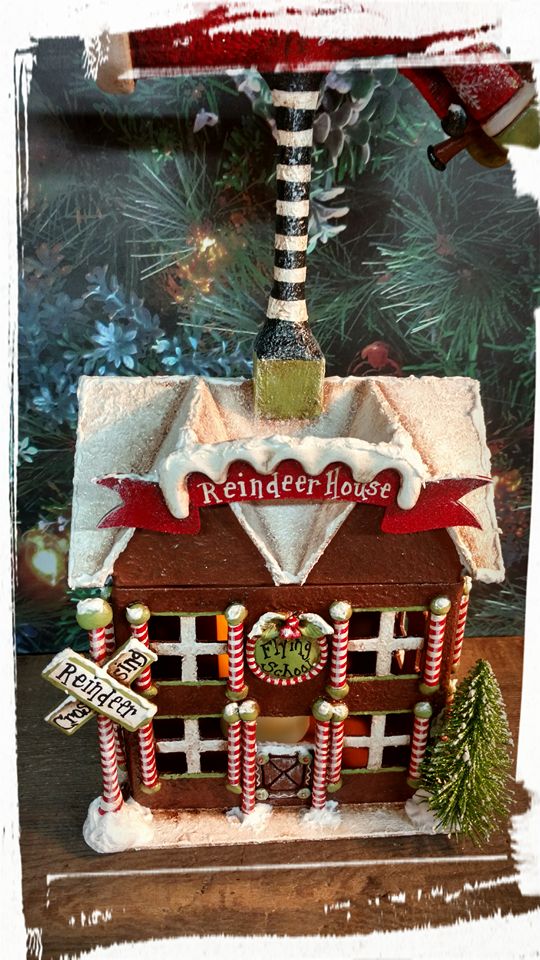
HEEHEE don't you just love that sign!!