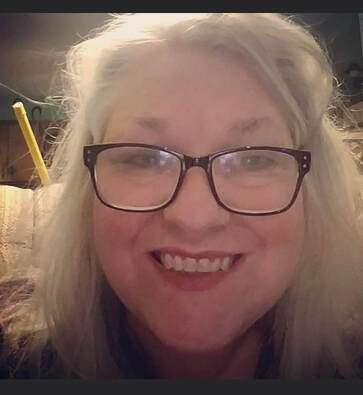
In Memory of my dear FB friend Charlotte Fletcher for 10 years.
I wanted to honor Charlottes memory in a way that represented her. Many FB friends know how giving she was, and she gave from her whole heart. Over the years I have received so many gifts from my dear friend and it brightened my days on days I needed it most. She simply had a gift for knowing when someone needed a smile.
 | |
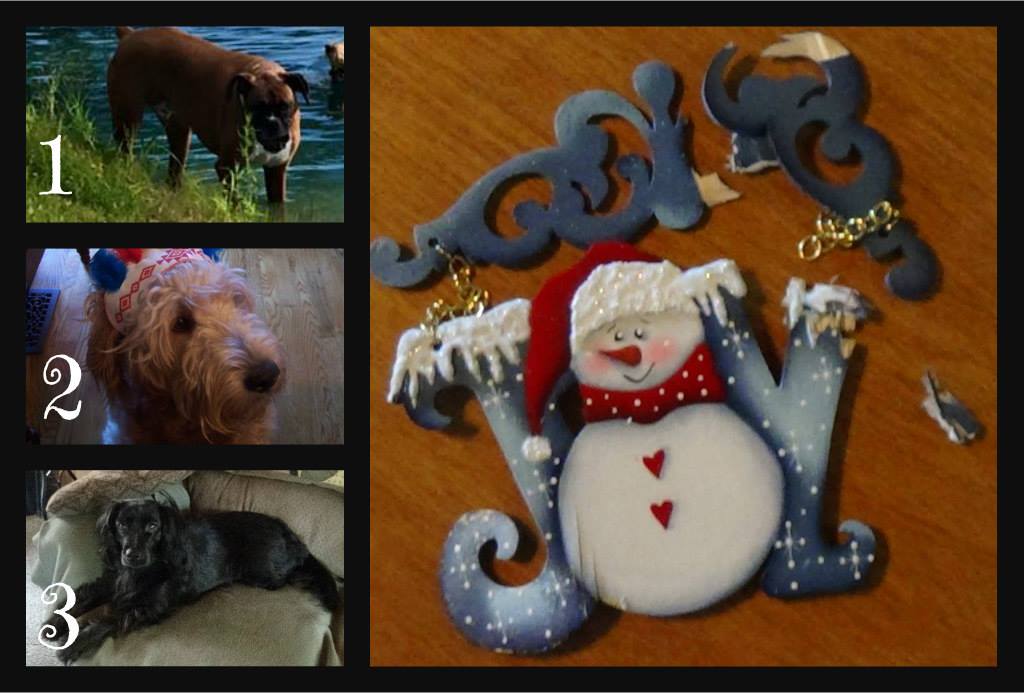
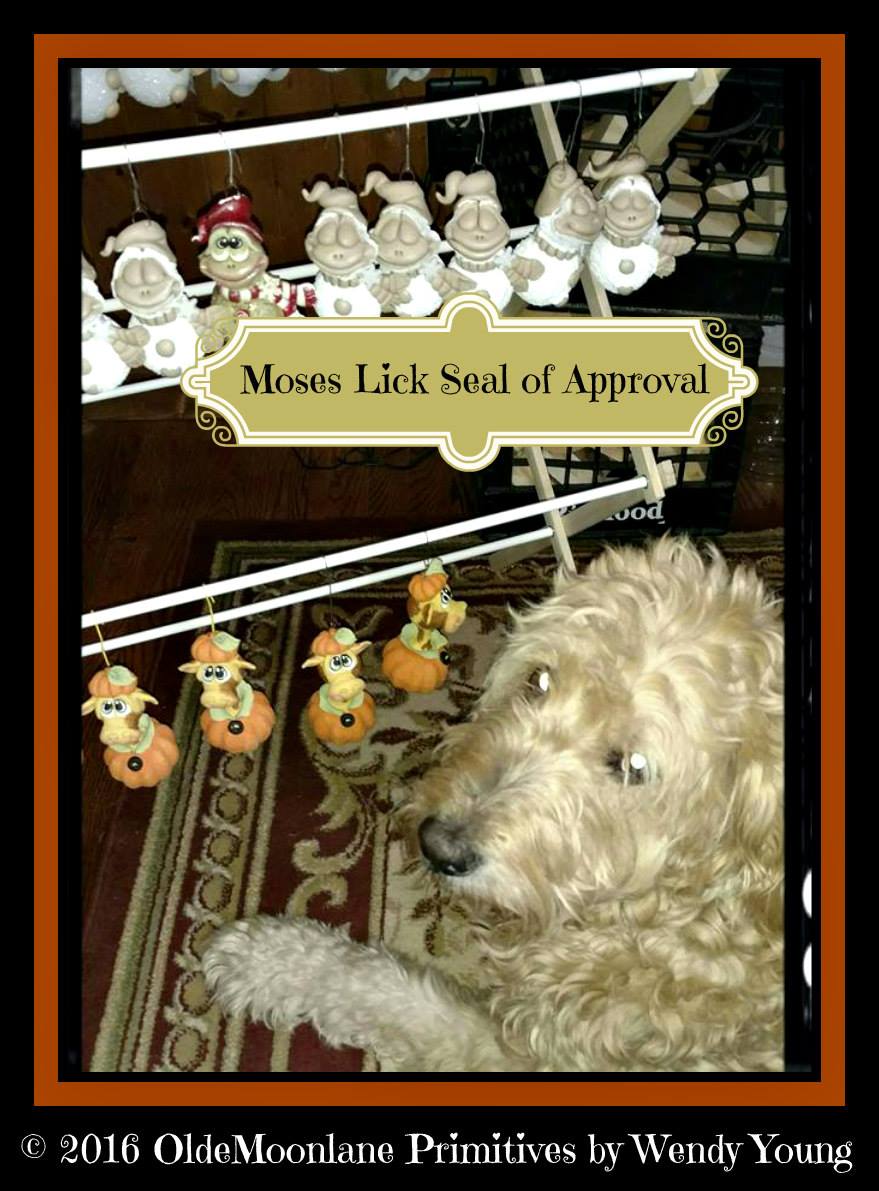
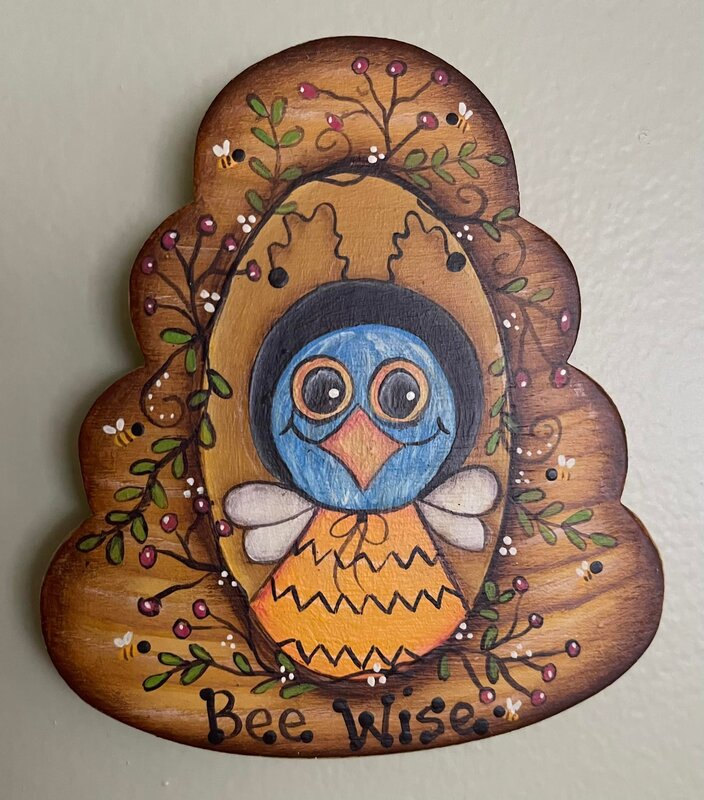
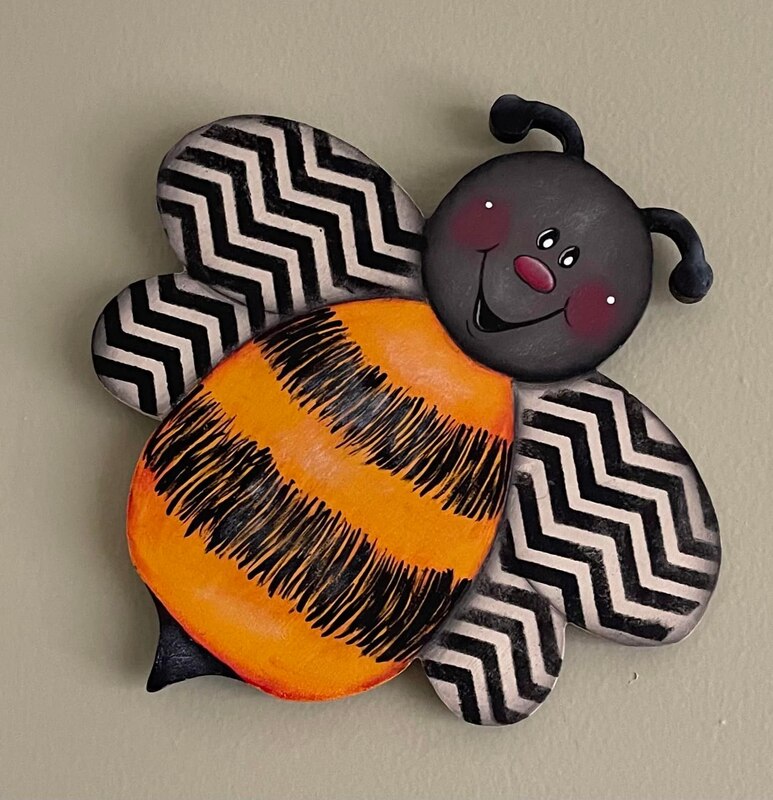
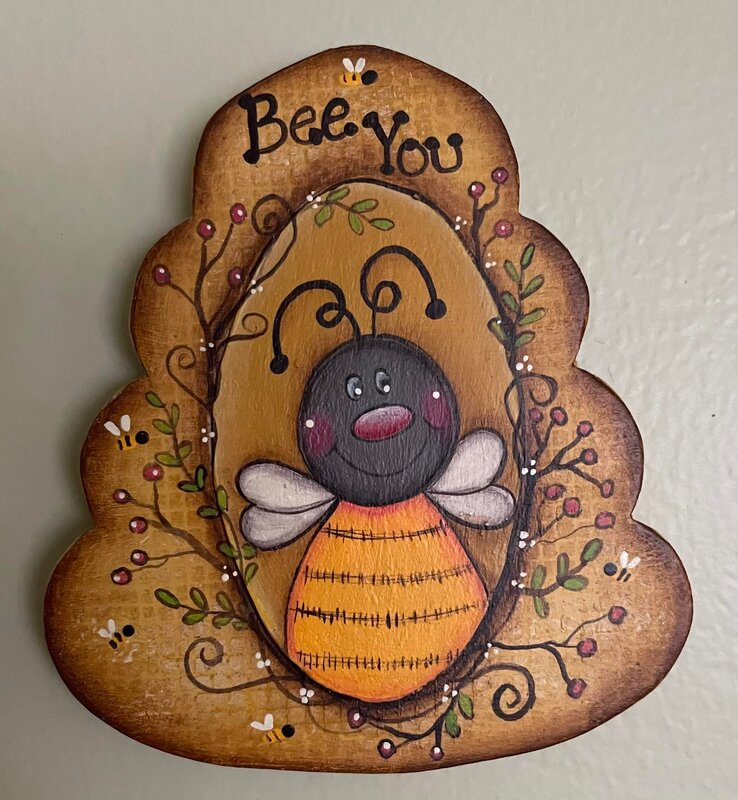
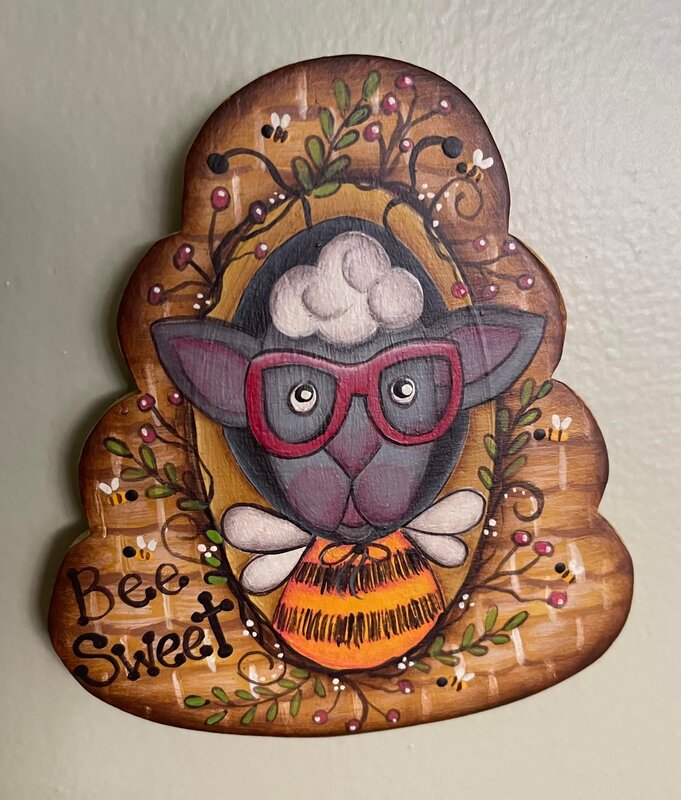
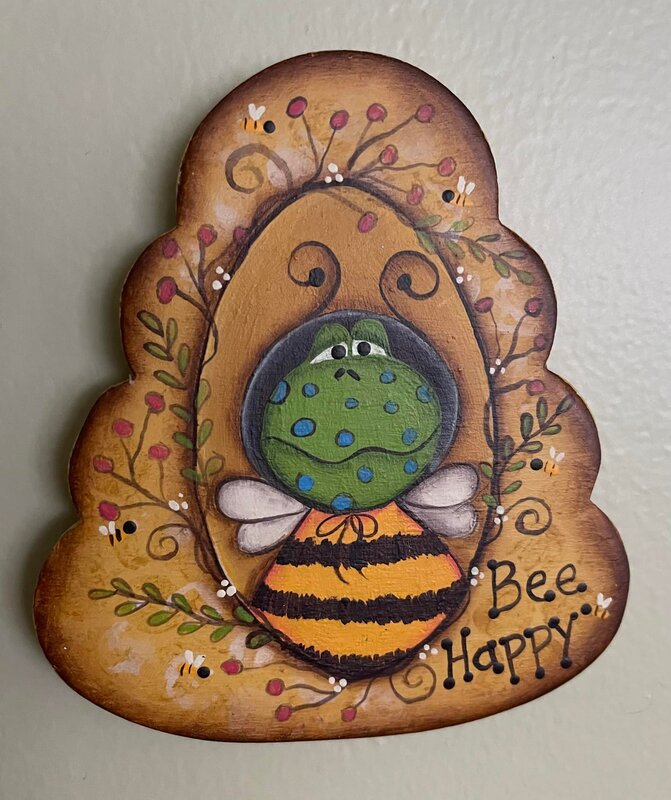
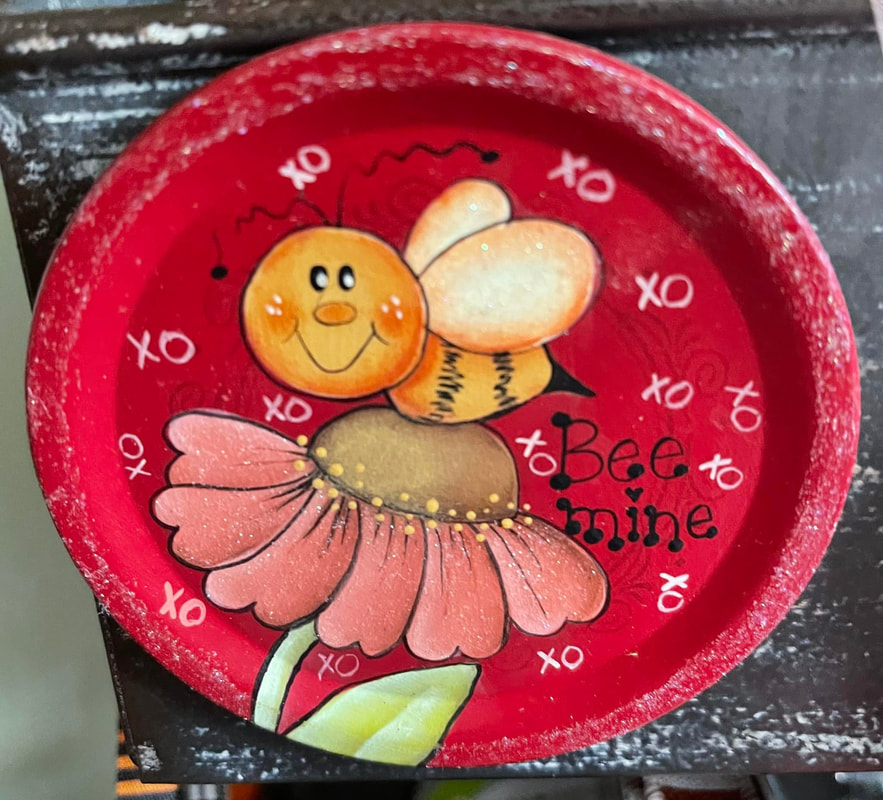
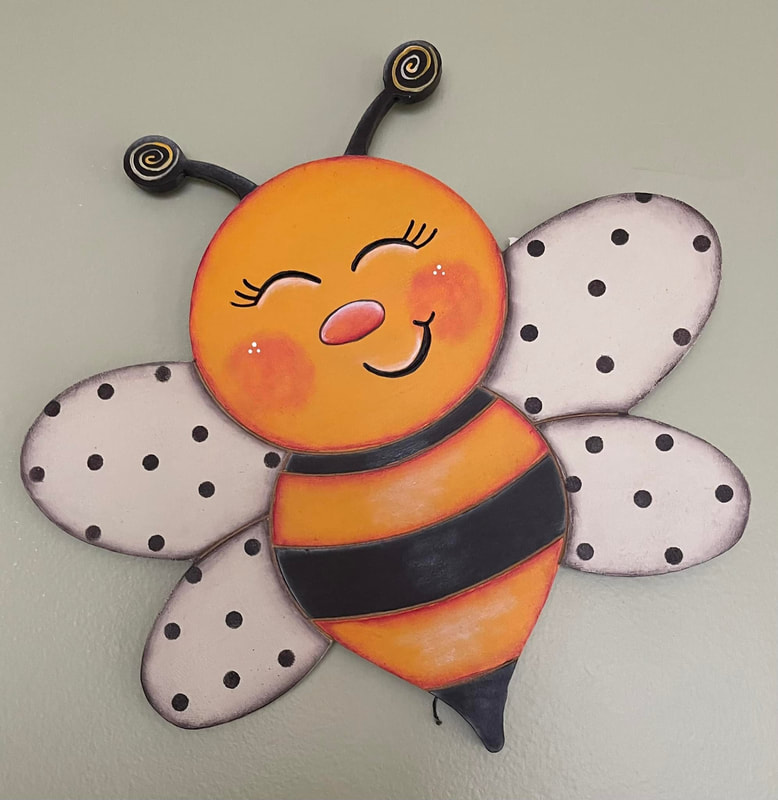
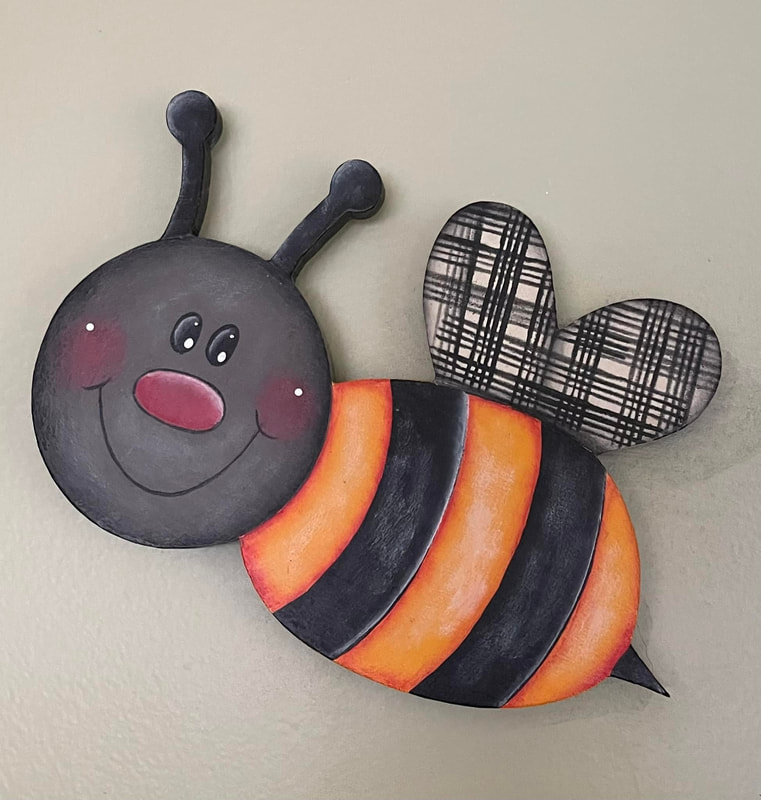
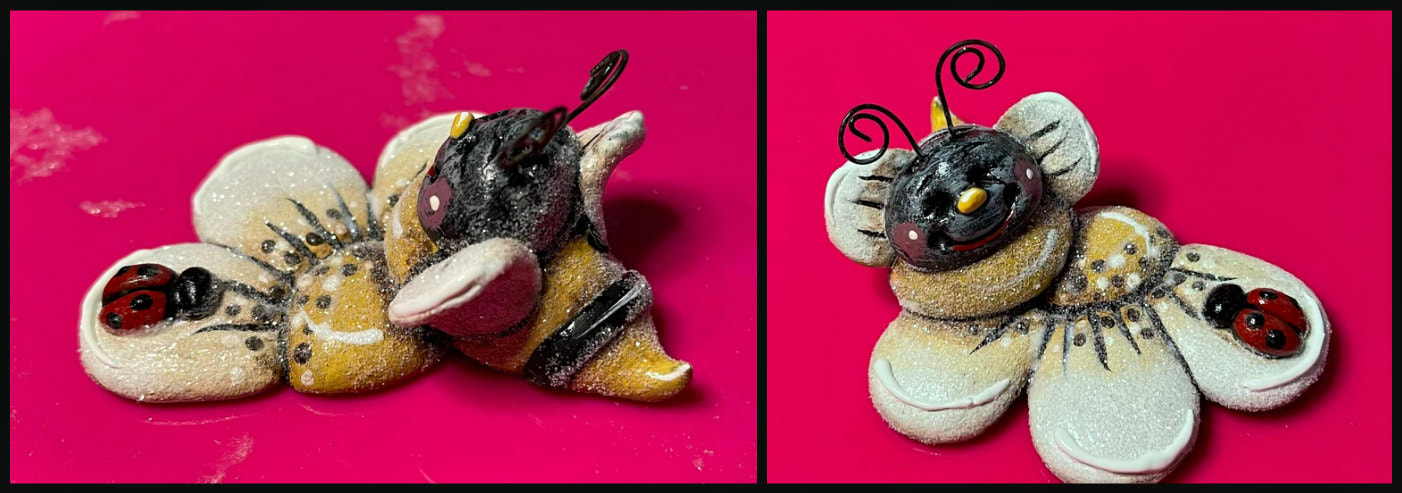
Below are just a few pieces of Art that Charlotte sent me over the years. There are so many more, but she knew how much I loved bees. I have them displayed on the walls of my art studio and they bring smiles to me daily. I feel like I have a little piece of her with me.
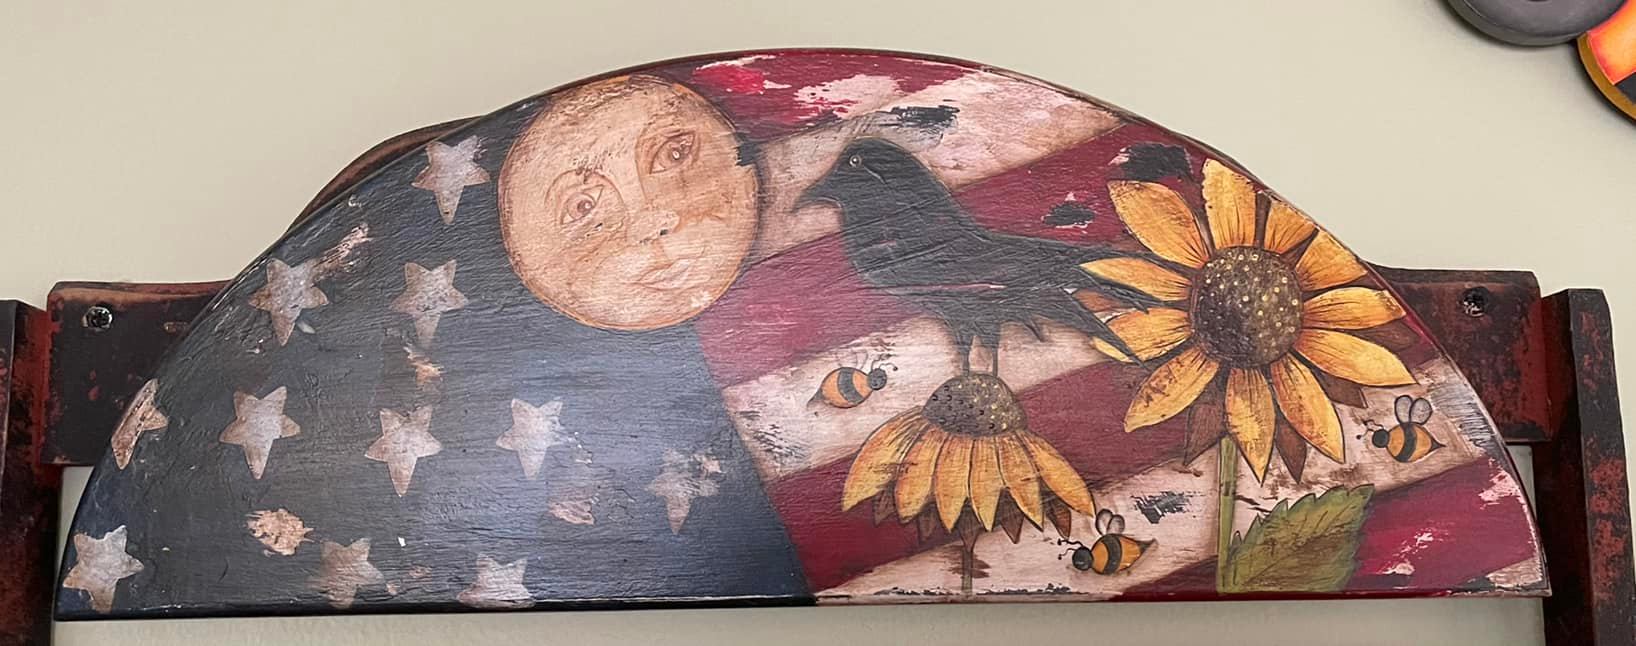

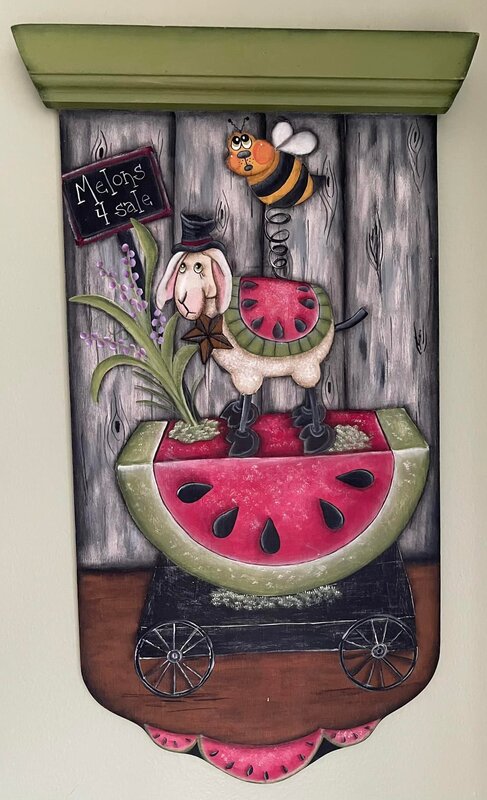

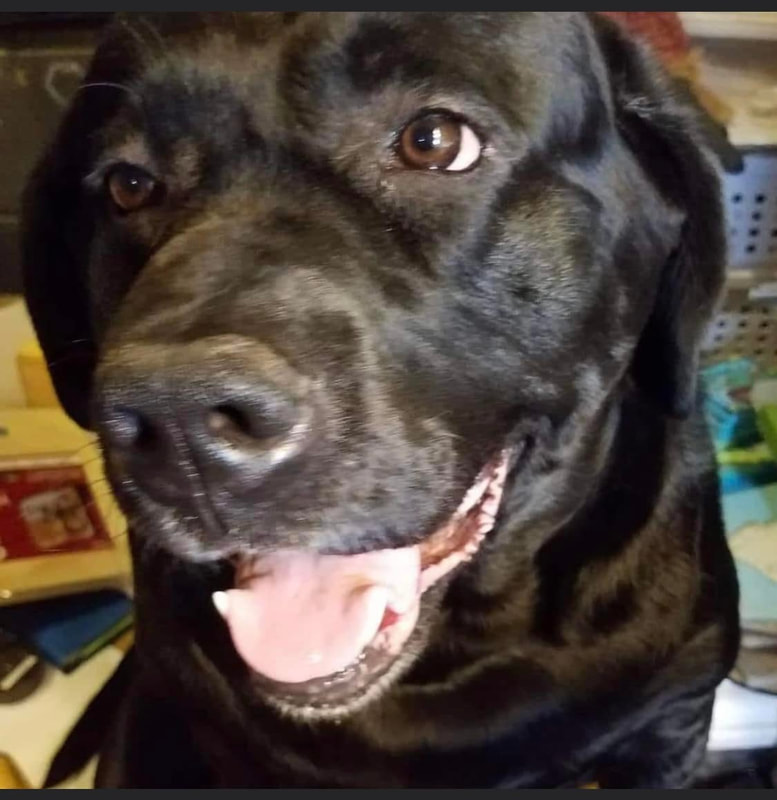
Charlottes lost her dog Remy a few years ago and she was devastated. In fact, she went missing from FB and one of the aunties had the police do a well check to make sure she was OK as we were all worried. LOL boy did she get a Suprise lol. Several FB friends gathered together funds to Suprise Charlotte, and she was able to then welcome her baby Charcoal into her heart and her home. We are known as Charcoals aunties, and I was a happy recipient of one of Charcoal's famous sticks along with a patriotic crow painted by Charlotte for me. Notice it was a Y for Young my last name he was very smart. lol
 |  |
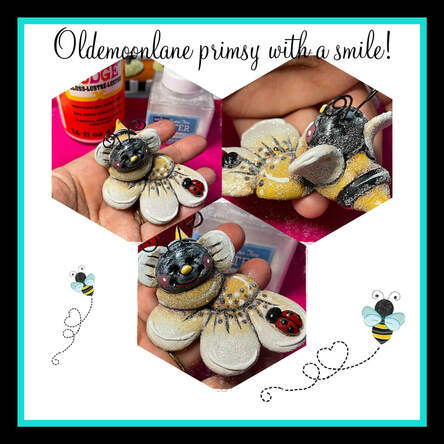
So, in honor of my dear friend here is a FREE "Charlotte's Bee" tutorial for personal use or random acts of kindness gifts only. No profiting making! I want it to represent her givenness and not a profit-making project. Charlottes lived on meager means and gave everything she had. I know she would be smiling down to know you might make a random act of kindness bee and maybe brighten someone else's day.
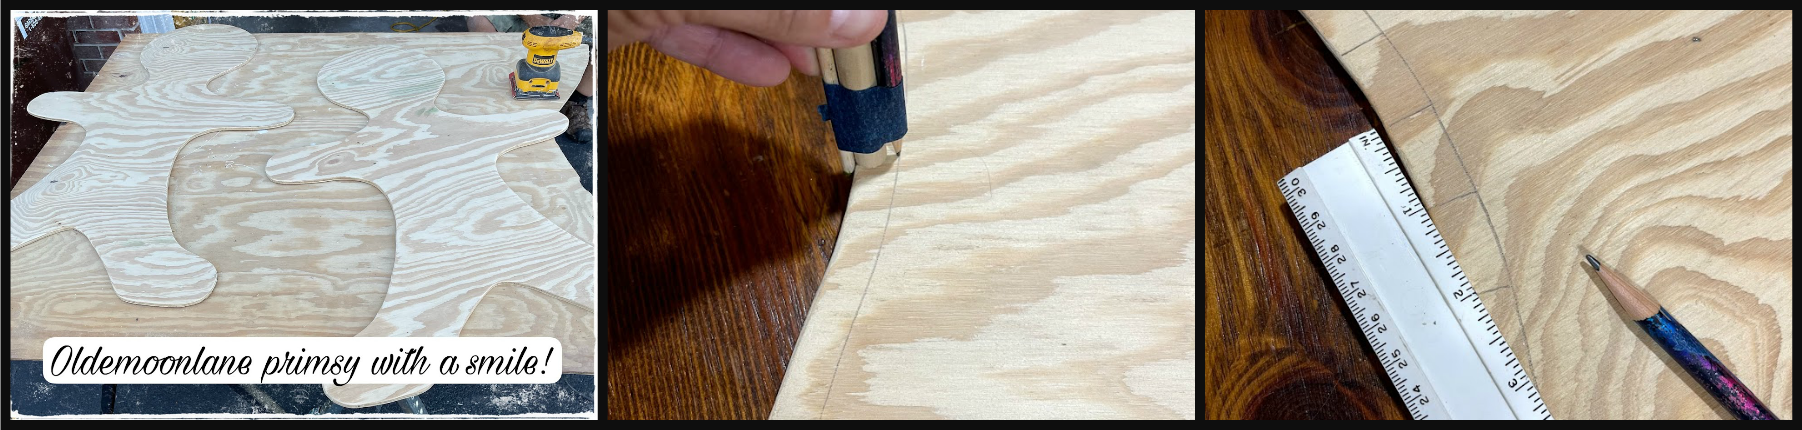
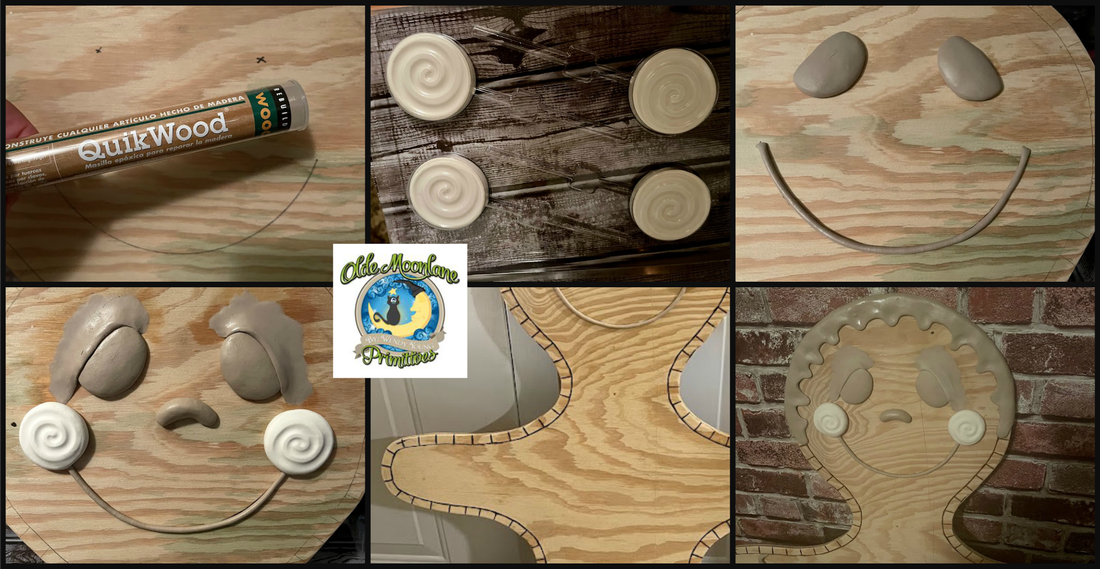
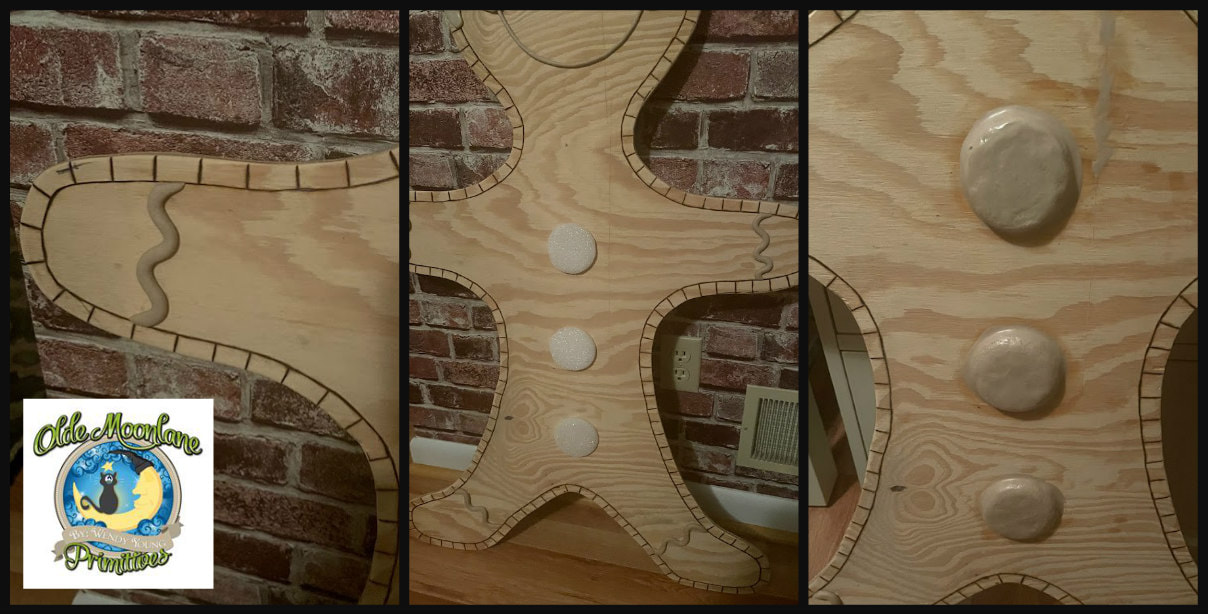
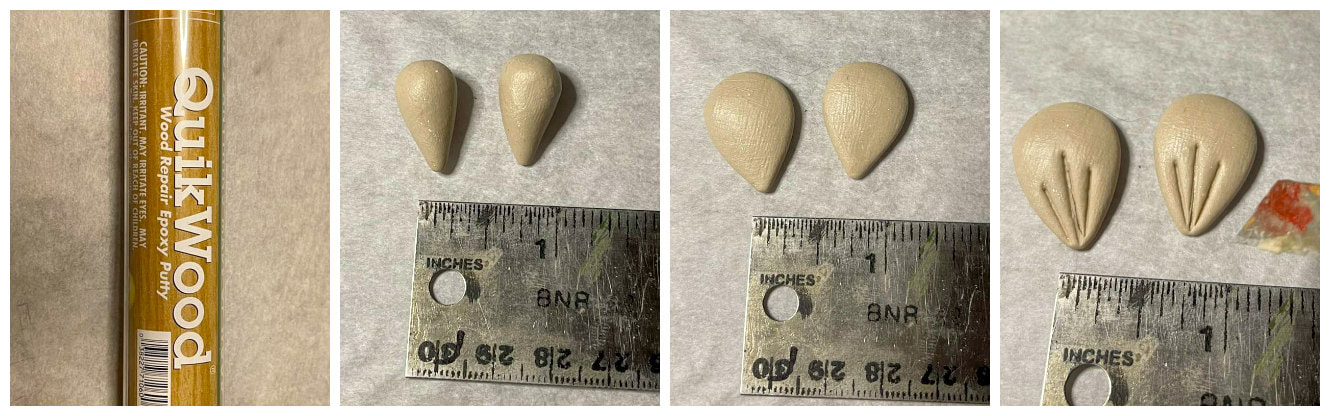
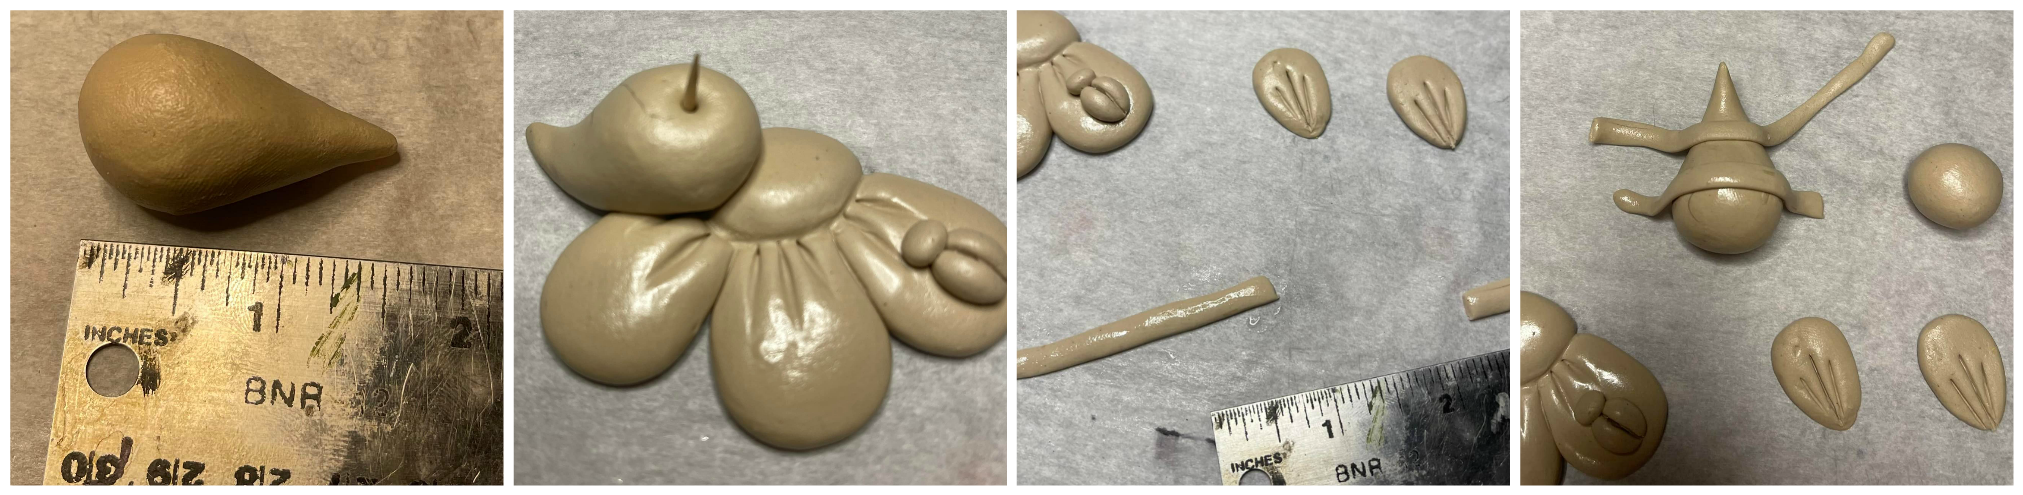
Wings- I used Quikwood but you could use any sculpting compound. I did the wings first as I wanted them to stiffen up a little. Make (2) cones, flatten slightly and with a blade indent 3 lines in the pointy ends of the cones.
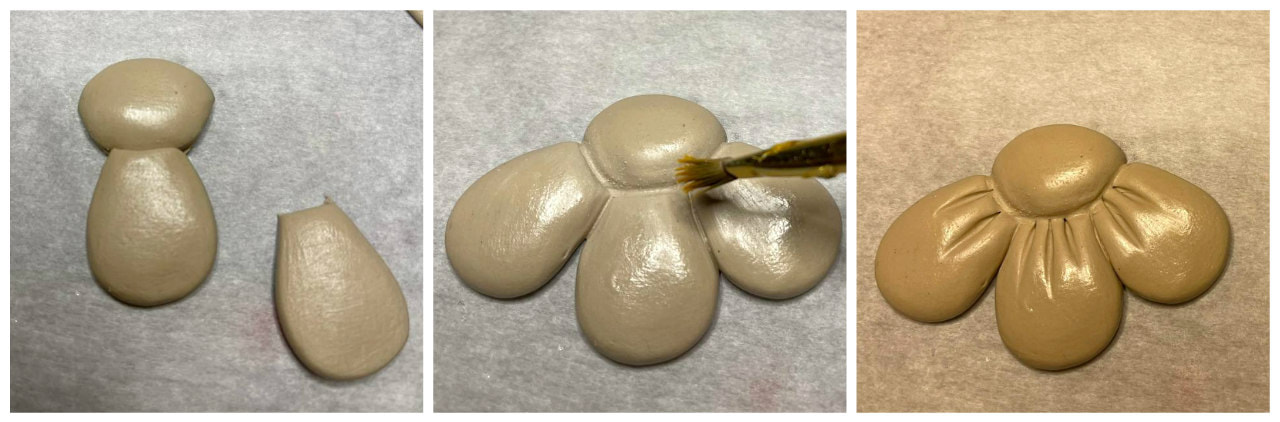
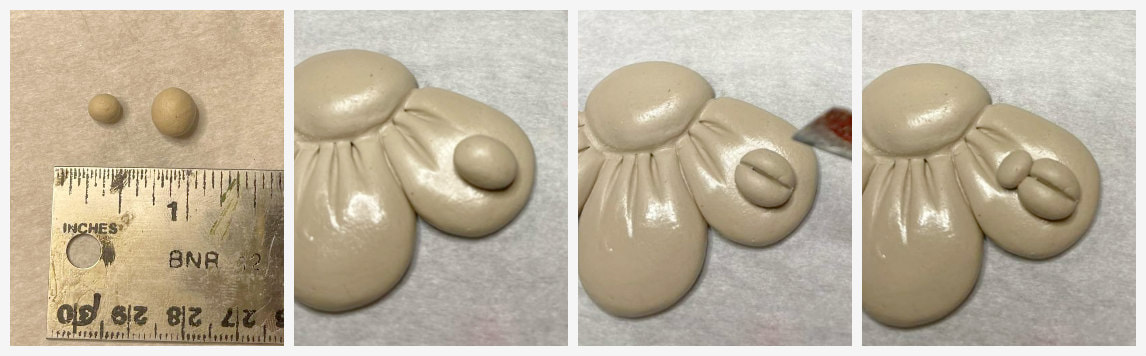
Flower- Roll a ball of quikwood about 3/4" diameter and flatten slightly. Make 3 separate 1/2" balls for petal and flatten slightly cutting off the pointy tips.
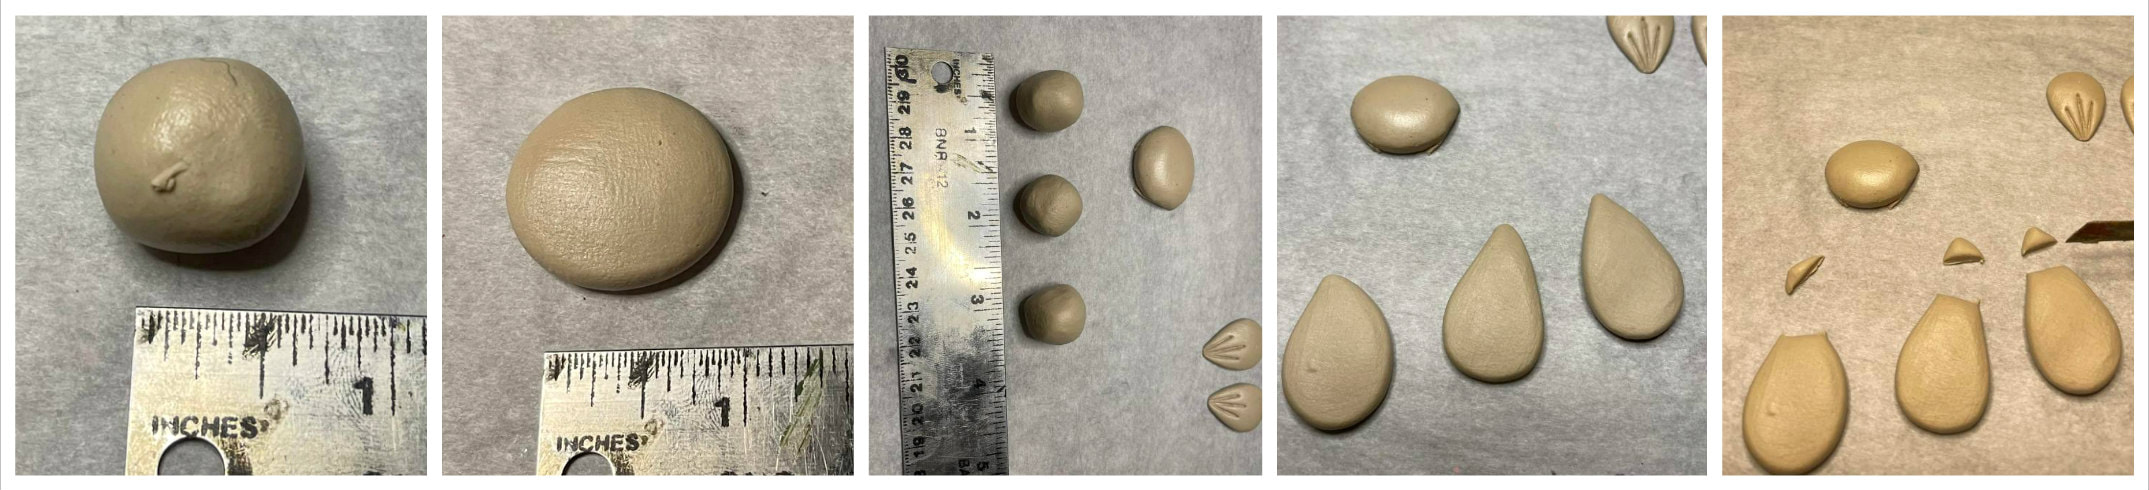
Place each petal on one side of the center of the flower and smooth into place with an old brush. With a blade indent each petal as desired.
Lady-bug- roll 2 balls one slightly smaller for the head and place on the Right petal indenting the body with a blade and the attach head.
Bee Body- Roll a 1 1/2" cone and attach to the top left flower petal. You can insert a toothpick for the head now or after you place on the stripes. Roll a thin piece of Quikwood and flatten slightly and lay over the body giving 2 stripes.
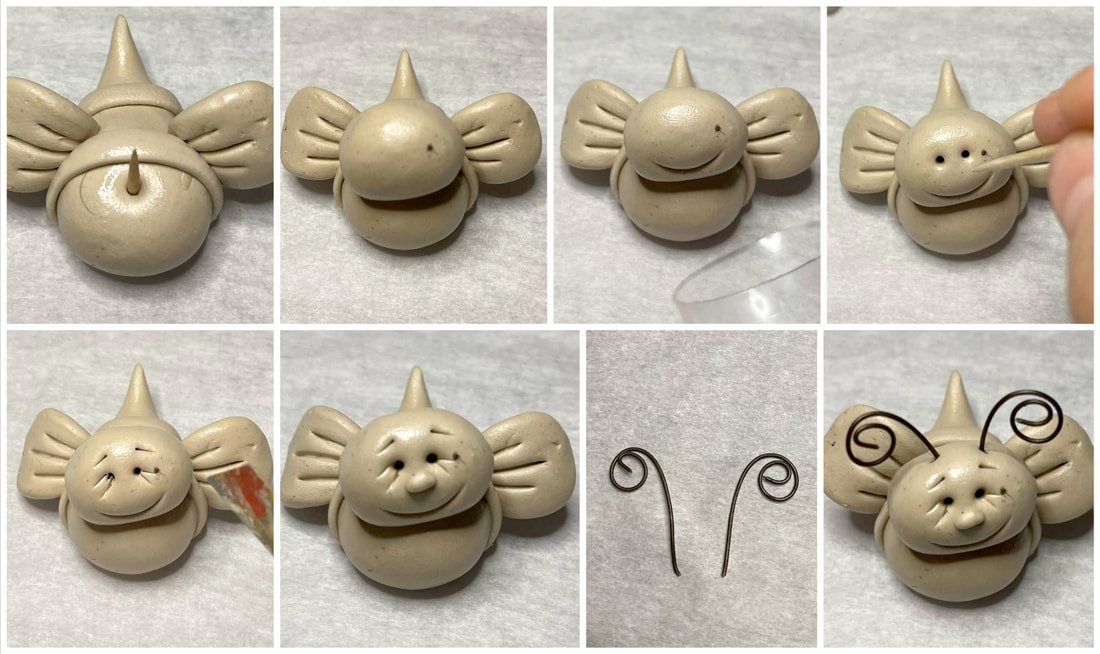
Insert the wings one the body and roll a 3/4" inch ball for the head and place on the toothpick. Using the quikwood tube I inserted it in the head to make a mouth, using the toothpick poke two eye holes, with the blade indent the eyes and eyebrows. Roll a tiny ball for the nose. Cut 2 pieces of wire and roll each one on the end placing them in the top of the head.
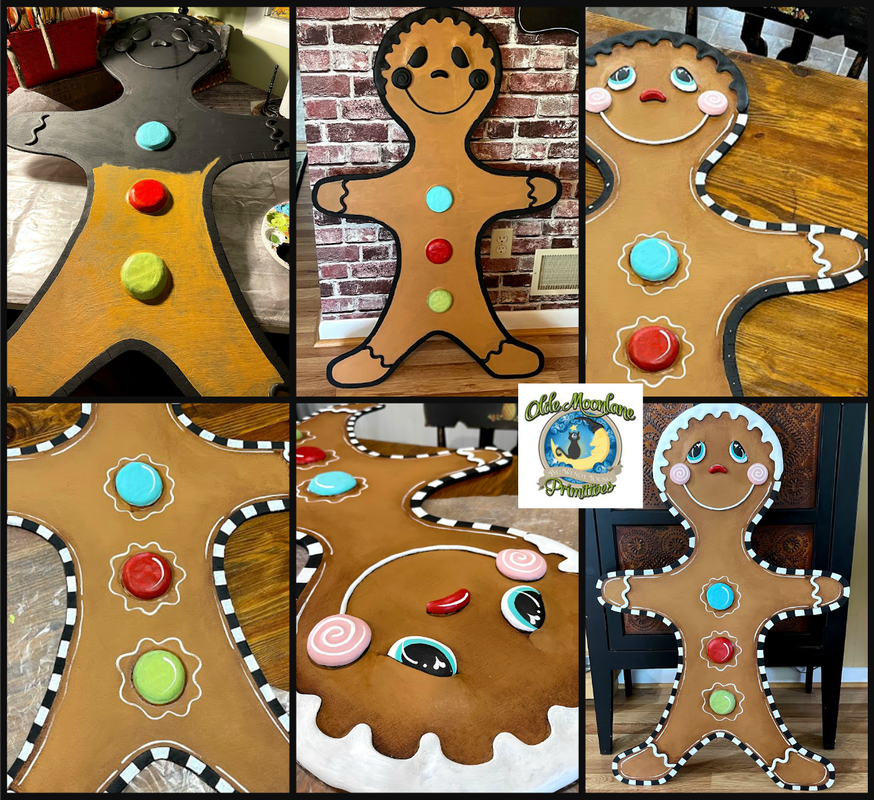
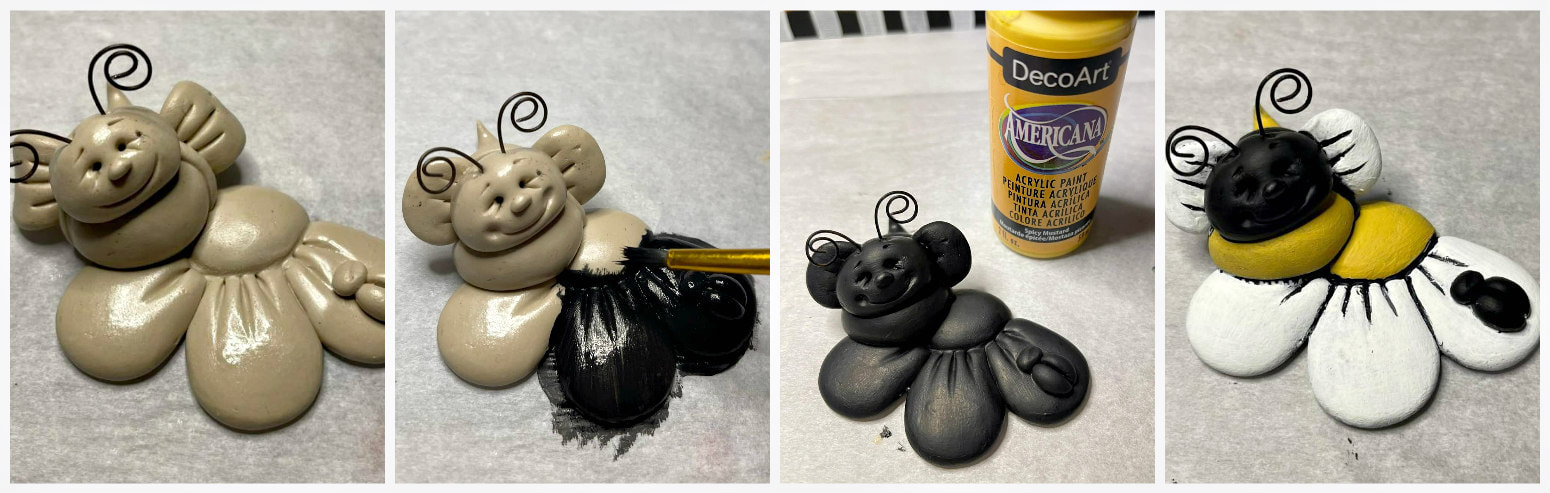
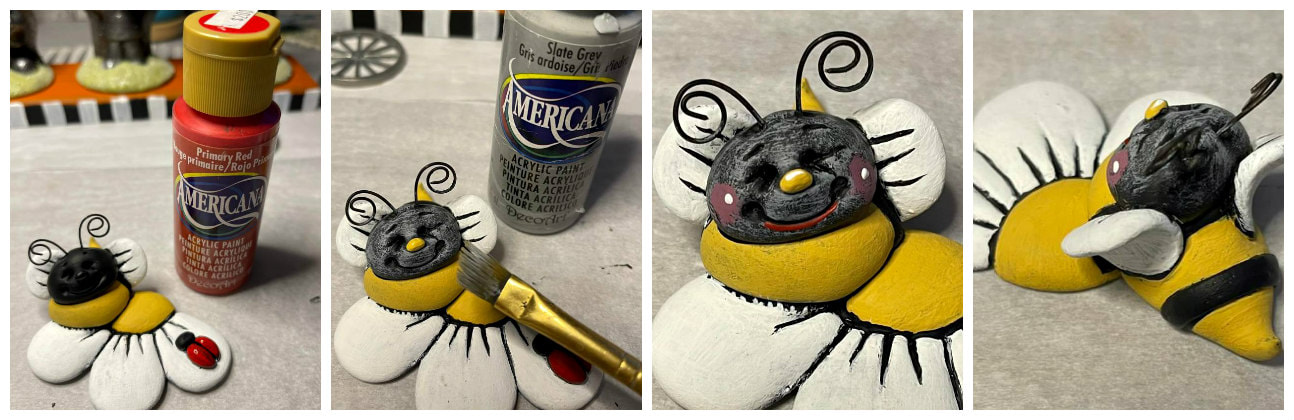
I used Americana DecoArt paints.
*Paint the entire project black.
*Paint the petals and wings white.
*Paint the body and center of the flower Spicy Mustard.
*Dry Brush the face with a light gray
*I used blush for the cheeks
*Spicy Mustard for the nose
*Primary Red for the lip and the ladybug.
*Highlight the cheeks each with a dot of white.
*Dot the ladybugs body with black
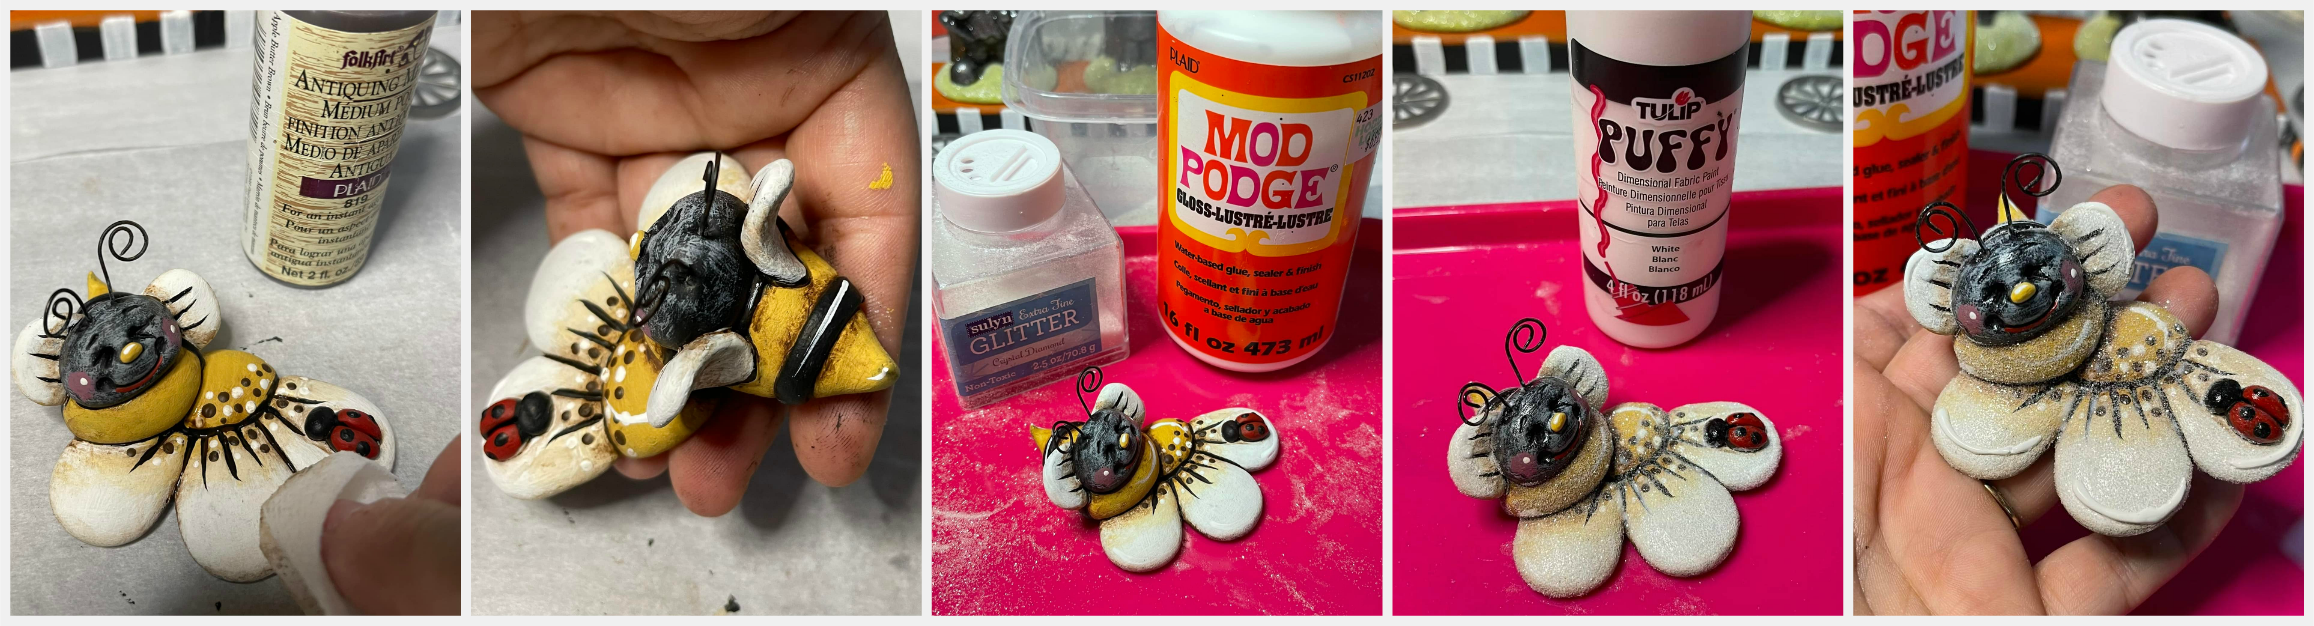
* I used Folk Art Apple Butter Brown antiquing on the entire project and then using a baby wipe I dabbed off the access. I dotted the petals with white and brown. Highlighted each bee stripe, center petal and front of bee body with white.
* Using modge podge entire project except the face and then sprinkling with glitter.
*I then for dimension gave each petal a highlight of white slick puffy paint.
Dear Charlotte, I will miss you and your naughty humor. You will be missed by many more than I think you ever knew. Love you my friend and till we meet again.
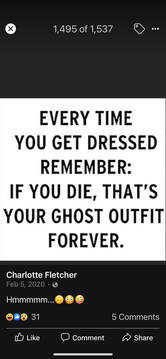 | As you can see I took this from Charlottes FB post in 2020 and before anyone gets upset with me I know she would be snorting with laughter right now at this. I sure hope you dressed comfy that day my friend. Me I hope I'm in my jammies. We just understood each others humor life's too short not to find laughter in each day! |
Blessings!
Wendy
Wendy